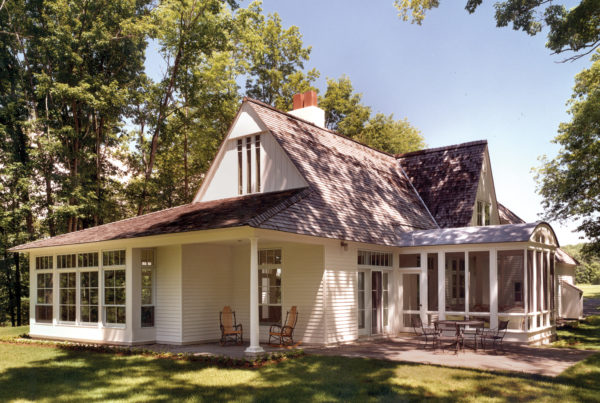
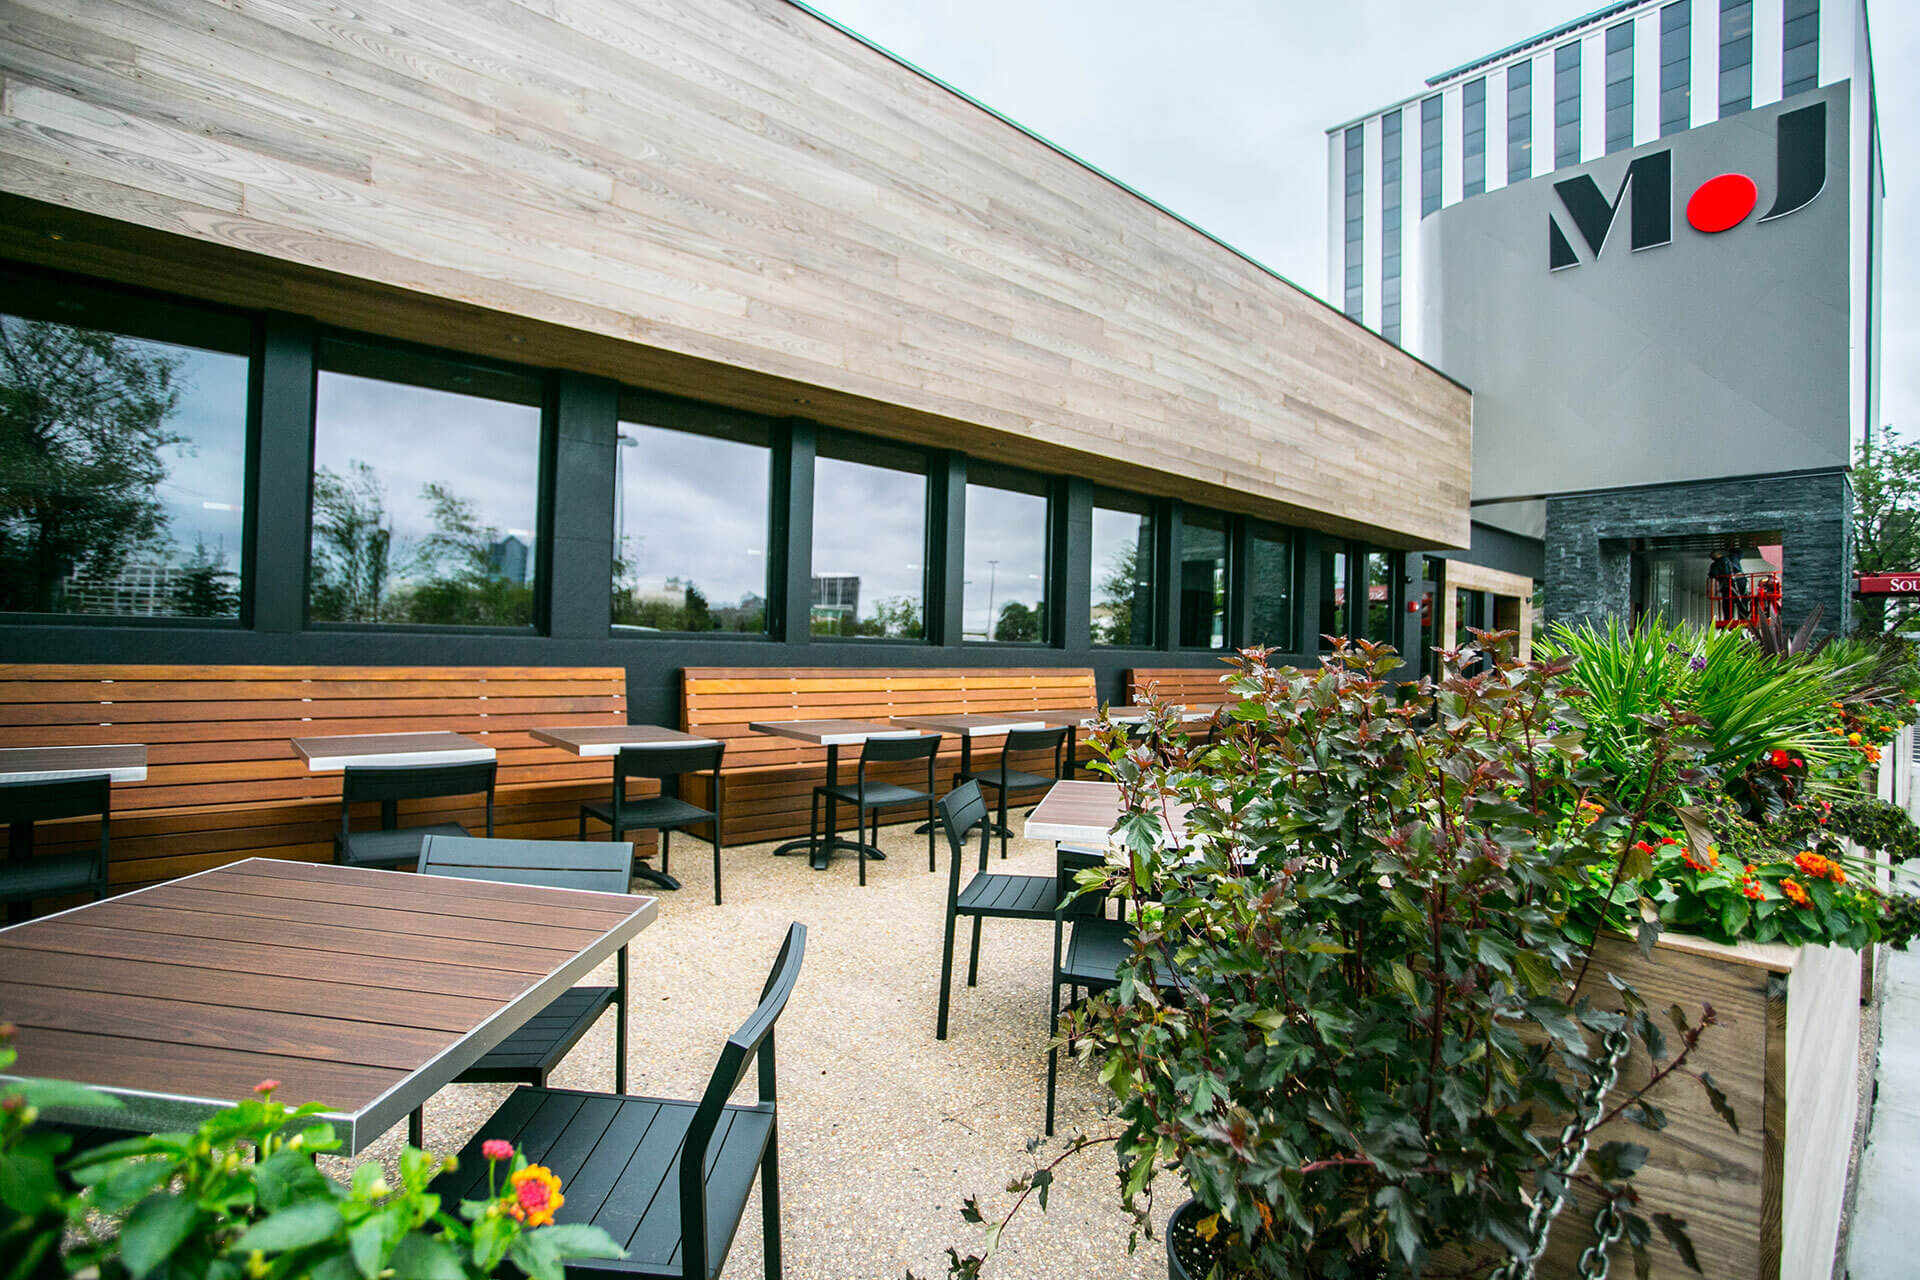
If you’re looking for a durable, eco-friendly siding material, thermally modified wood may be the perfect option for your home. Thermally modified wood is treated with high temperatures to change its physical and chemical properties, making it more resistant to rot, insect damage, and moisture.
Installing thermally modified wood siding is similar to installing traditional wood siding. However, there are essential considerations to keep in mind when working with this material. Below are the steps on how to install thermally modified siding and rainscreen.
Prepare the Area
The first step is to clear the installation area. You’ll also want to mark the layout of your siding on the wall. Use a tape measure to find the wall’s center point and then snap a chalk line from that point to the top corner of the wall. Once you have your chalk line in place, use a level to ensure it’s perfectly straight.
Cut the Siding
Next, you’ll need to cut your siding to size. To do this, measure the width of the wall and then add about 1/4″ to that number. This will give you the necessary overhang for your siding. Transfer it to the siding once you have the measurement, and use a straight edge to mark a cutting line. Then, using a circular saw or jigsaw, cut along the line. If you’re using a jigsaw, use a blade with at least 18 TPI (teeth per inch).
Drill Holes for Fasteners
With the siding cut to size, it’s time to drill holes for your fasteners. To do this, first, predrill pilot holes at the top corners of the siding. Then, using a 3/16″ drill bit, drill counterbored holes along the bottom edge of the siding. The holes should be about 16″ apart.
Attach the Furring Strips
Next, you’ll need to attach furring strips to the wall. These strips will provide a nailing surface for your siding and help ensure a more secure installation. To attach the strips, use 10d common nails and space them 16″ apart. Be sure to drive the nails into solid wood—if you hit metal or masonry, try moving the strip over slightly until you hit solid wood.
Install the Siding
With the furring strips in place, you’re ready to install the siding. Simply line up the bottom edge of the siding with the furring strips and then drive about 3/4″ finishing nails through the holes you drilled earlier. Be sure to sink the nails below the surface of the wood so the next piece of siding can cover them.
Install the Rainscreen
The final step is installing a rainscreen. Rainscreens help protect your siding from moisture damage and also improve energy efficiency. To install a rainscreen, simply nail 1-1/4″ finishing nails into the furring strips at 16″ intervals. Then, cut pieces of rainscreen cloth to size and staple them to the furring strips. Once all of the cloth is in place, your job is done.
Thermally modified siding is a great way to protect your home from the elements. Once you’ve learnt how to install thermally modified siding and rainscreen, you can go ahead and choose a perfect brand. Sherwood Lumber’s Americana siding and rainscreen has all the qualities you’re looking for