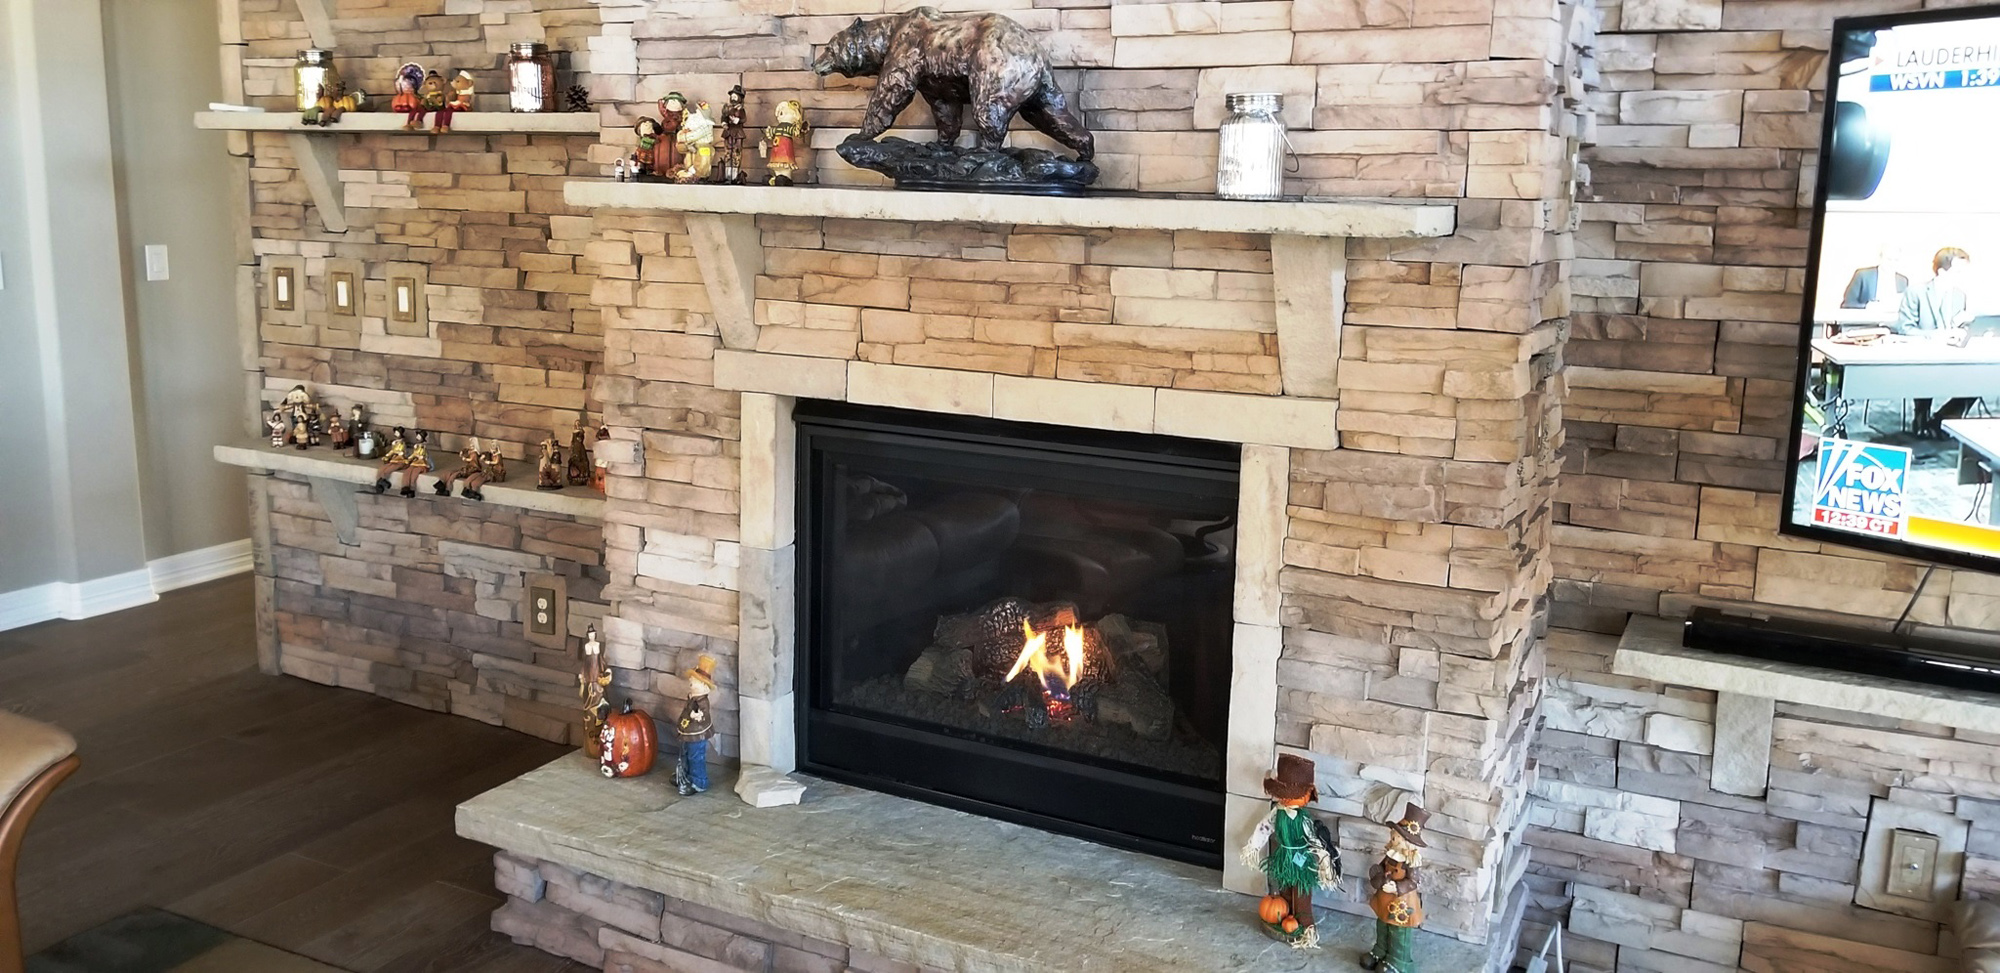
A Stone veneer is a thin layer of natural or engineered stone bonded to an interior wall, usually made out of drywall or plywood. It has become increasingly popular because it offers the look of natural stone, but it’s less expensive, and you don’t have to wait for it to cure after installation! Fireplaces are known for their elegance and appeal, however old or poorly designed fireboxes can be cumbersome. If you have a large wall, there’s no reason to give up on your dreams of adding a new fireplace or reworking an existing one. Today, one of the latest trends is transforming your fireplace with stone veneers. It creates a beautiful focal point and can improve heating efficiency as well.
How To Install Fireplace Stone Veneers
The first step is to remove the old fireplace material. If you’re using stone slabs, it’s best to start from the bottom and work your way up. This will help you avoid any accidental damage to the new veneer. It’s important to use a hammer and chisel to break the mortar between the bricks and stones. You can then use a wire brush or grinder to clean off any remaining debris.
Once you’ve prepared the surface, it’s time to start applying the veneers. Many people choose to start with the hearth because it’s the most visible part of the fireplace. Each stone veneer should overlap with the one below by about a third of an inch. You can use various adhesives to help lock each stone in place, but make sure the area is completely dry before moving on to step 3.
Once you’ve laid down your hearth, start working your way up the firebox wall. Be sure to keep things even and avoid any gaps between stones. The next step will be laying the veneers along either side of the fireplace opening, which helps give it that extra touch of authenticity. The top row will then go just above where your mantle rests.
Finally, it’s time to finish up by installing the chimney. Depending on your preference, you can either do this with ClipStone or traditional bricks. Make sure the joints between each stone are tightly fitted and use mortar to hold everything in place. Allow the mortar to dry for at least 24 hours before using your fireplace.
Why ClipStone
There are many benefits to updating your space with stone veneers instead of traditional fireplace materials such as bricks or stone slabs. Along with being more affordable, they are less difficult to install, and you can complete the installations in a fraction of time. Stone veneers are also lightweight and easy to work with, making them a good choice for DIY enthusiasts.
Now that you are done transforming your fireplace with stone veneers, you can sit back and enjoy the warm glow of a fire on those cold winter nights. Not only will you love the new look, but you’ll also be able to take advantage of improved heating efficiency. So don’t wait any longer. Start planning your next home improvement project today with Sherwood Lumber!