
The process of converting logs into lumber is a fundamental aspect of the woodworking and construction industries. This guide explains each step involved in transforming raw logs into usable lumber.
1. Harvesting and Transportation
The journey begins in the forest, where mature trees are selectively harvested. Logging crews use various tools and machinery, such as chainsaws and harvesters, to cut down the trees. Once felled, the logs are transported to the sawmill using trucks or, in some cases, floated down rivers.
2. Debarking
At the sawmill, the first step is to remove the bark from the logs. Debarking machines strip off the outer layer to prevent dirt and debris from contaminating the saw blades and ensure a clean, smooth surface for further processing.
3. Scaling
Scaling is the process of measuring the logs to determine their volume and the amount of usable lumber they will produce. This step involves assessing the log’s length, diameter, and any defects that might affect yield. Accurate scaling ensures efficient planning and utilization of the raw material.
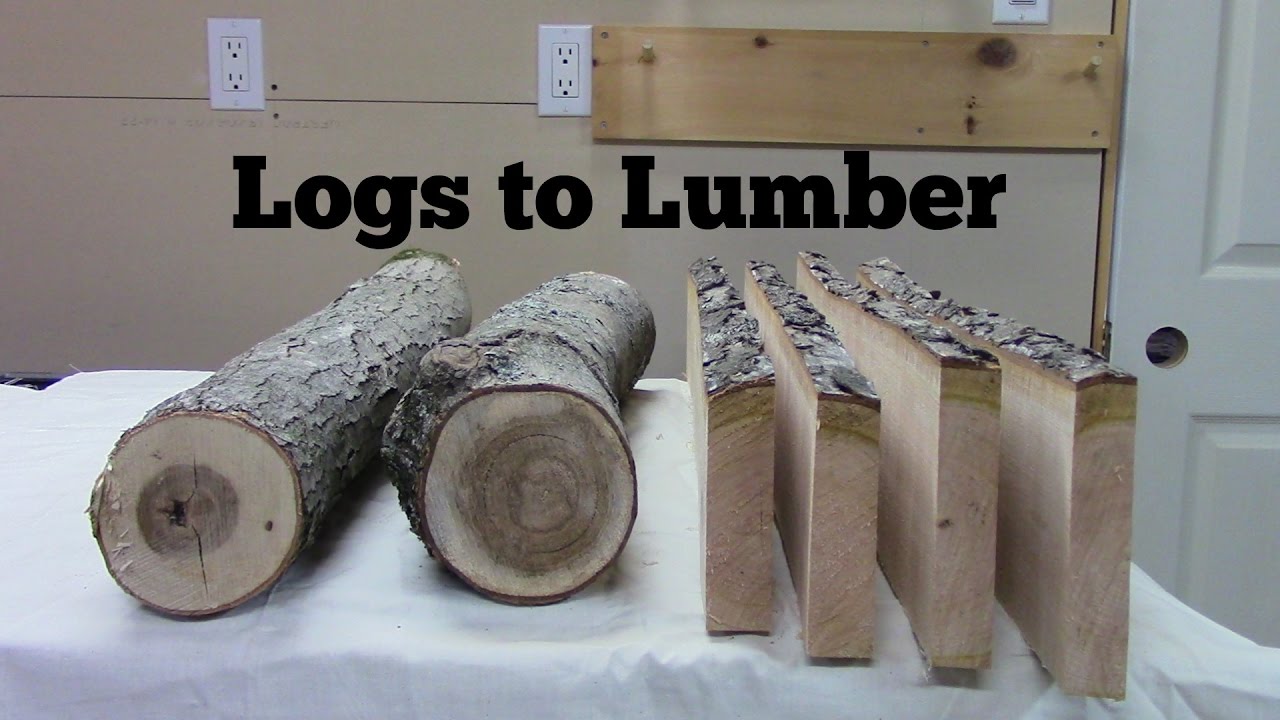
4. Sawing
The heart of the conversion process is sawing, where the debarked logs are cut into lumber. This can be done using different types of saws:
- Head Rig Saw: The primary saw that makes the initial cuts.
- Gang Saw: Cuts the log into multiple boards in one pass.
- Band Saw: Known for its precision, often used for more delicate cuts.
Logs are usually cut into a rectangular “cant” before being further processed into boards of various dimensions.
5. Edging
Edging involves trimming the rough edges off the lumber to create straight, uniform sides. This process removes the irregular outer portions, resulting in cleaner, more precise boards.
6. Trimming
Trimming cuts the boards to specific lengths, removing any defects such as knots or splits that could weaken the lumber. This step ensures that only high-quality wood progresses to the final stages.
7. Drying
Freshly cut lumber contains a significant amount of moisture, which must be reduced to prevent warping and cracking. There are two primary methods for drying lumber:
- Air Drying: Stacking the lumber in a well-ventilated area for an extended period, allowing natural evaporation.
- Kiln Drying: Using a controlled, high-temperature environment to speed up the drying process, typically taking a few days to weeks.
Proper drying stabilizes the wood and prepares it for further use.
8. Planing
Planing smooths the surface of the dried lumber, creating uniform thickness and a polished finish. This step involves passing the boards through a planer machine, which shaves off a thin layer to achieve the desired dimensions and surface quality.
9. Grading
The final step is grading, where the lumber is inspected and categorized based on its quality and appearance. Grading standards consider factors such as knots, grain patterns, and any remaining defects. This classification helps determine the appropriate use for each piece of lumber.
Conclusion
Converting logs into lumber is a meticulous process that requires precision at every stage. From harvesting and debarking to sawing, drying, and grading, each step is crucial to producing high-quality lumber ready for construction, woodworking, and various other applications.