

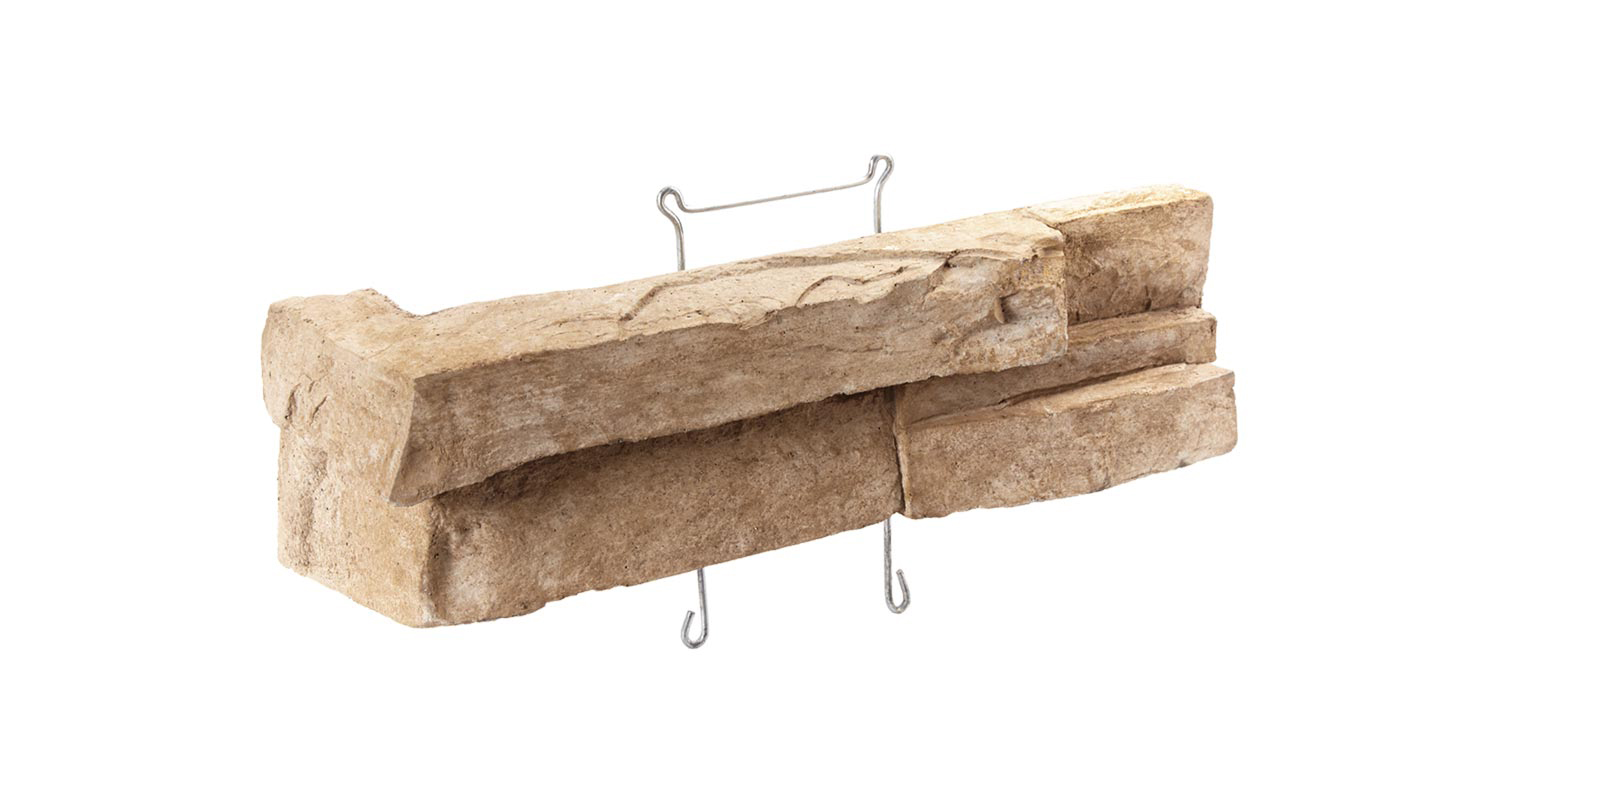
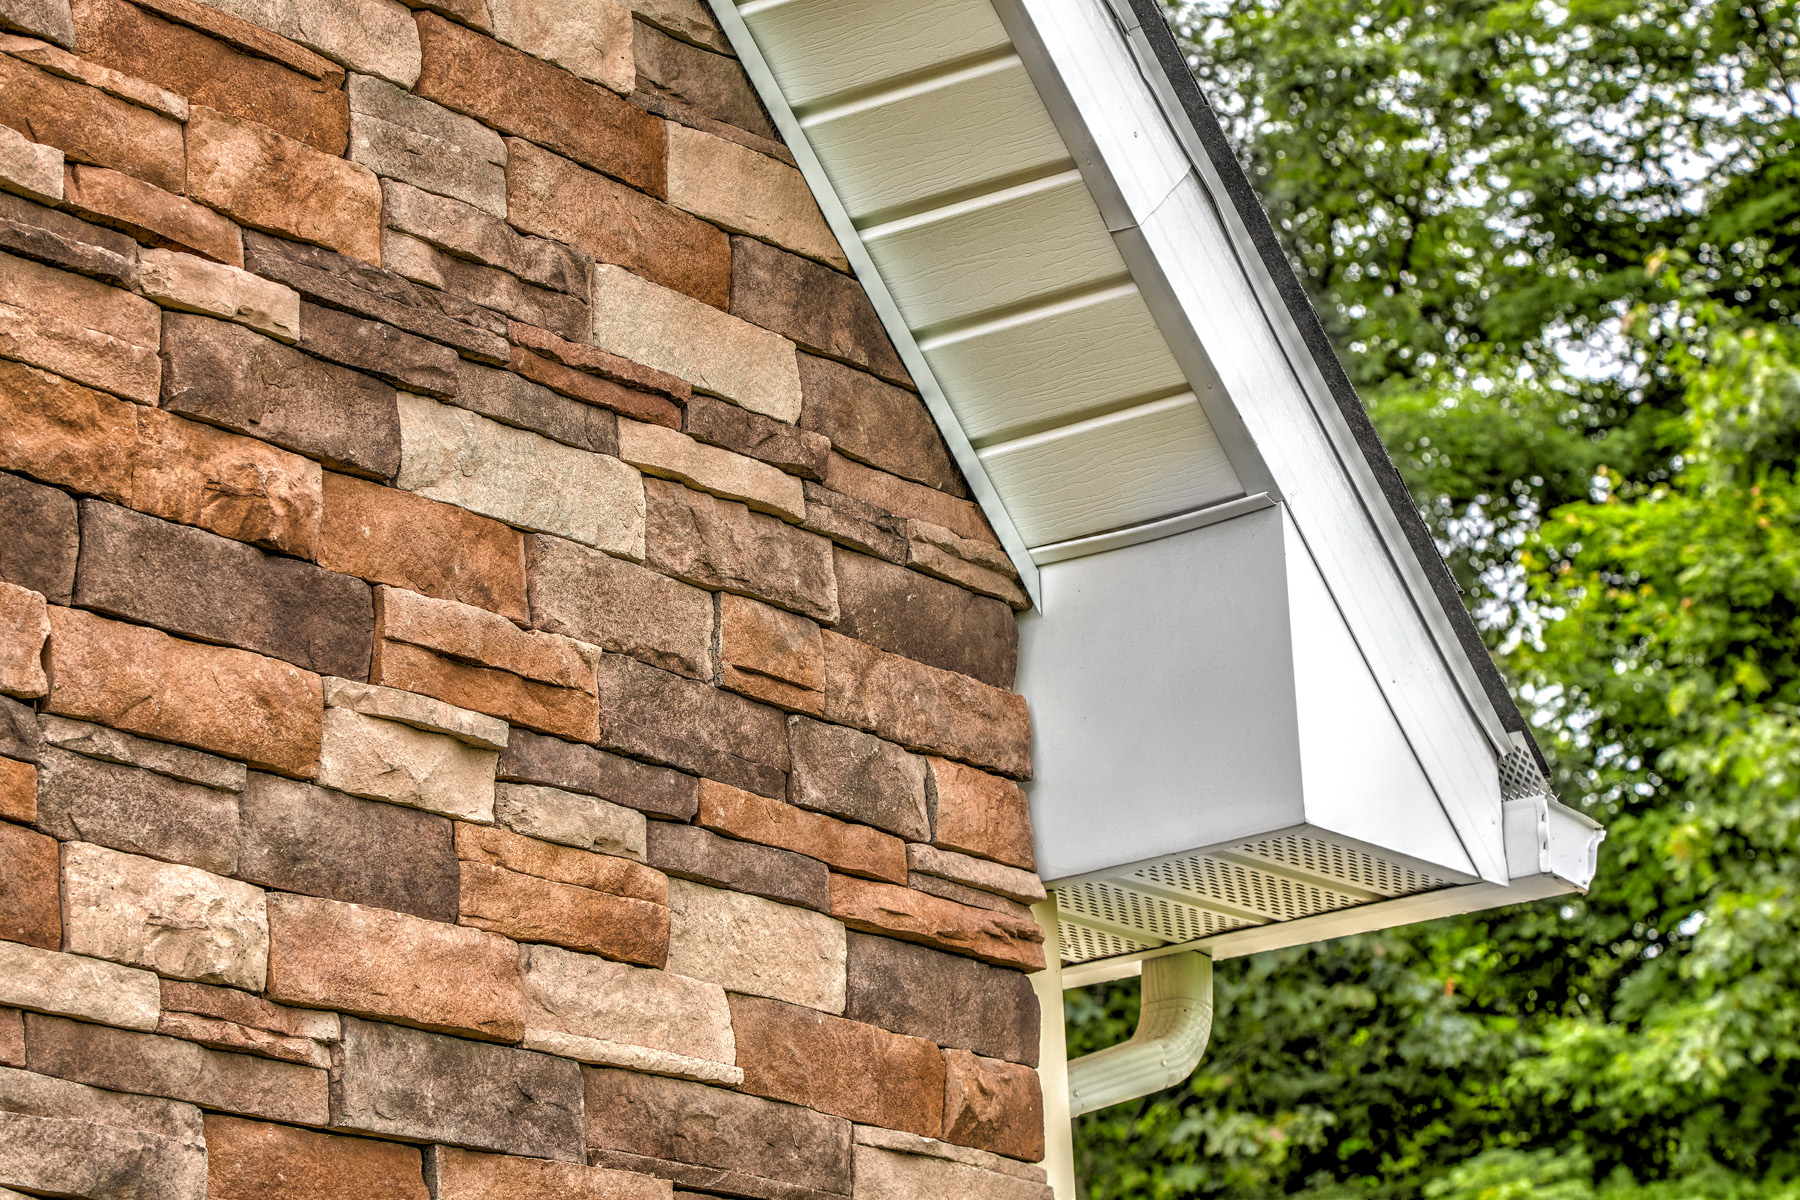
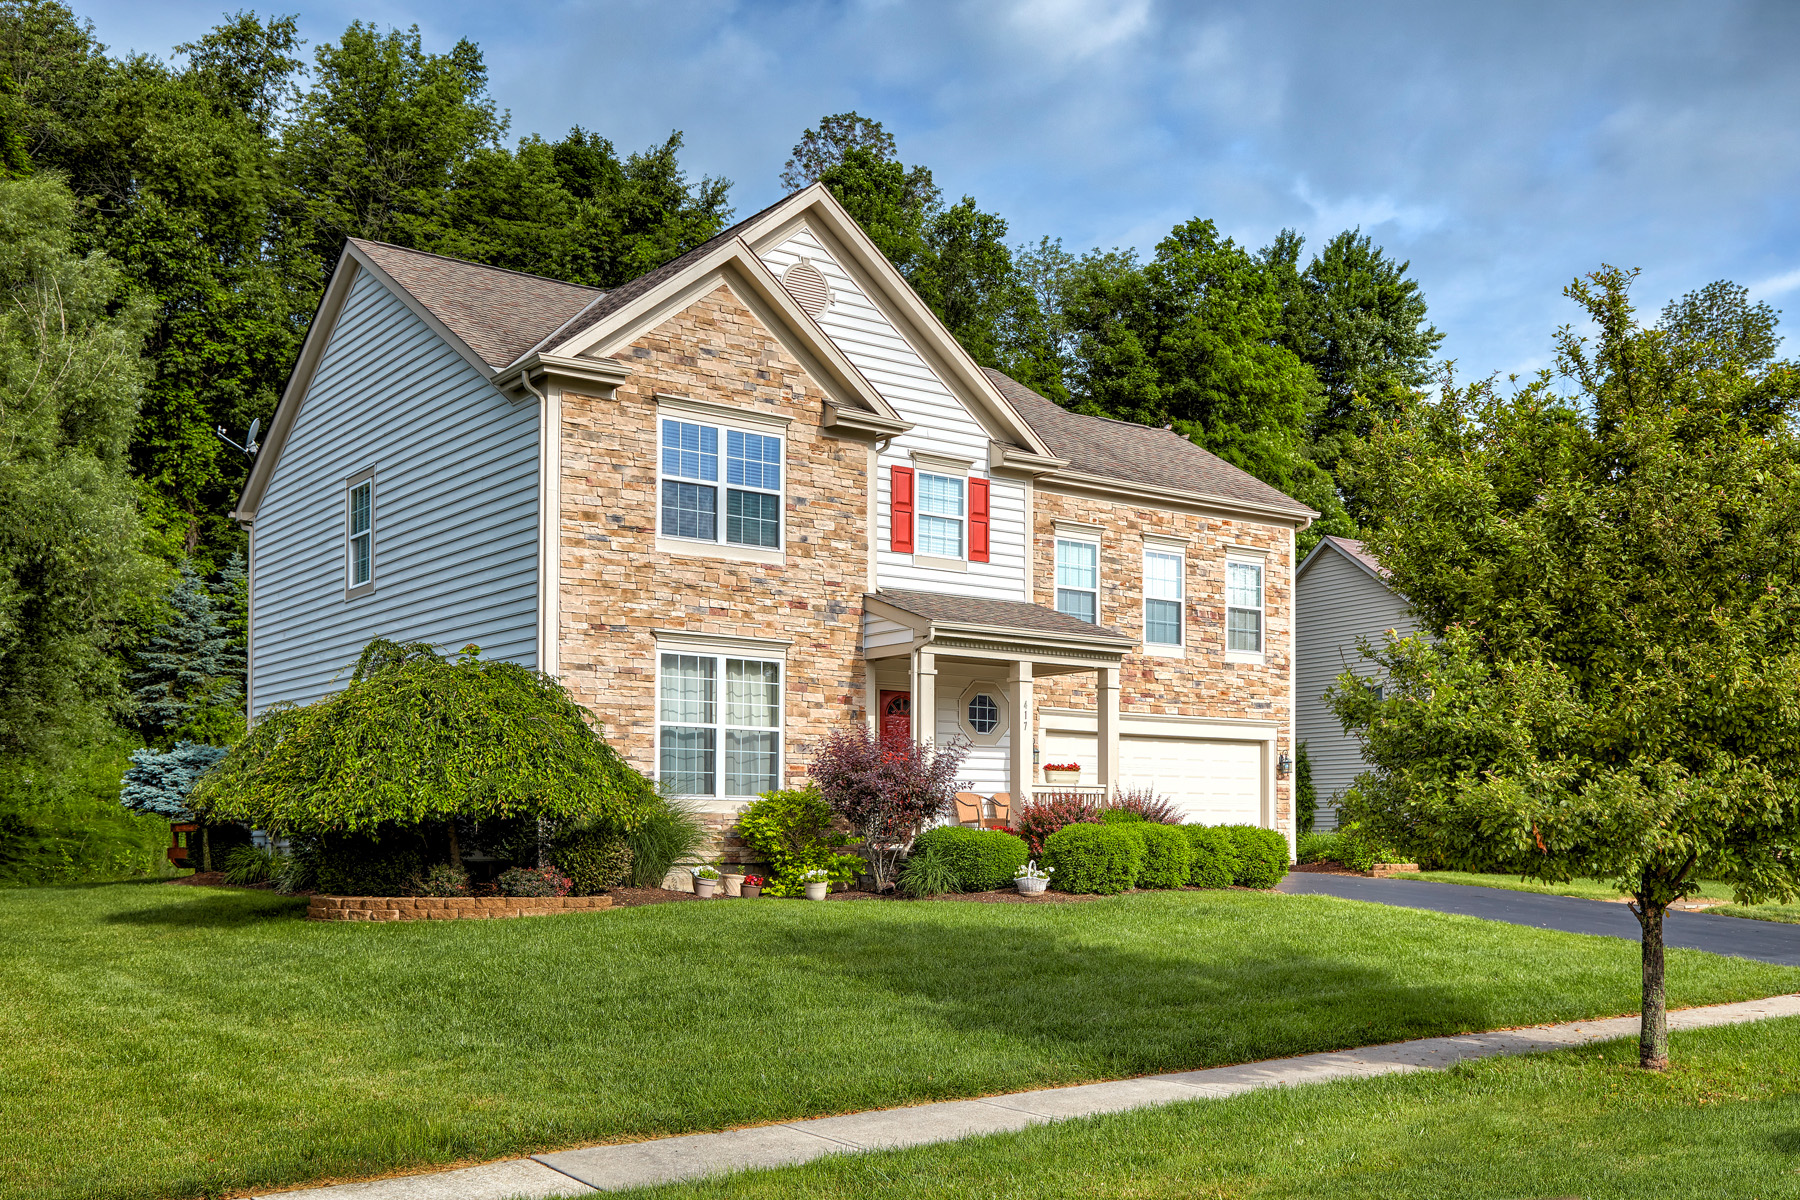
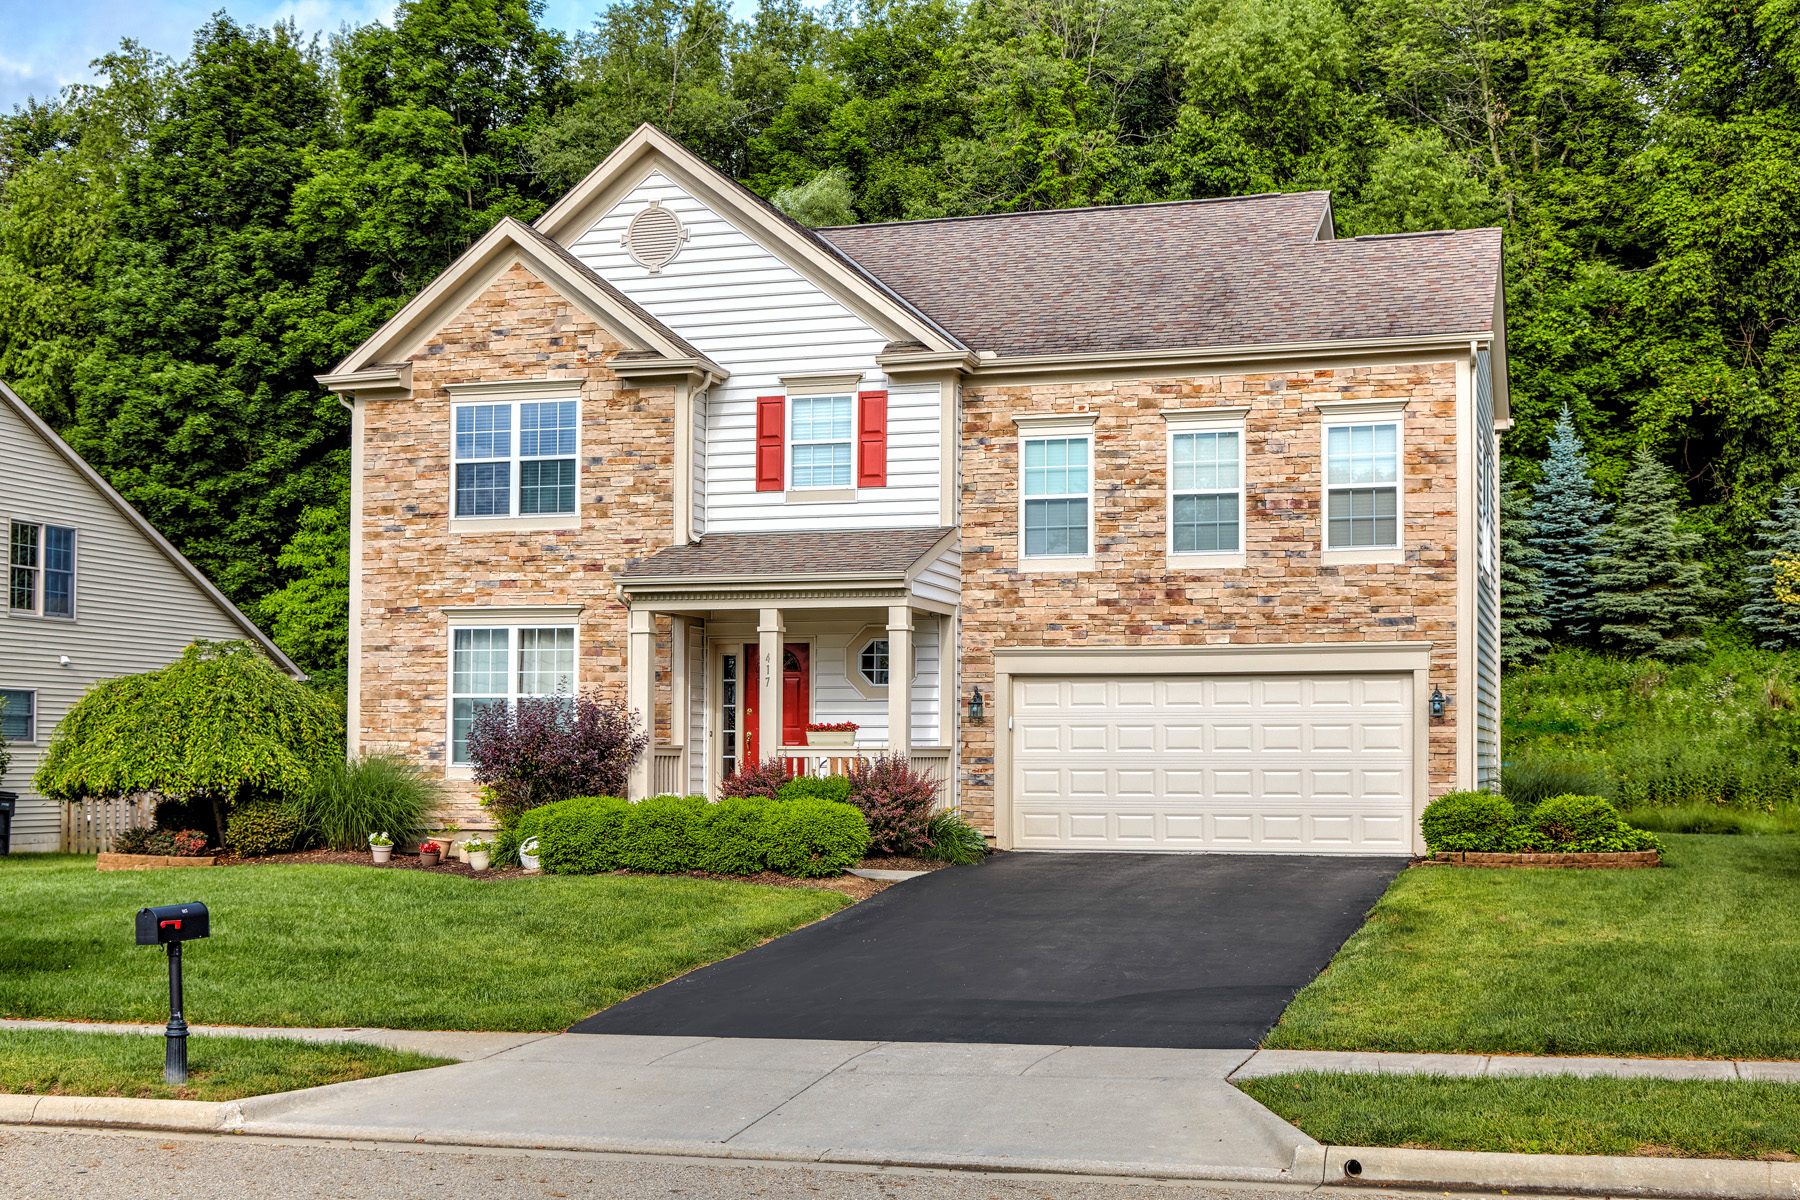
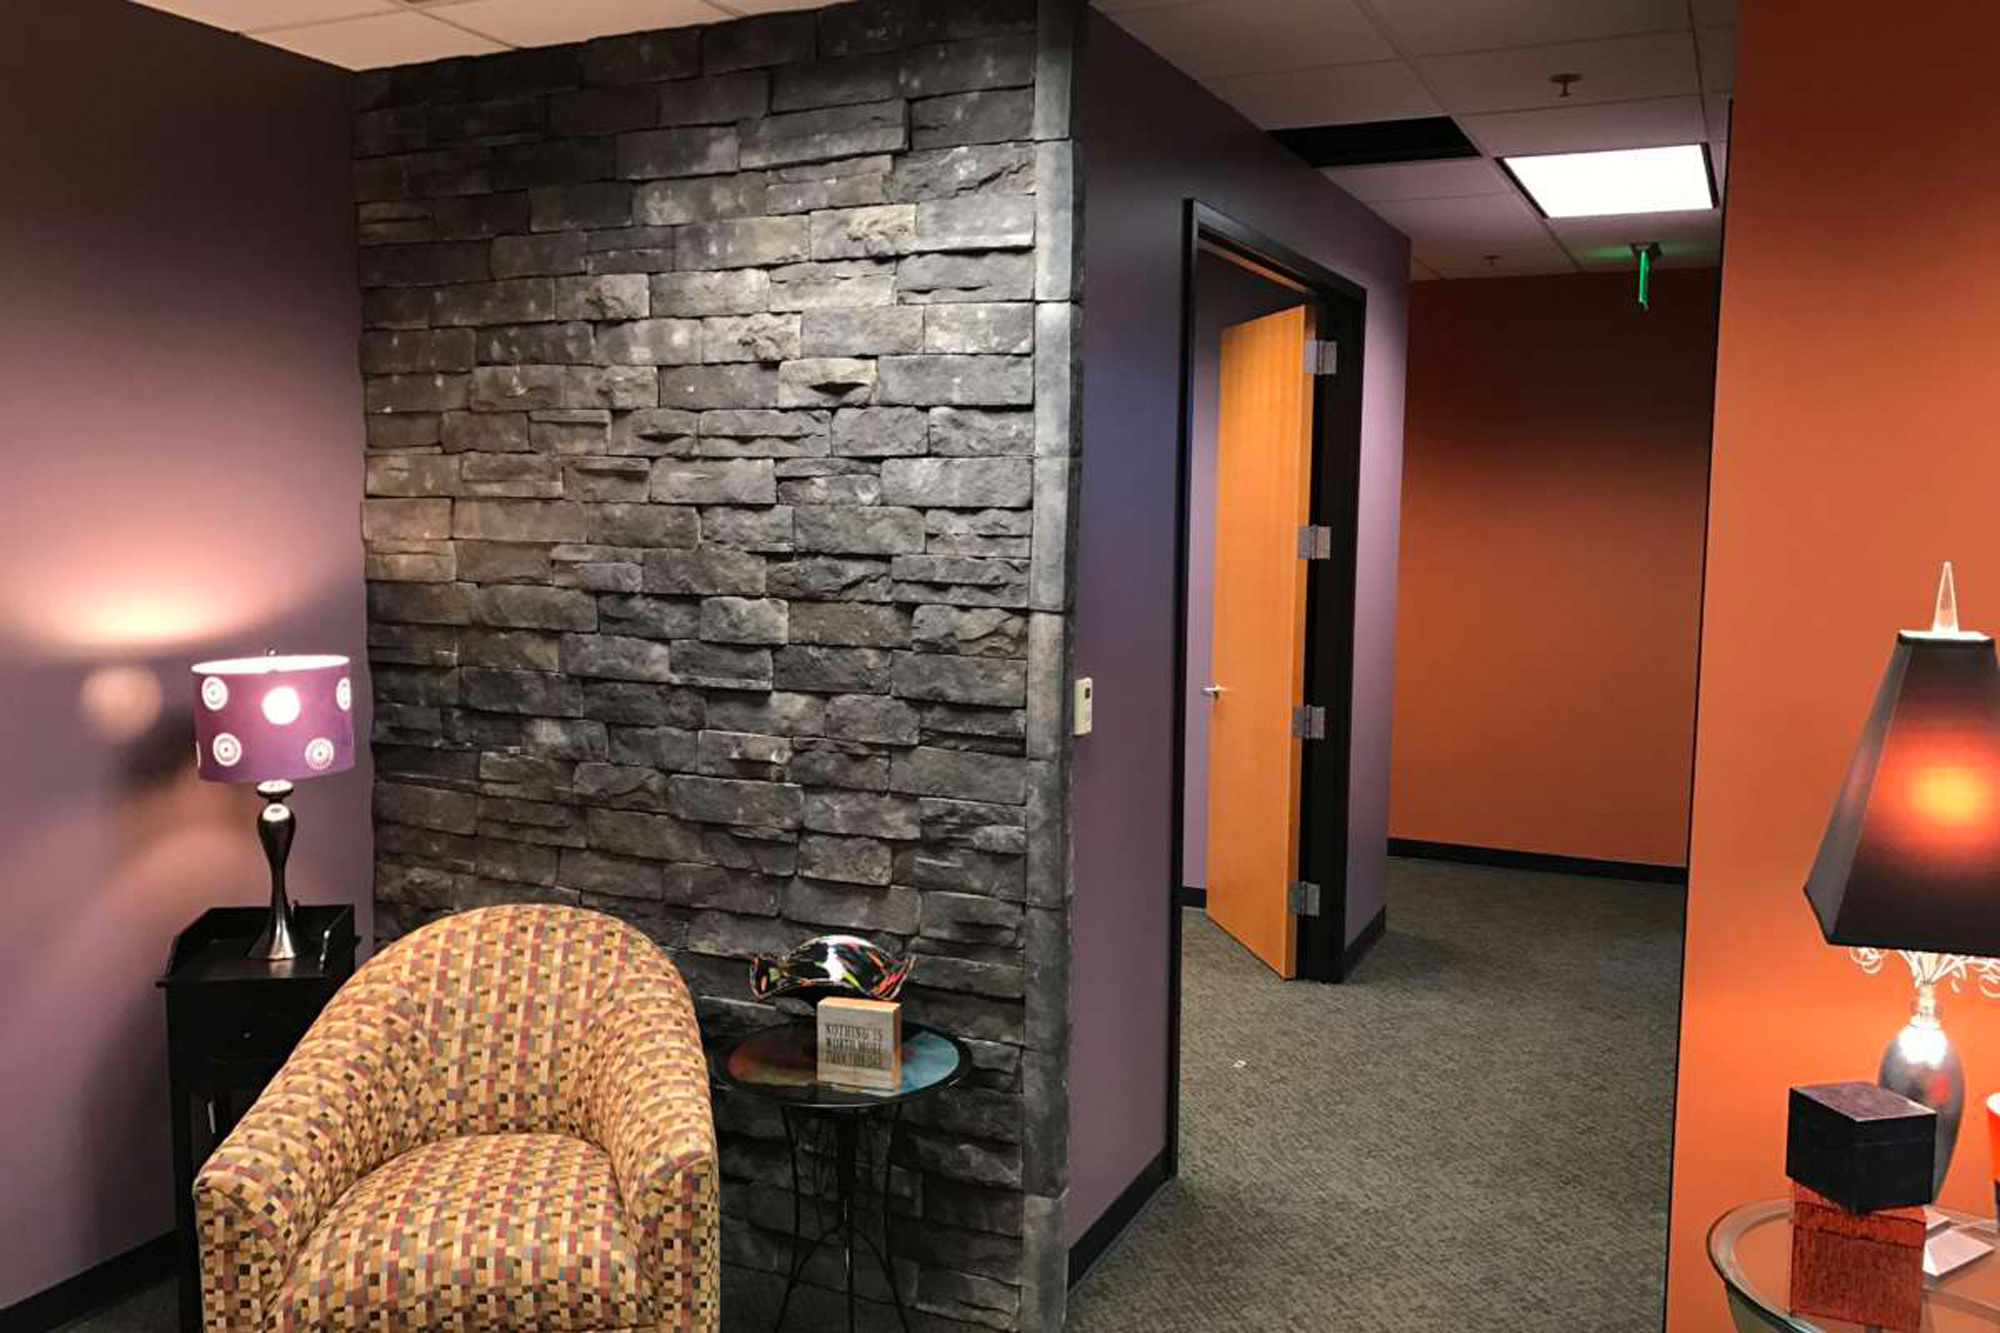
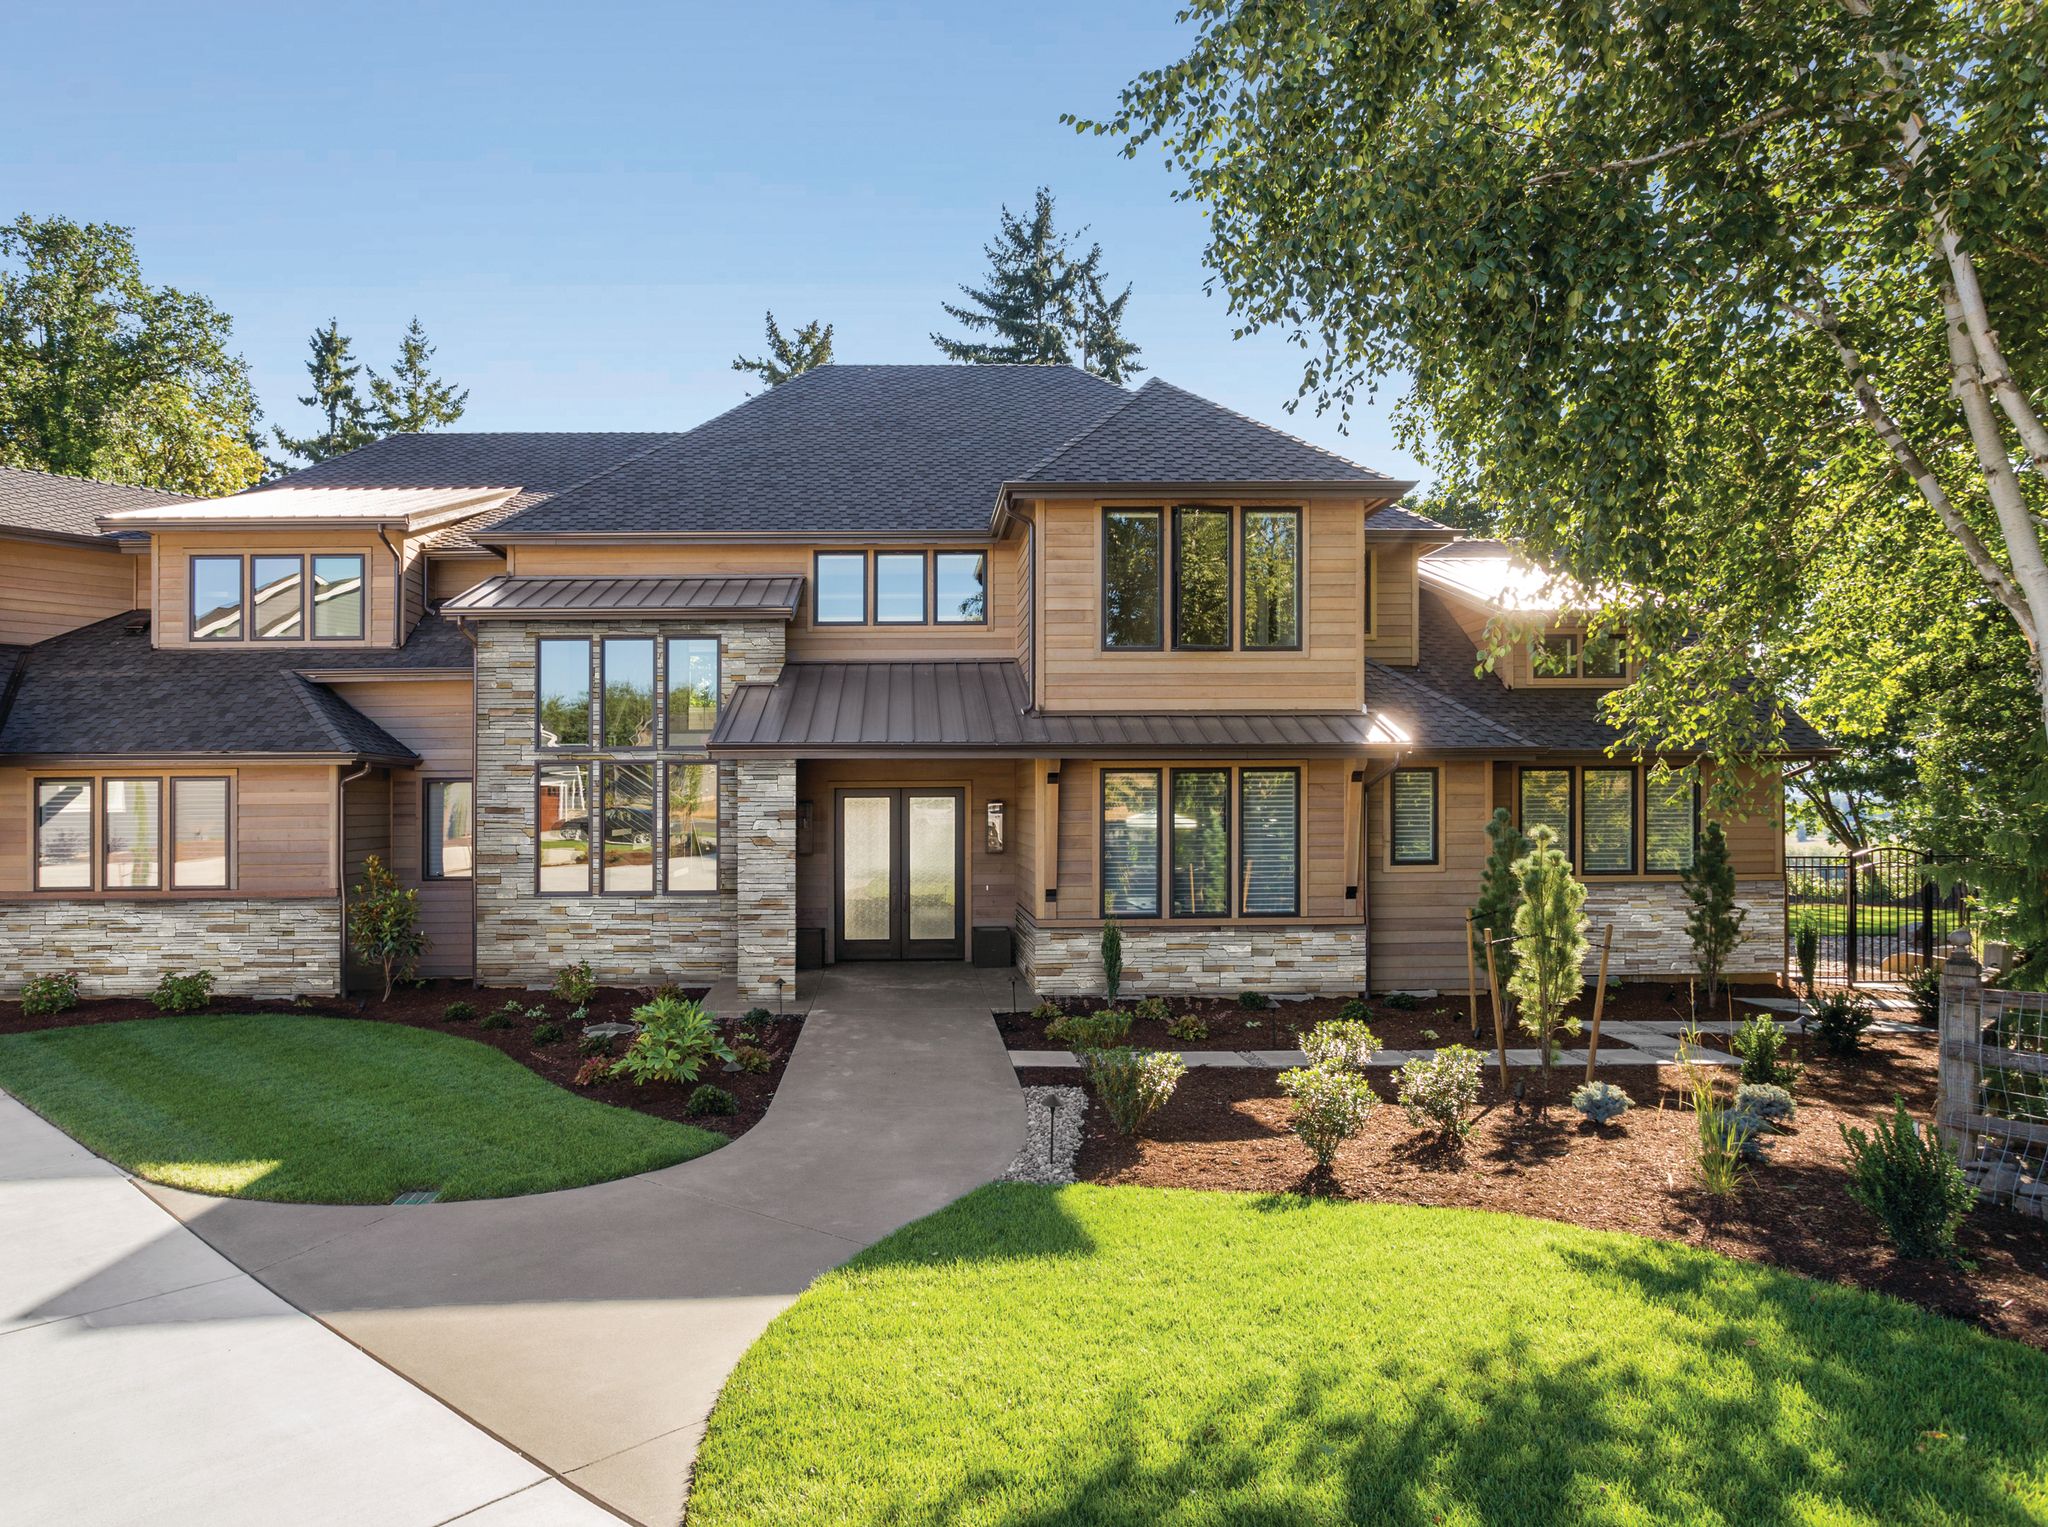
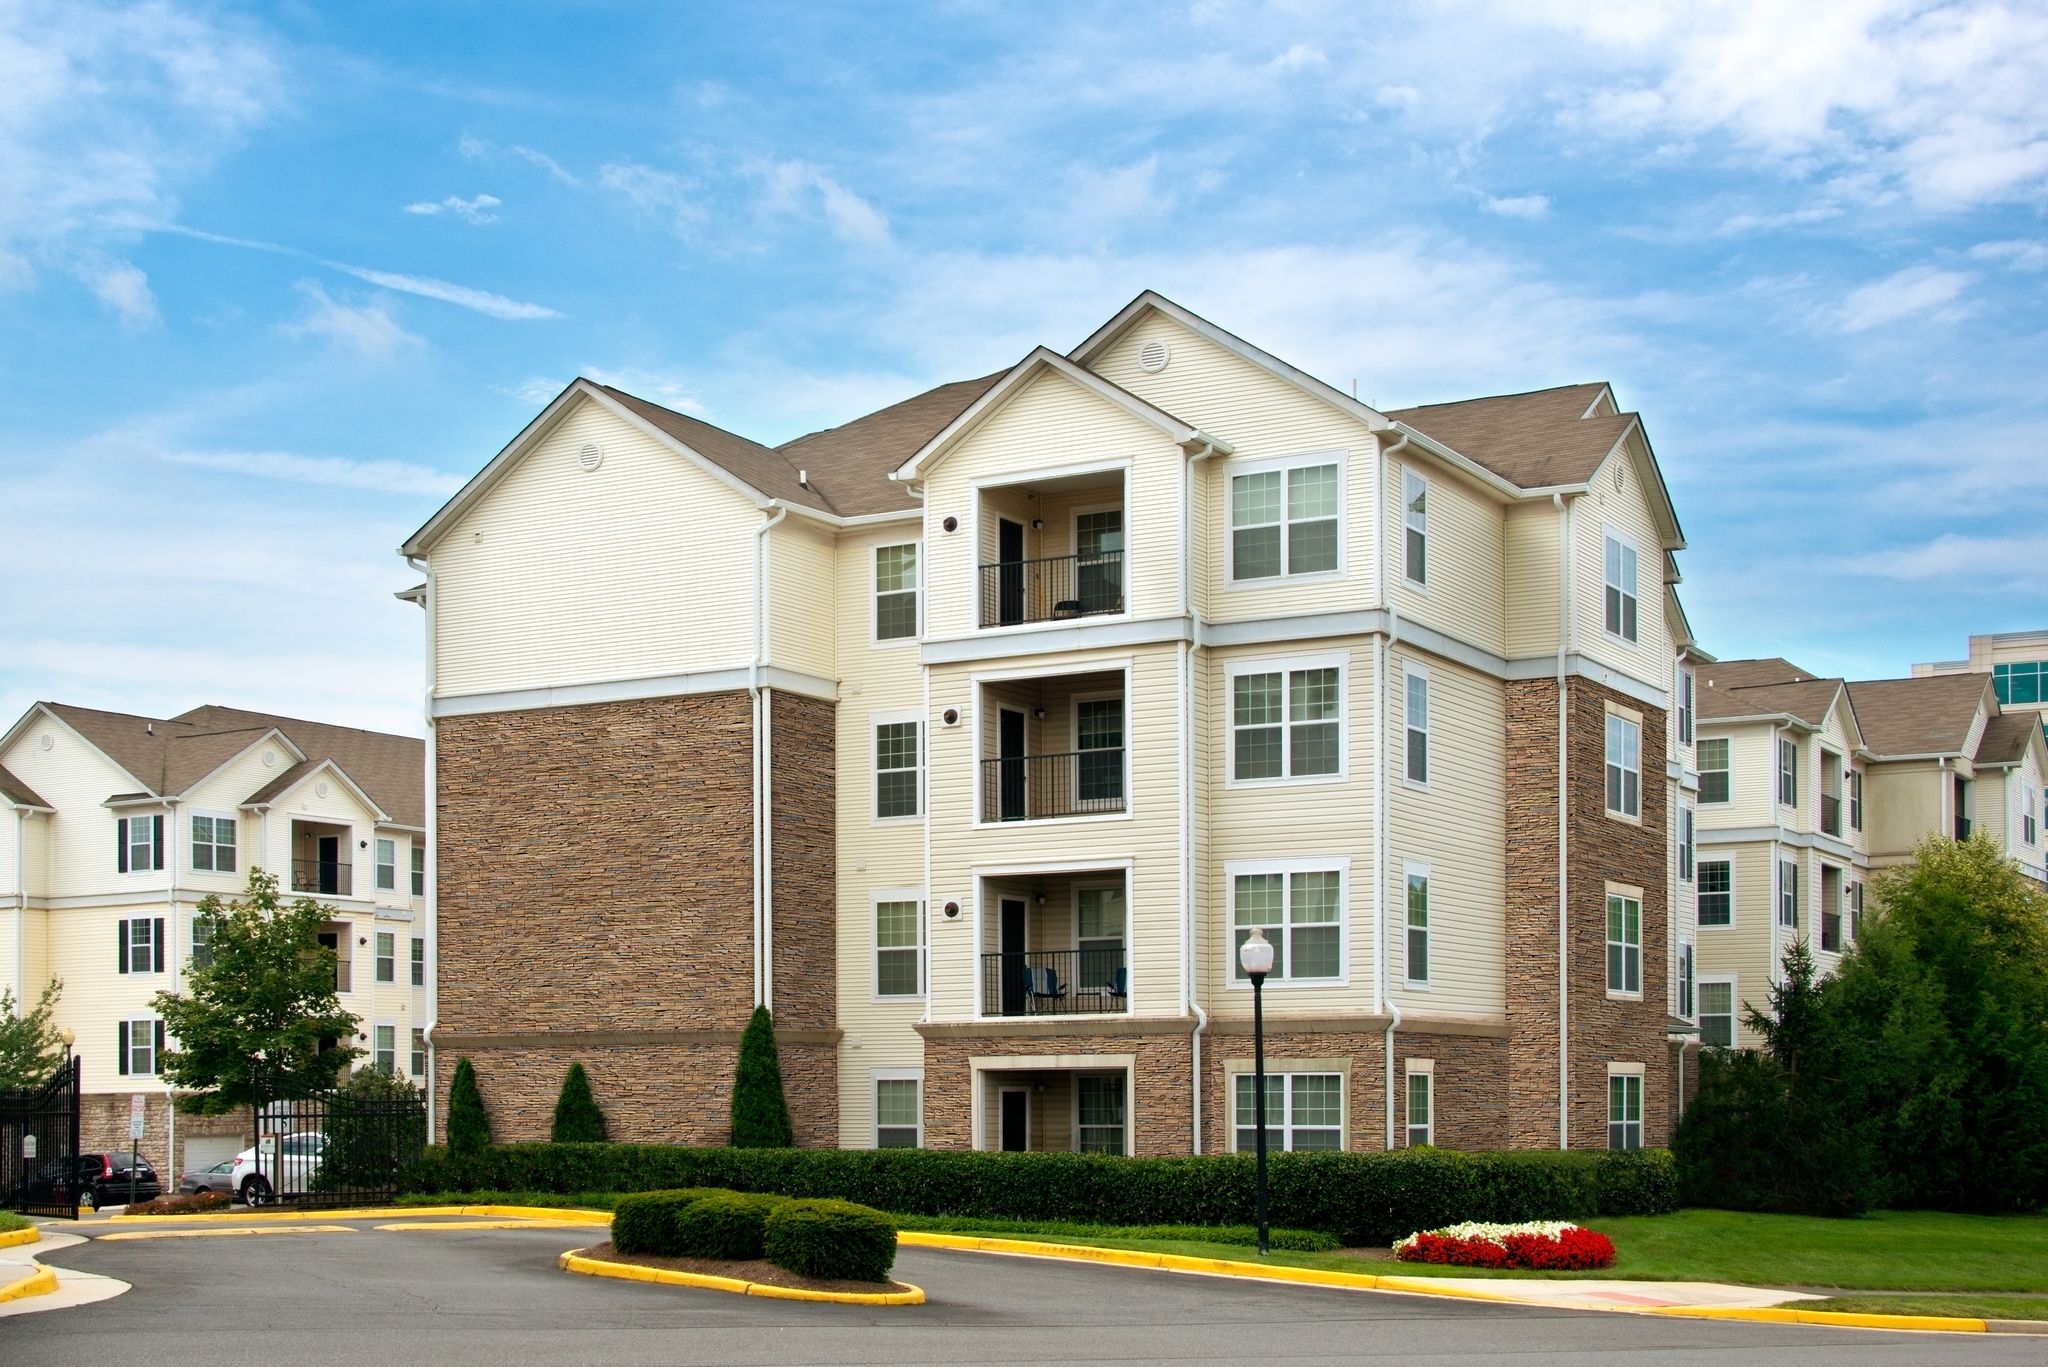
With ClipStone all it takes is simple common tools, to add the beauty of stone veneer to any project.
Intelligently designed for fast and easy installation ClipStone is perfect for exterior or interior installation and can be installed in any weather conditions by contractors, remodelers or experienced DIYers.
It’s That Easy! ™
ClipStone Classic
No mortar, less mess. It’s That Easy! ™
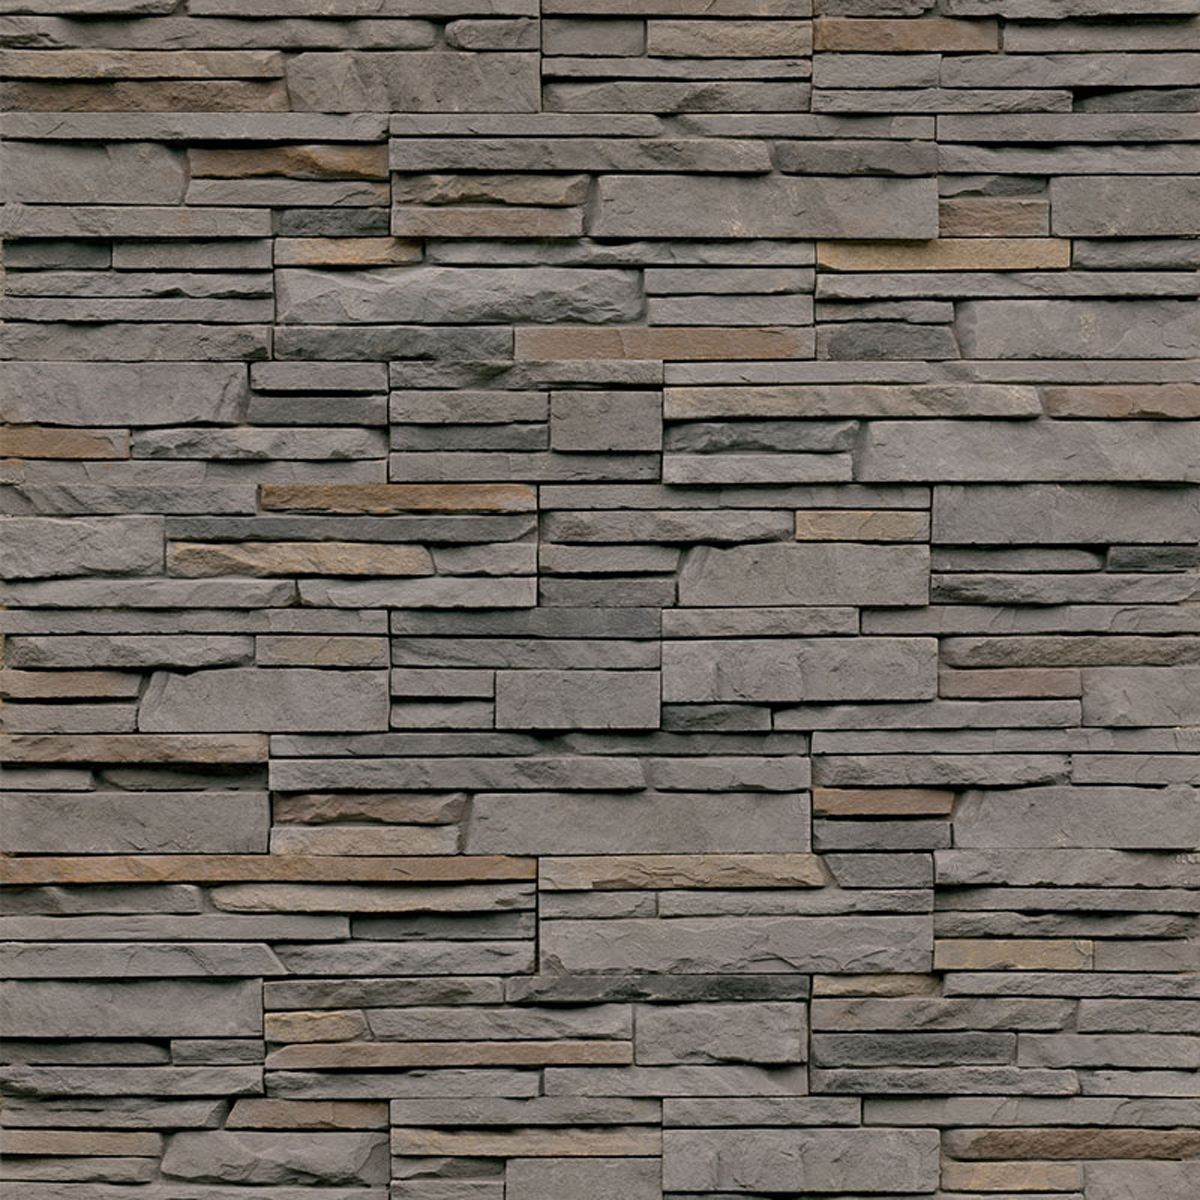
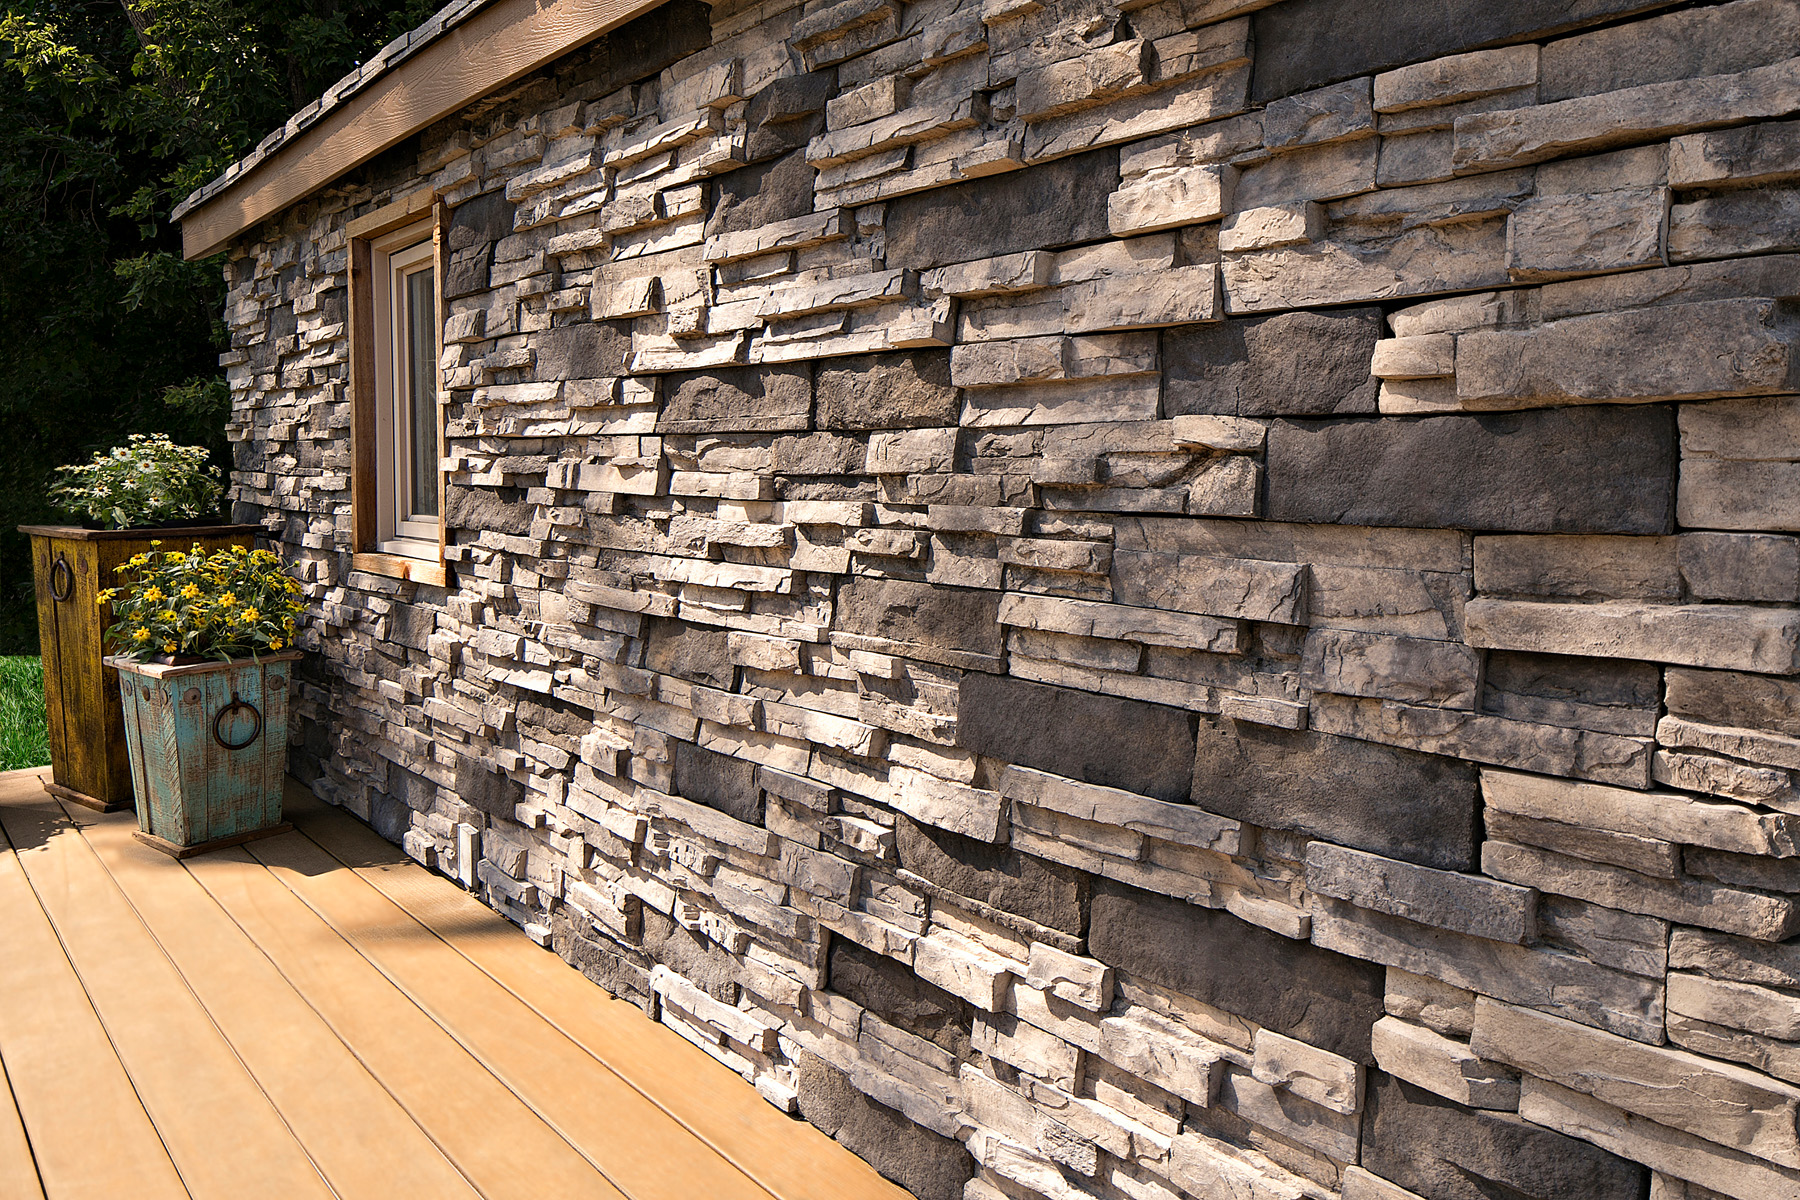
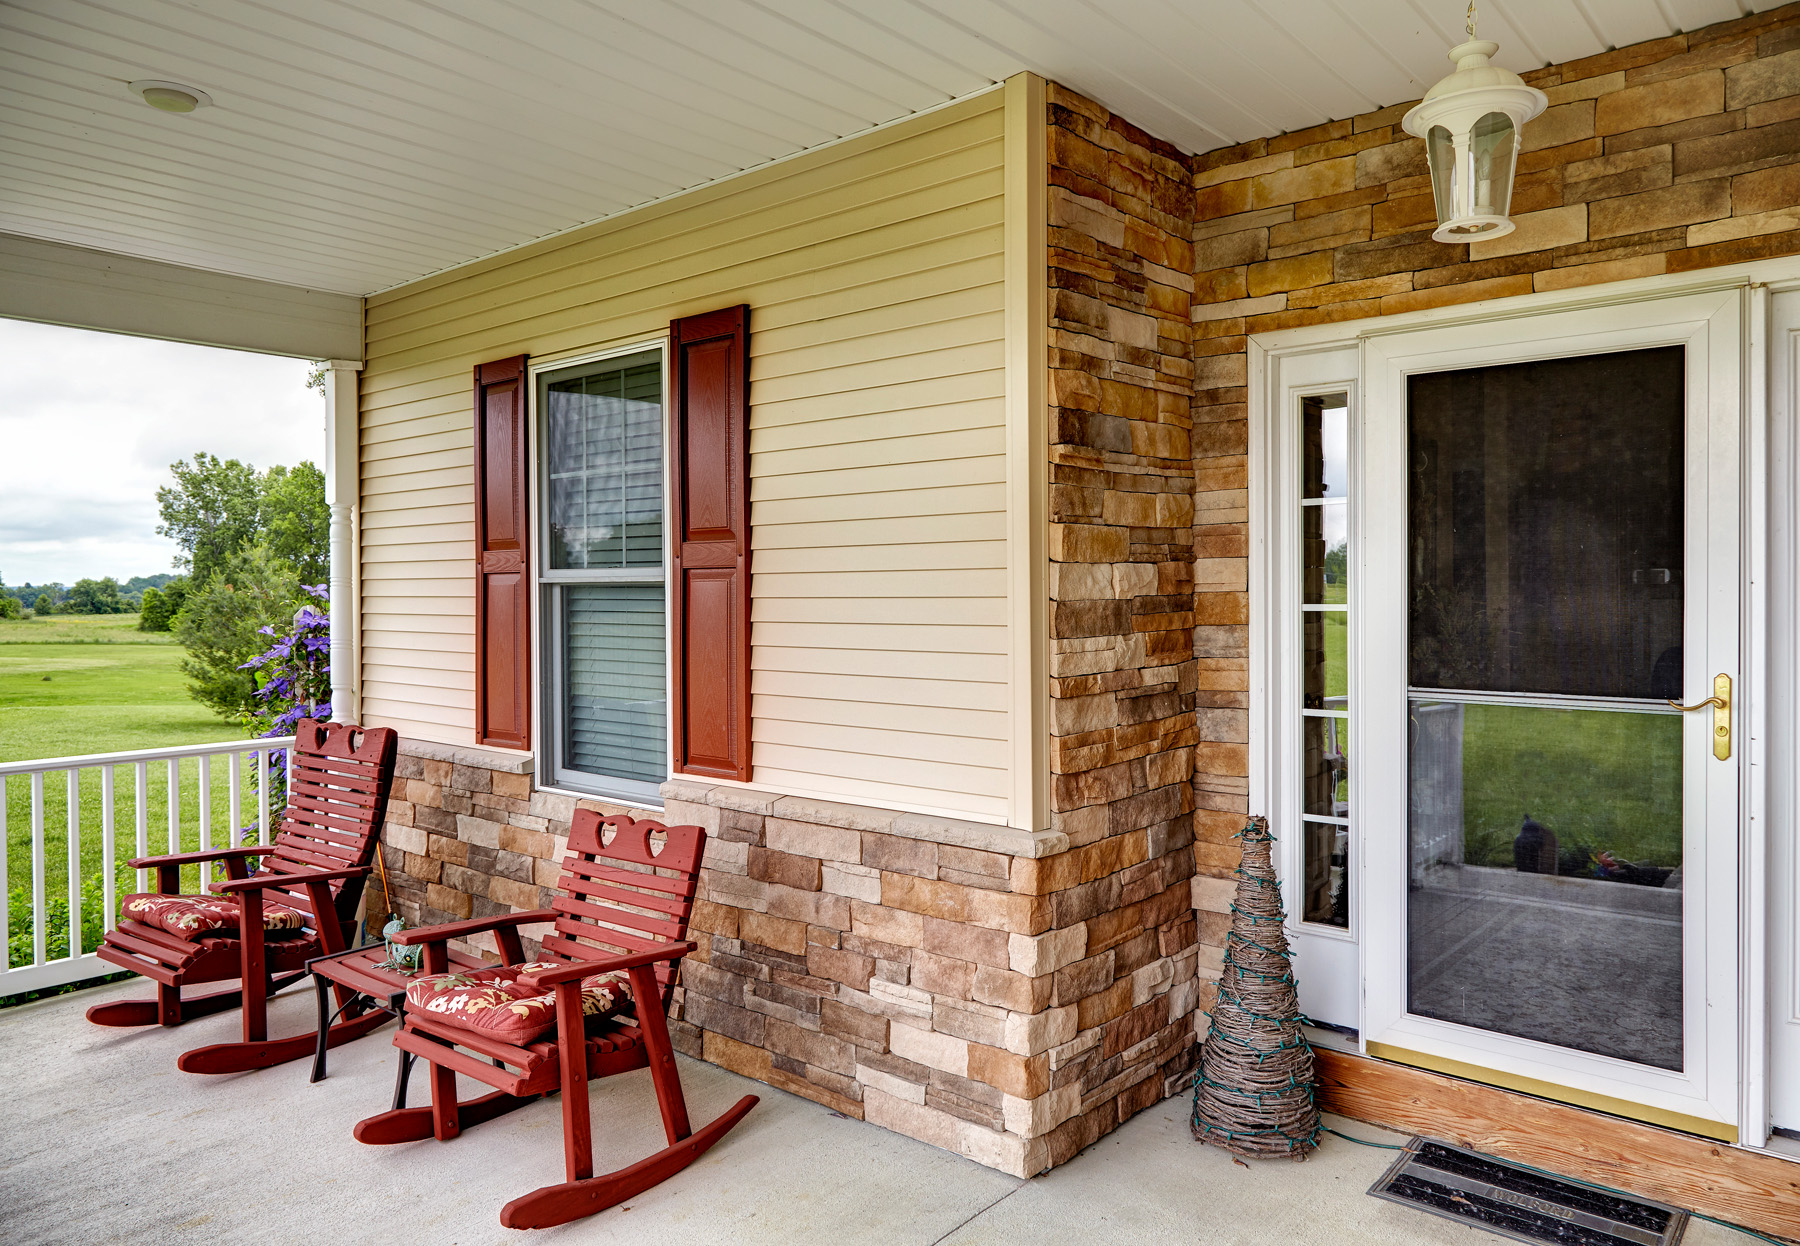
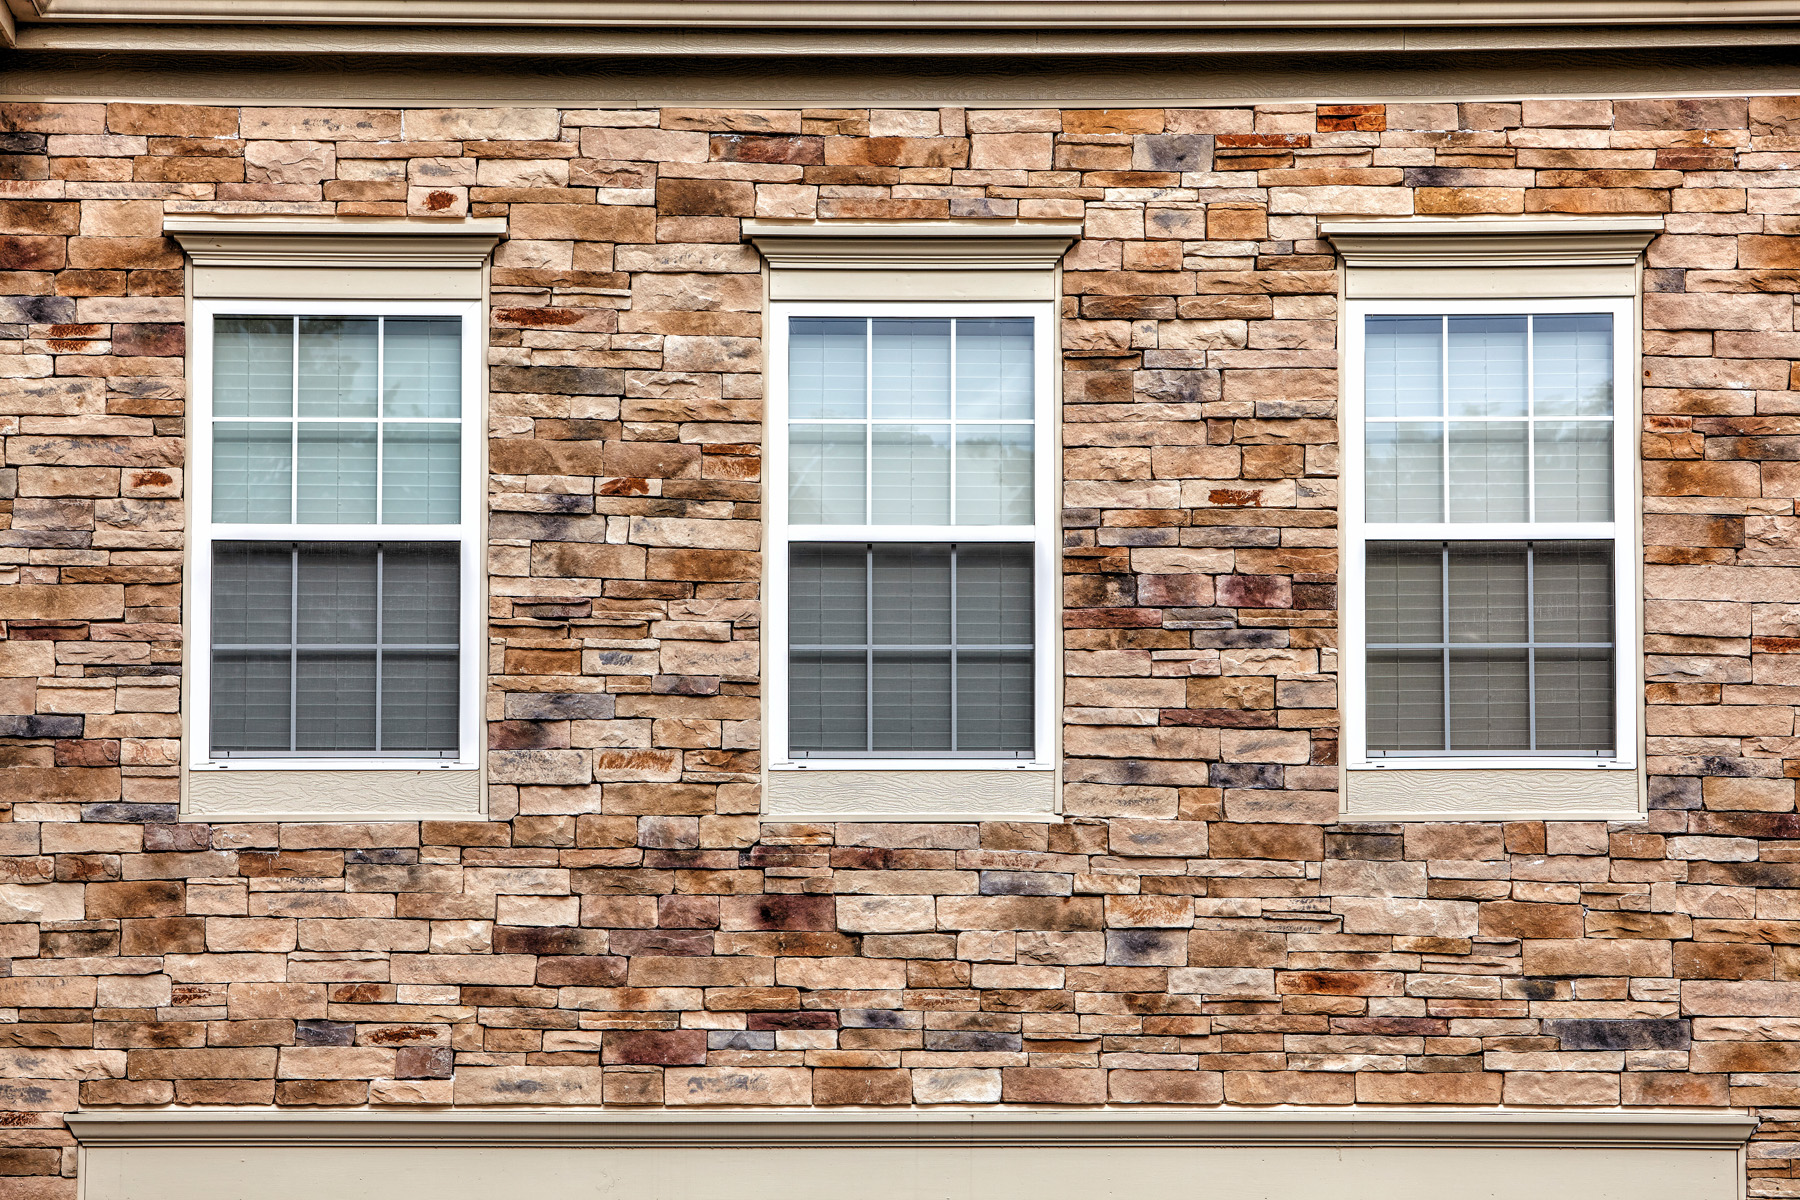
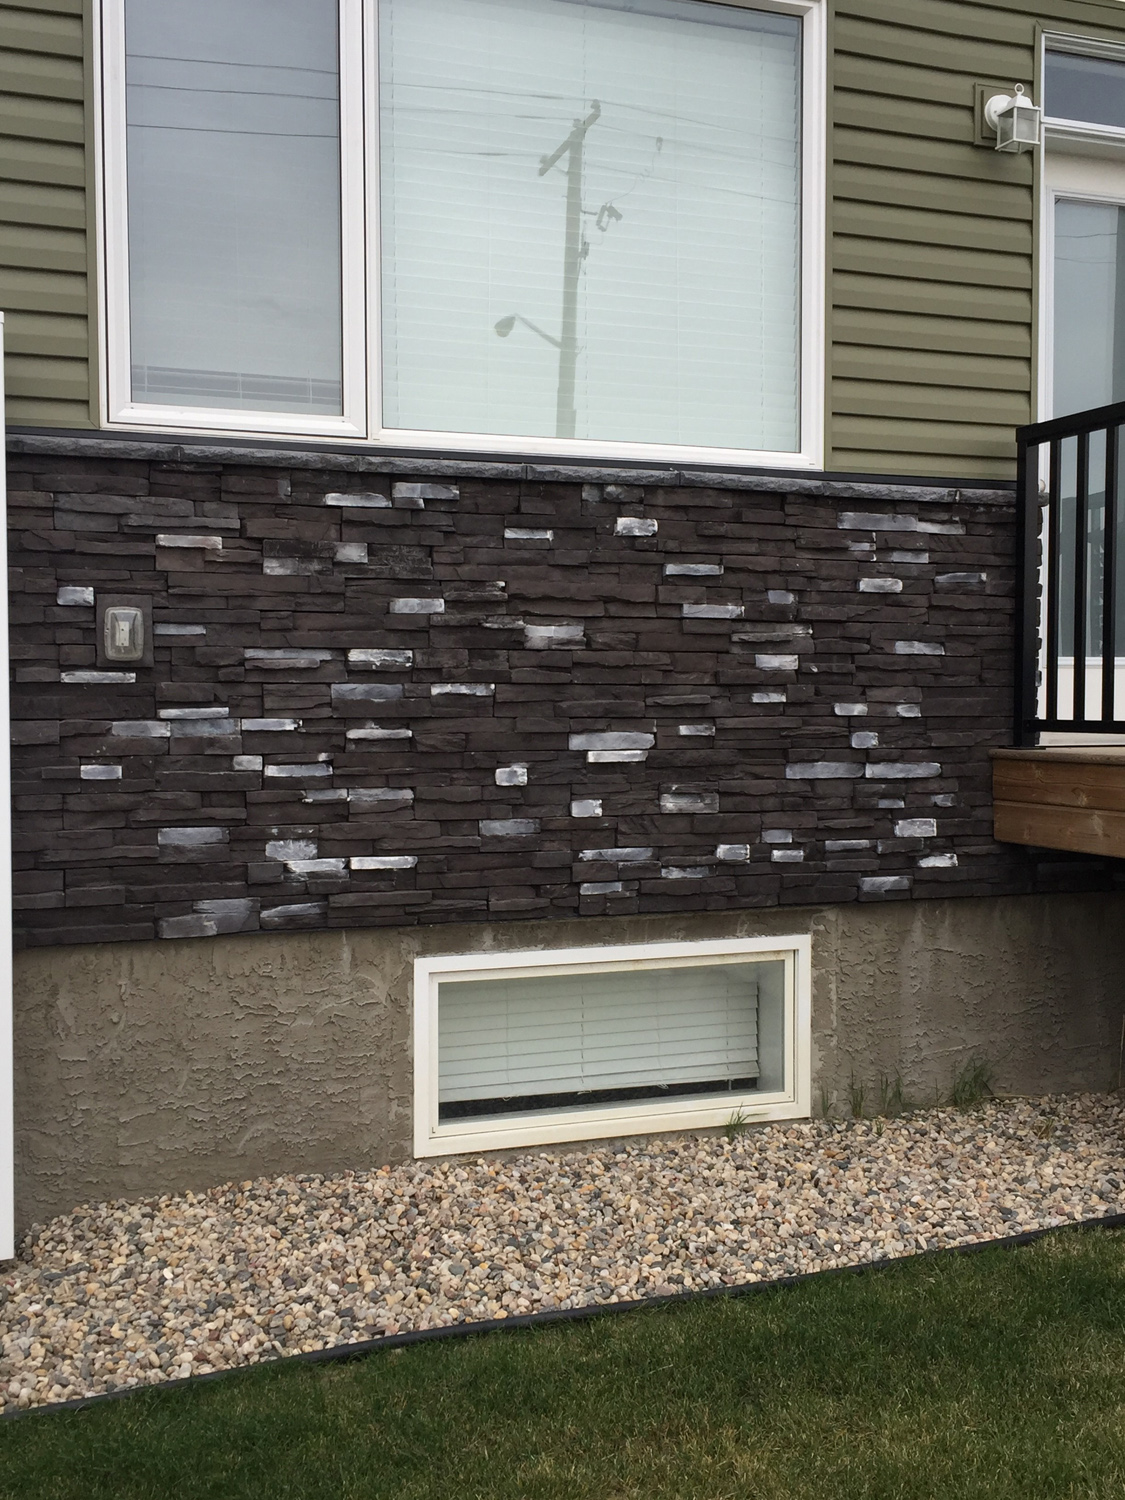
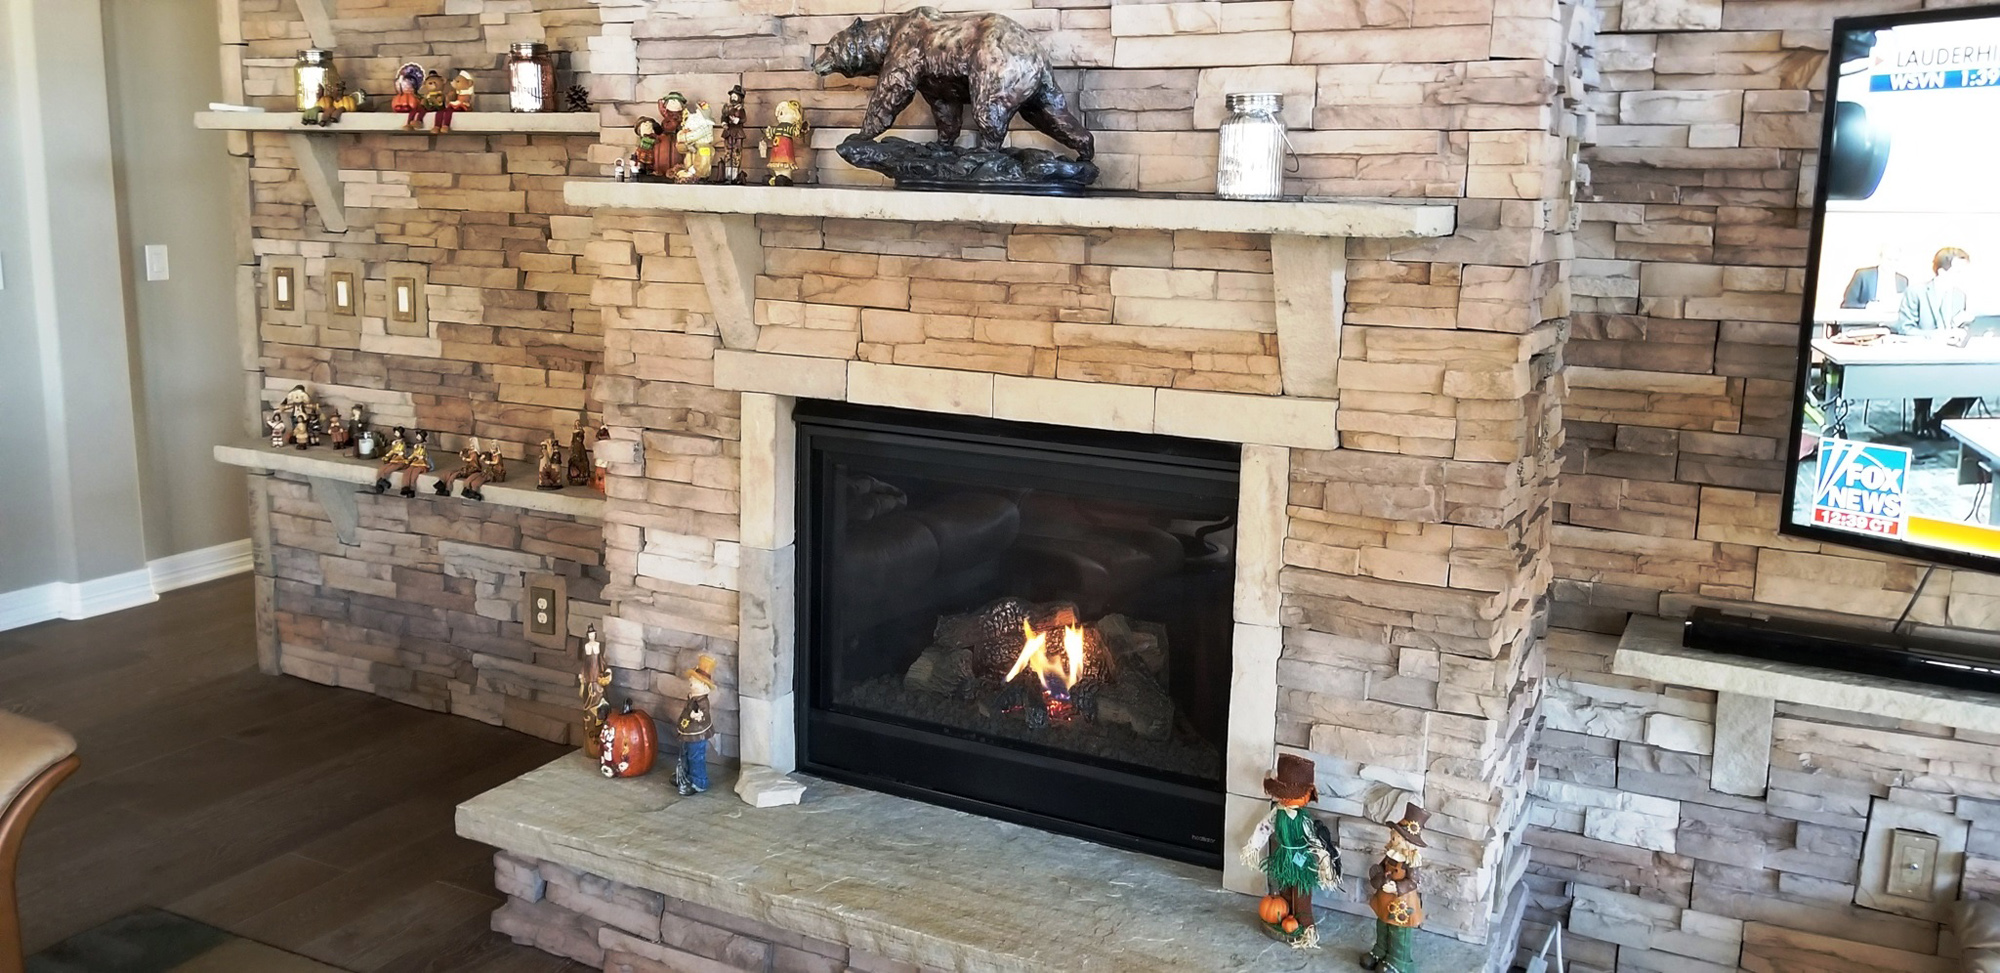
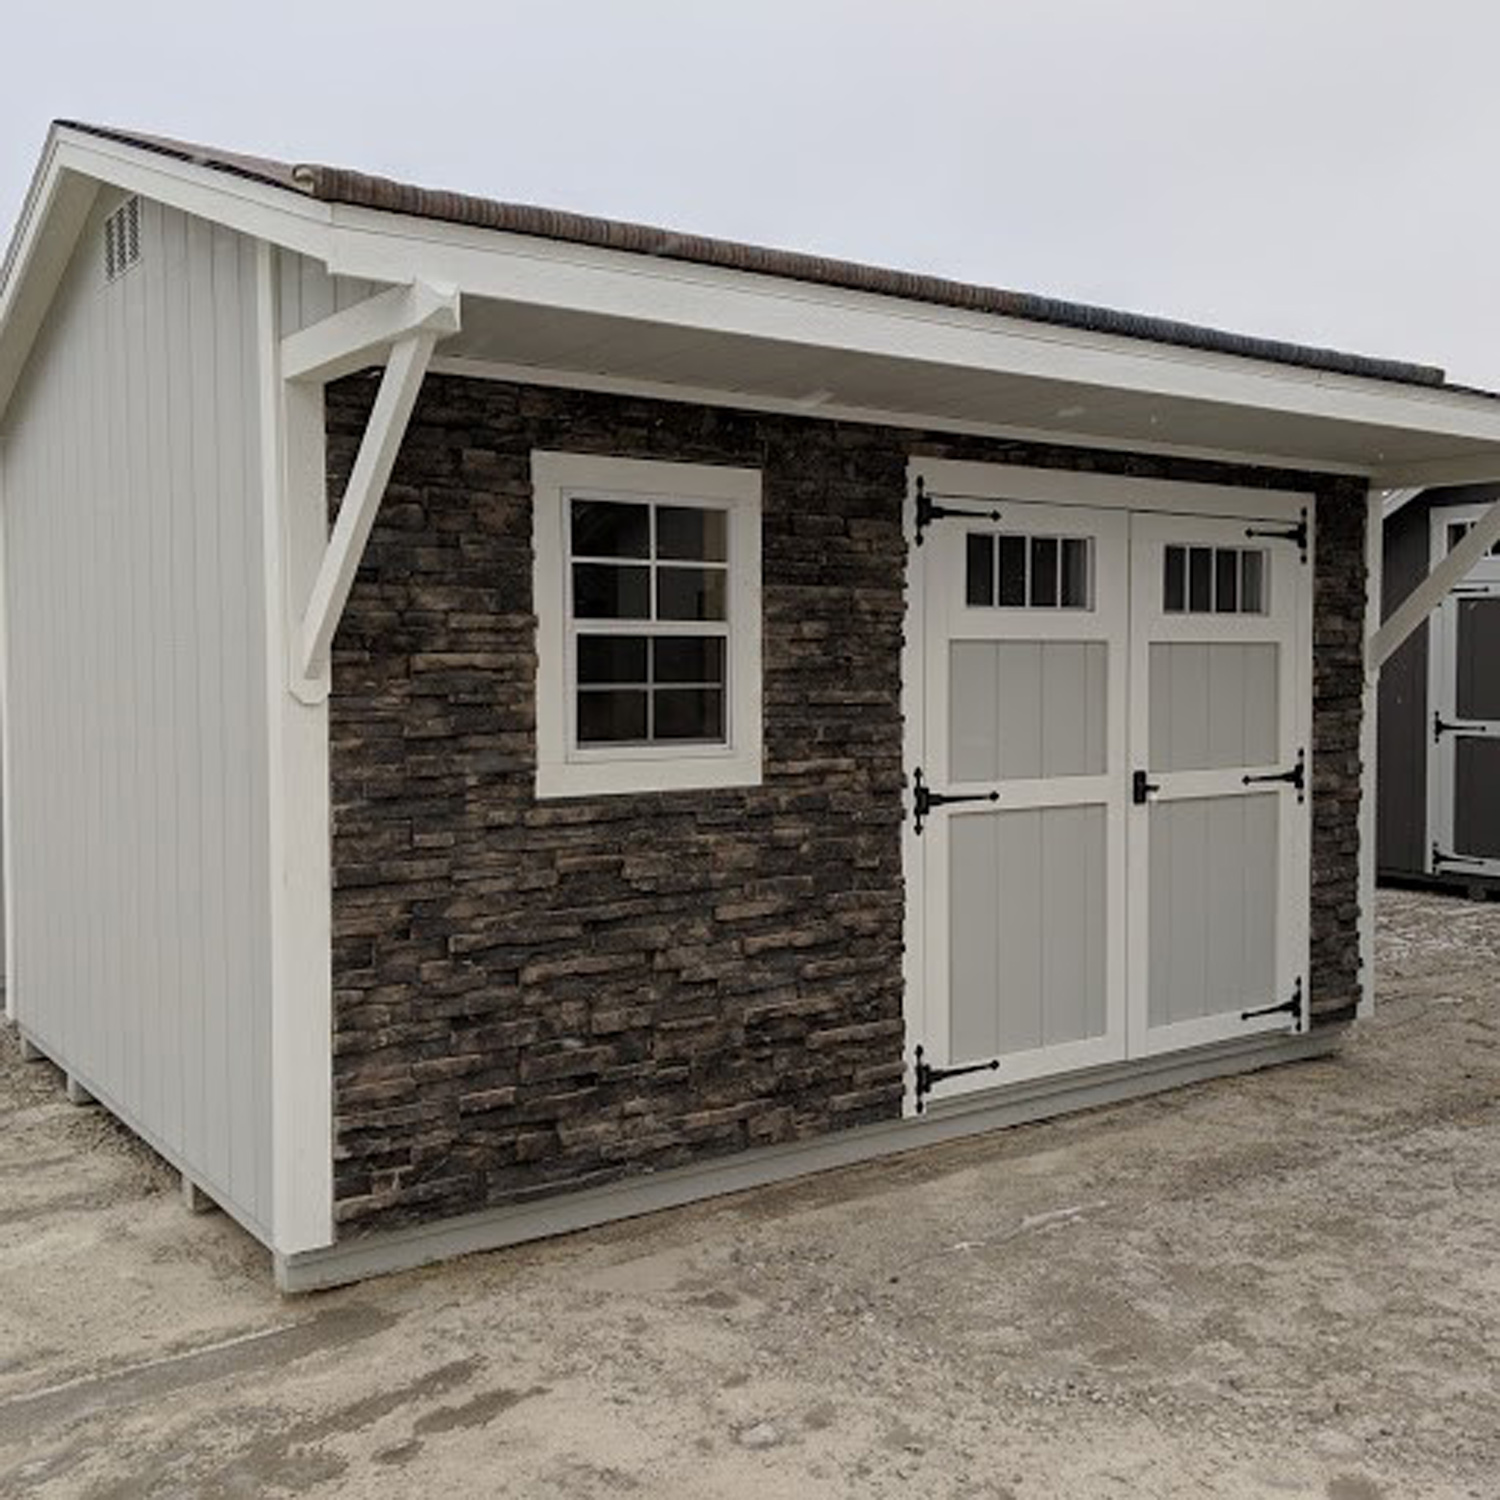
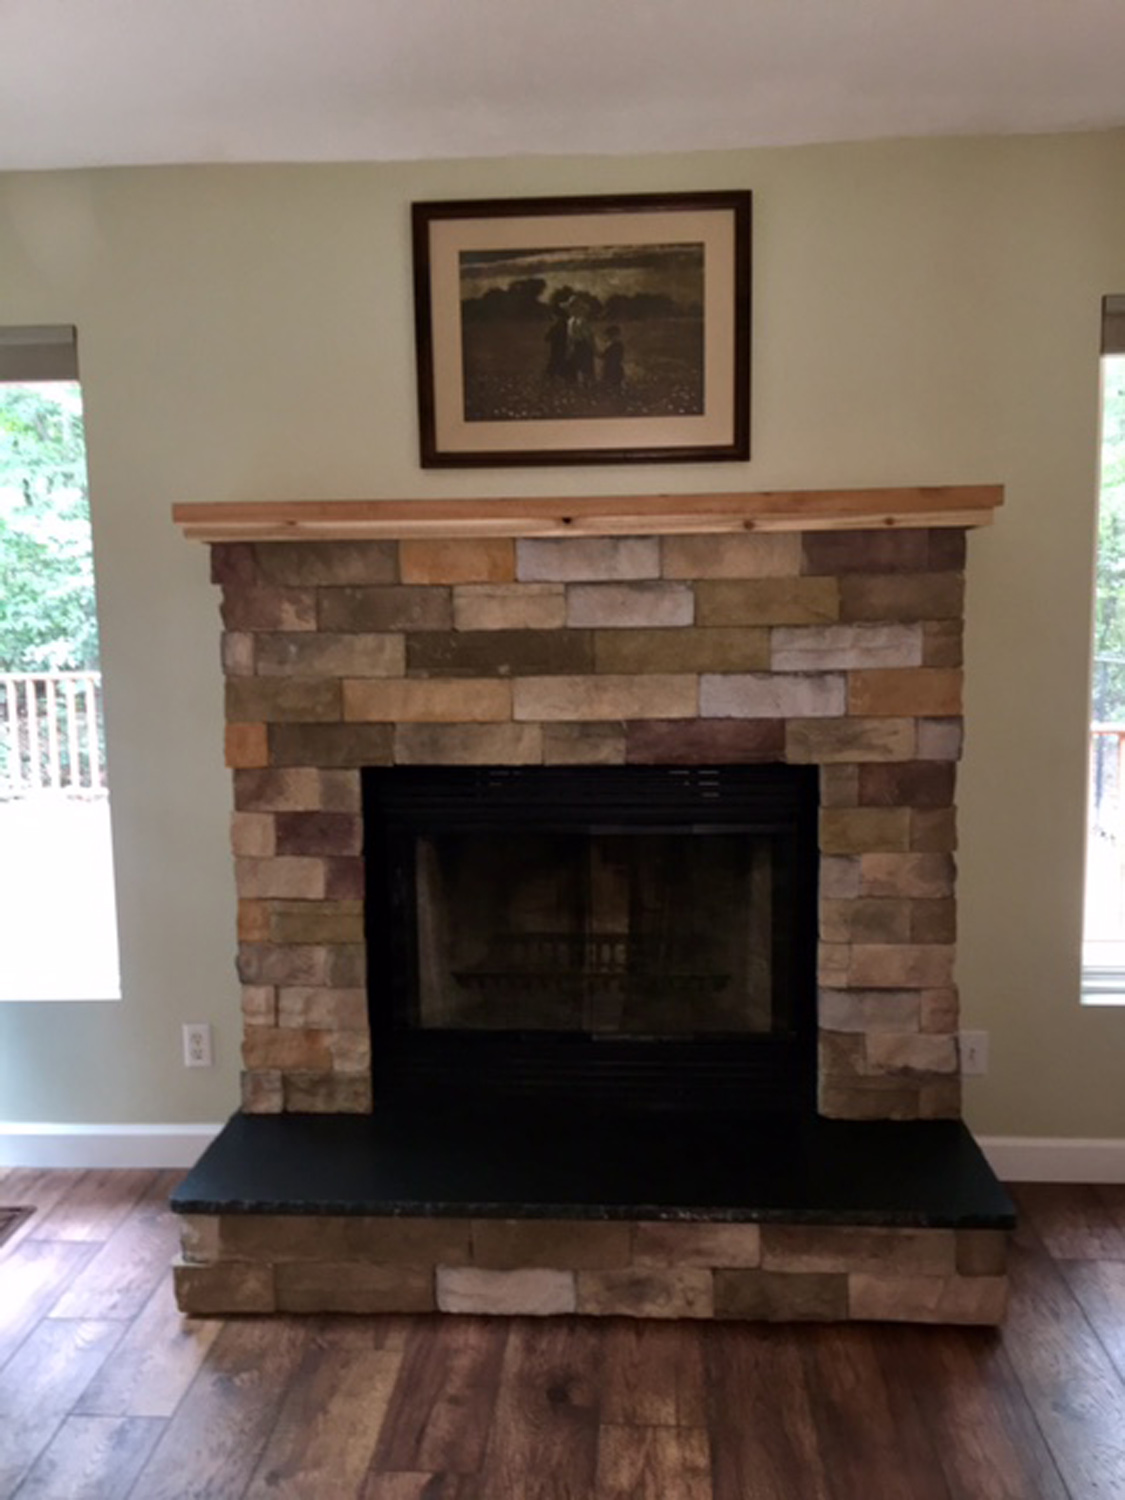
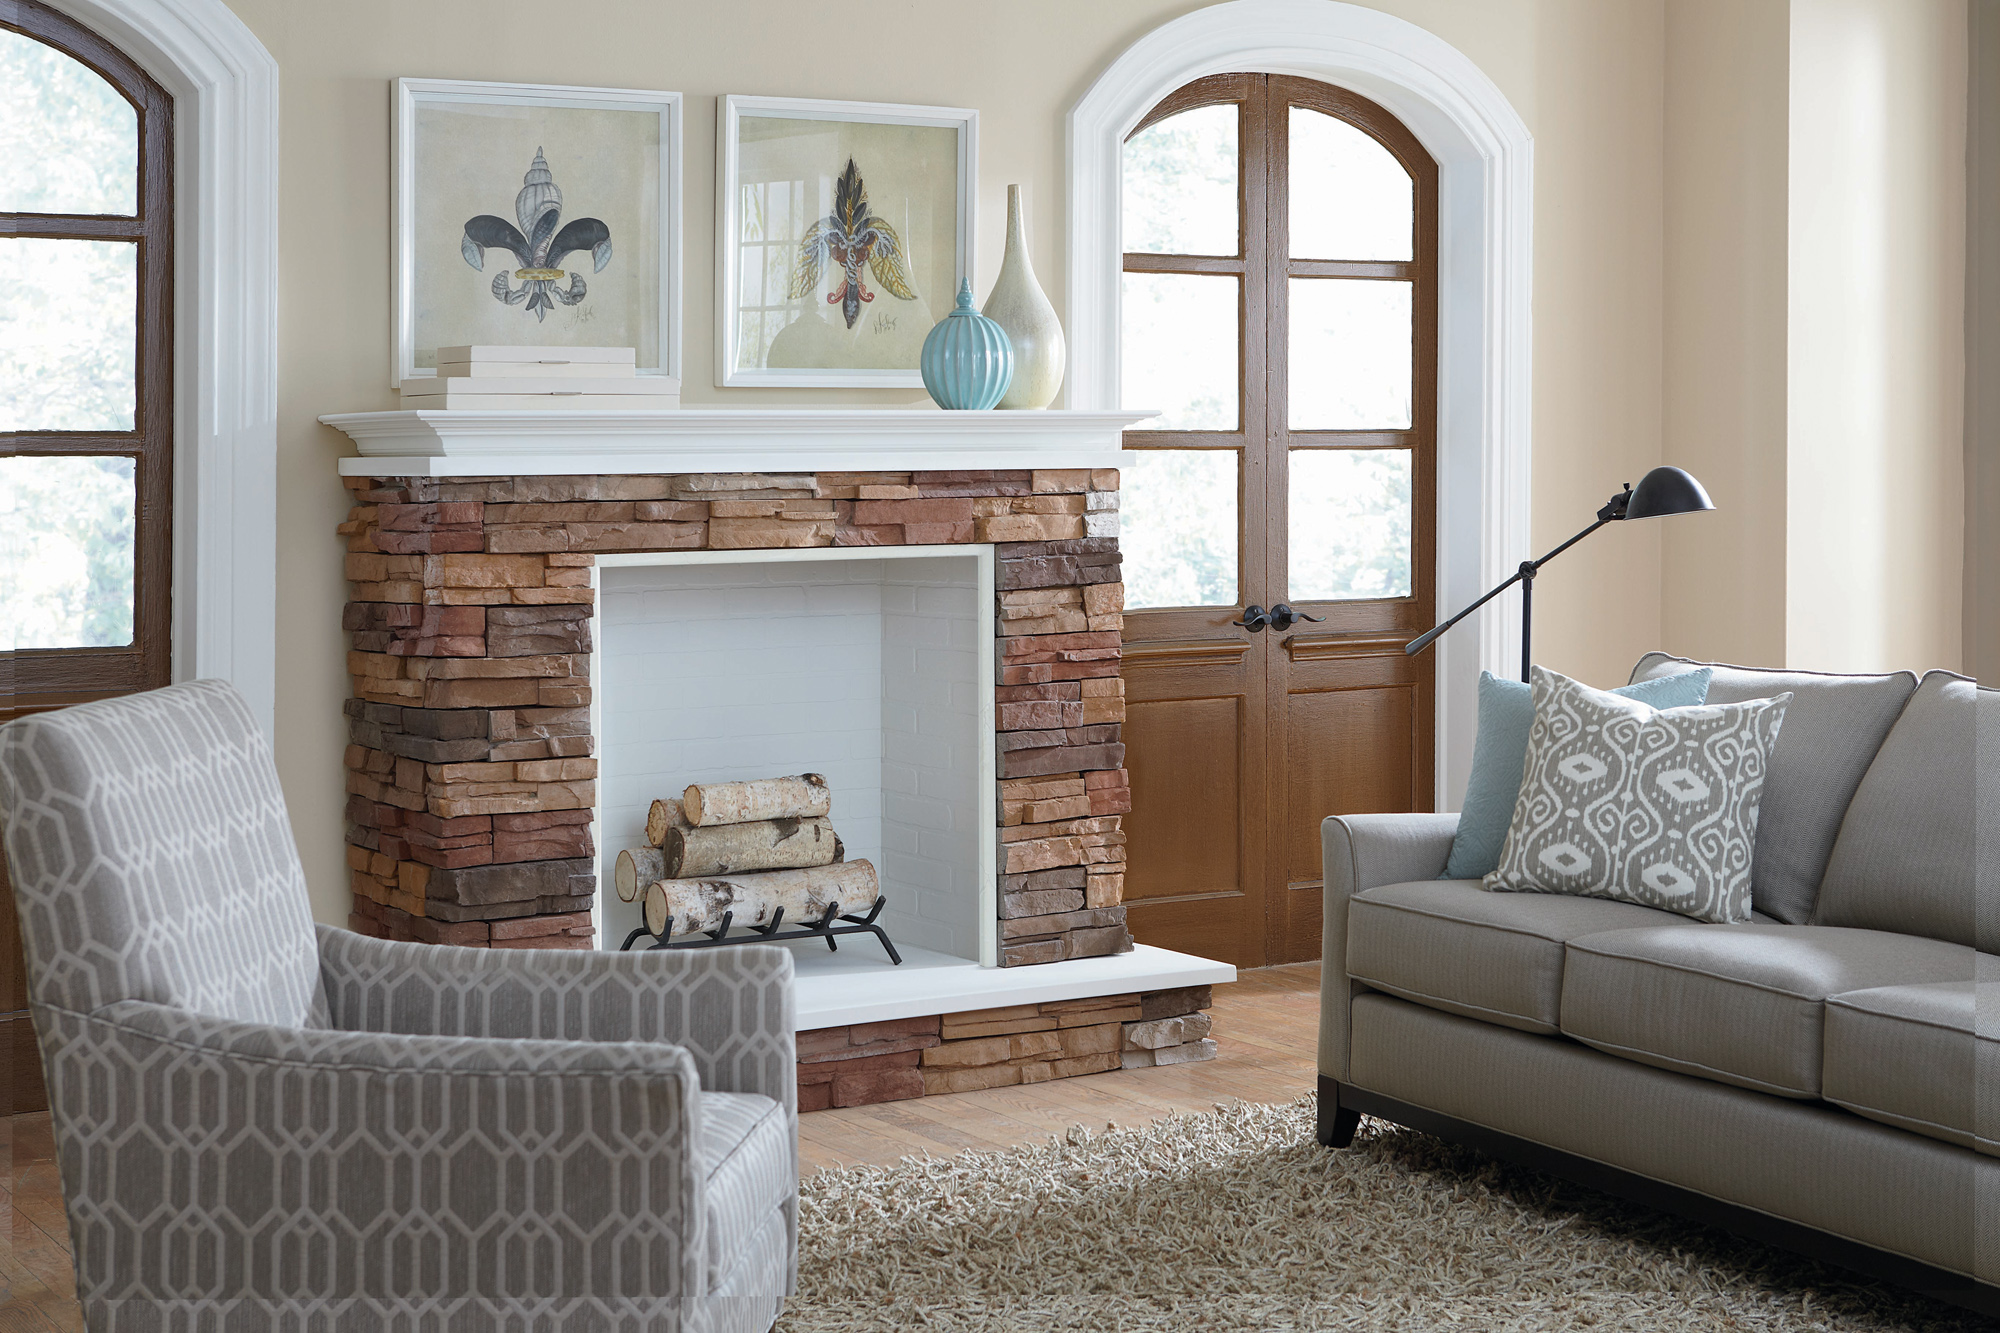
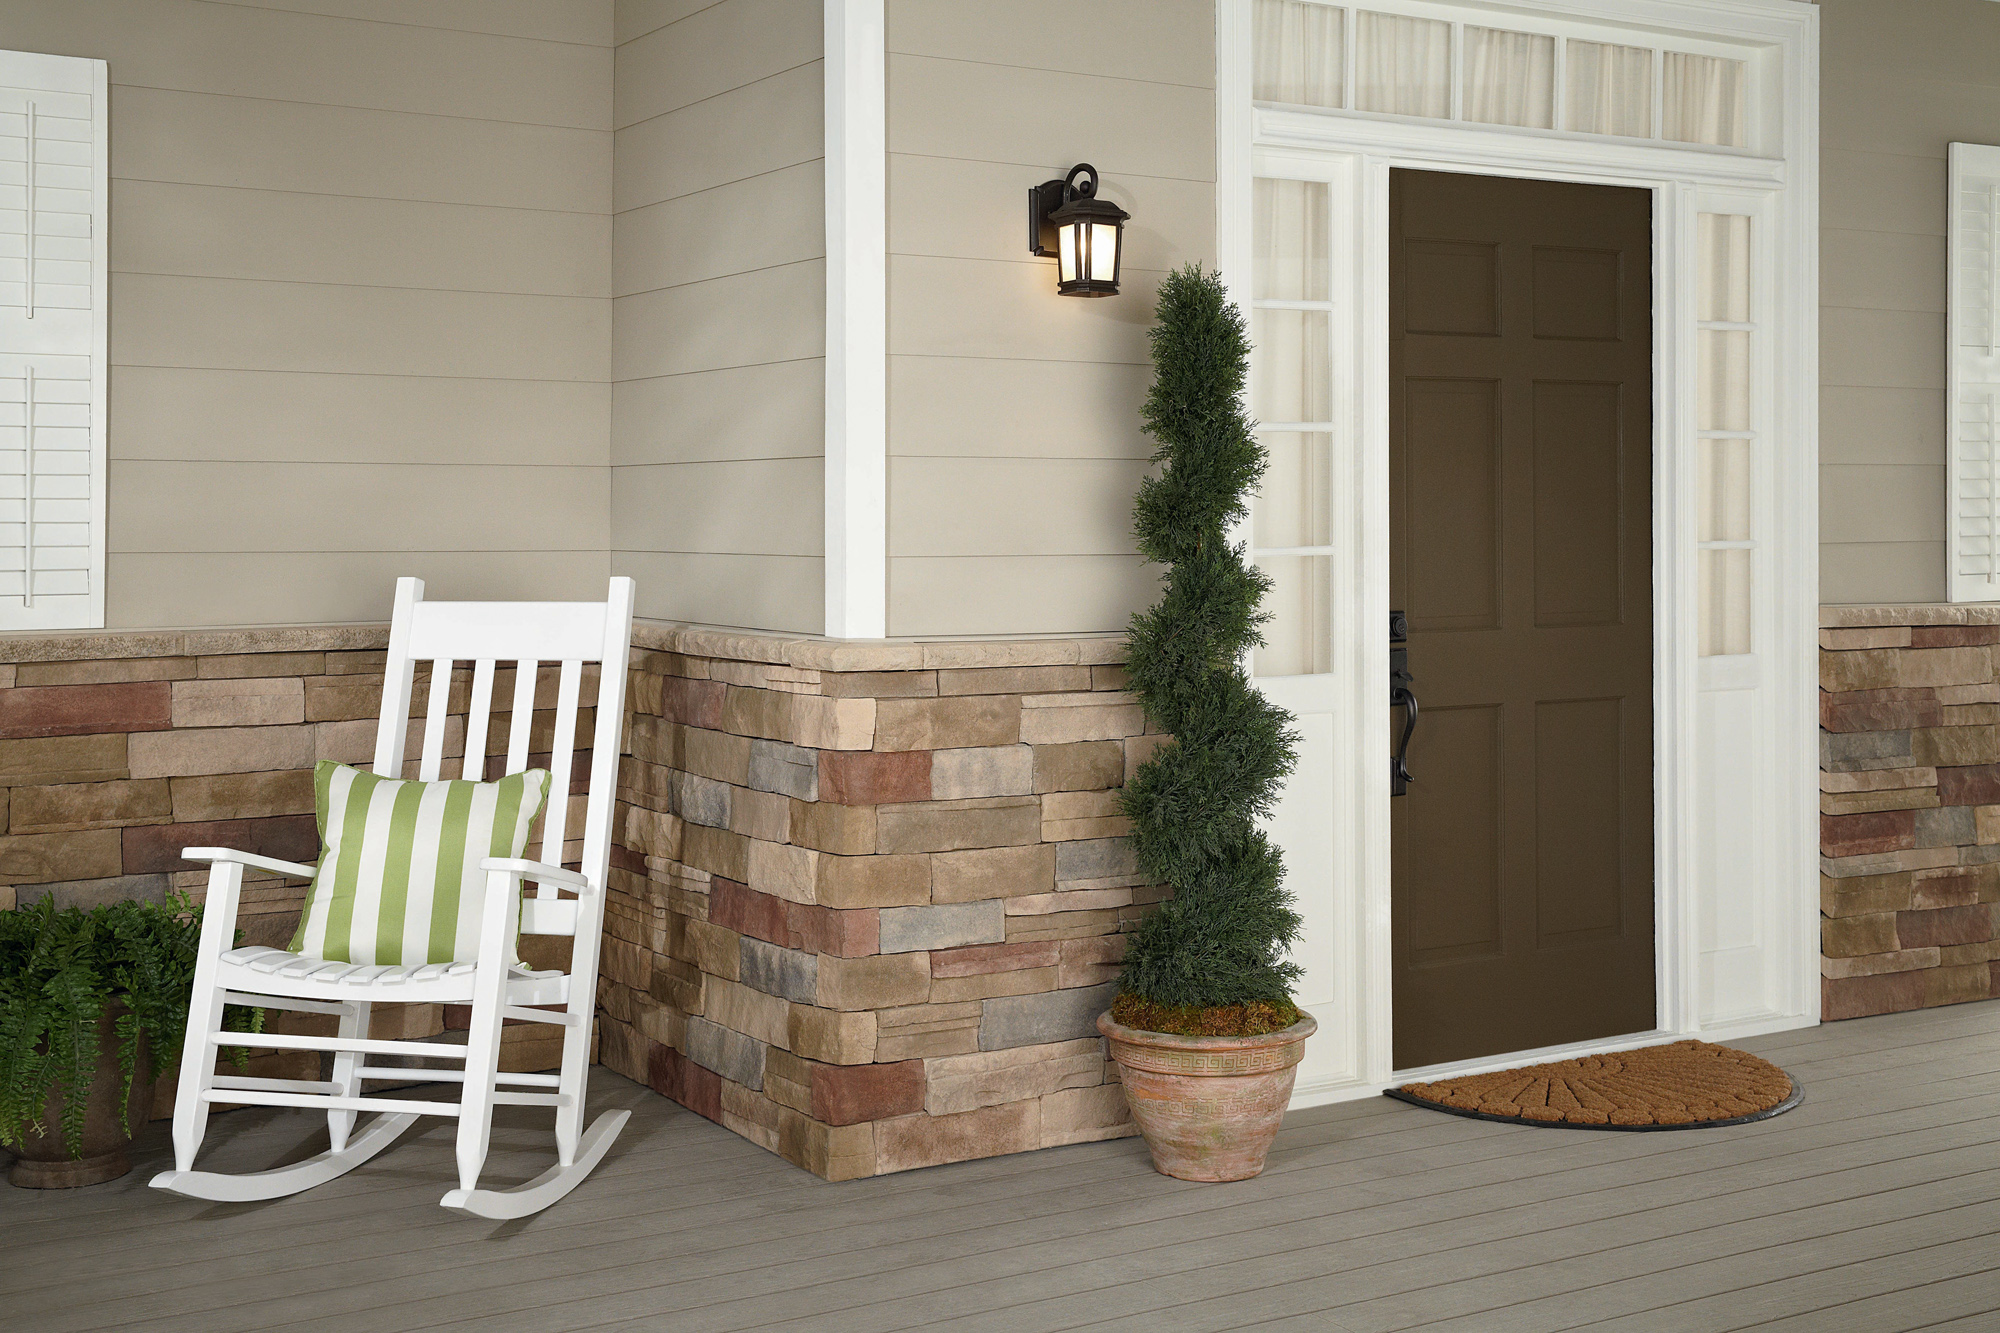
The ClipStone Classic series installs one stone at a time for a traditional stone veneer look with an unparalleled aesthetic. Individual stones provide maximum design flexibility for any size project.
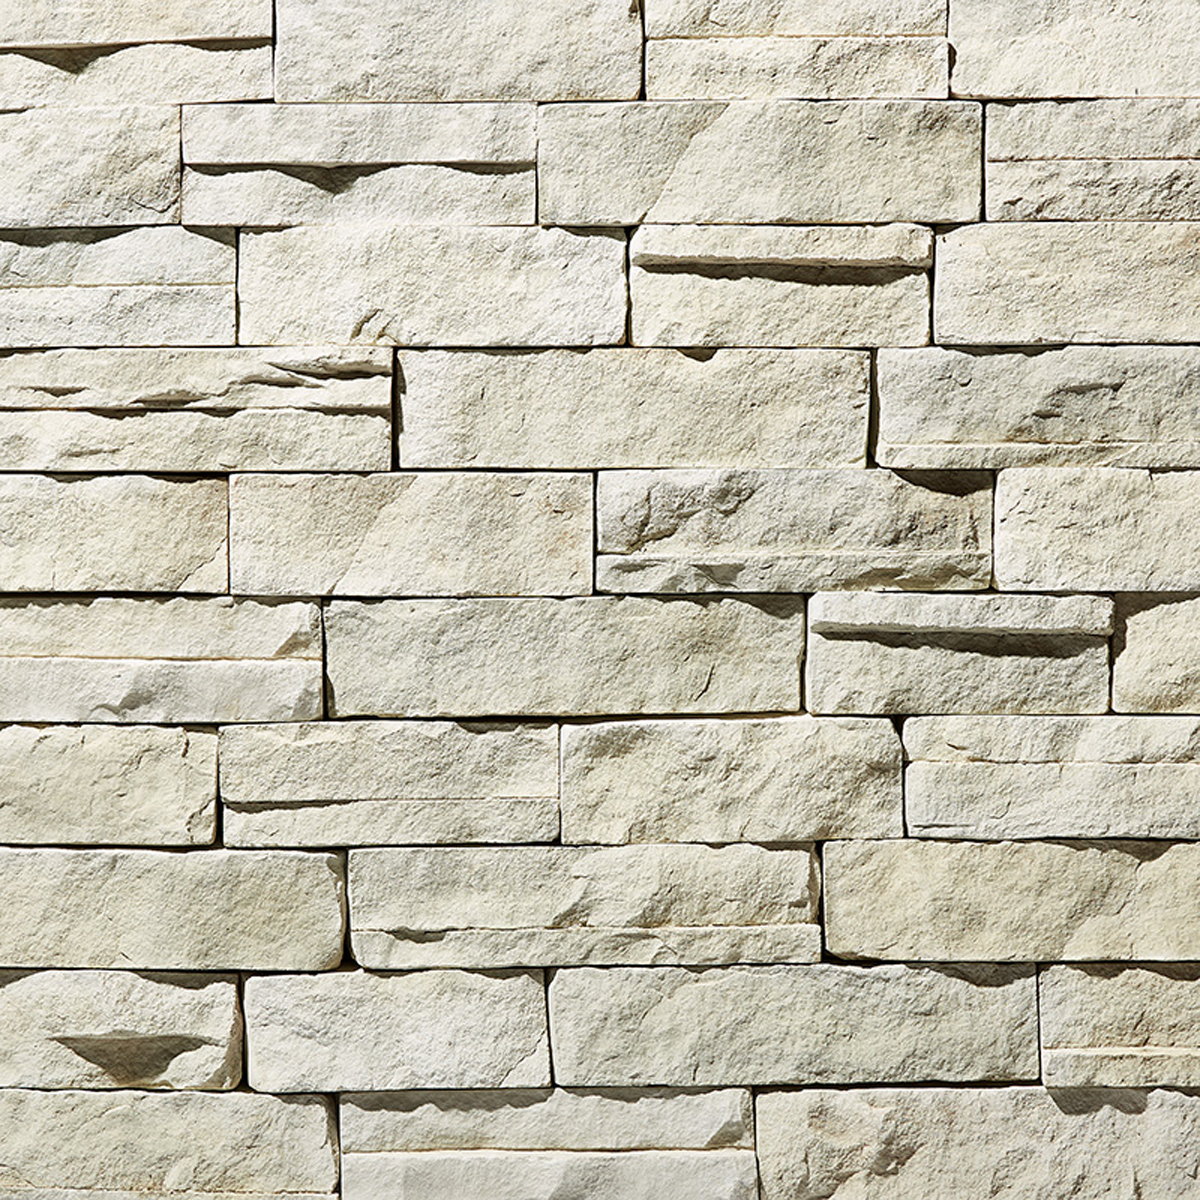
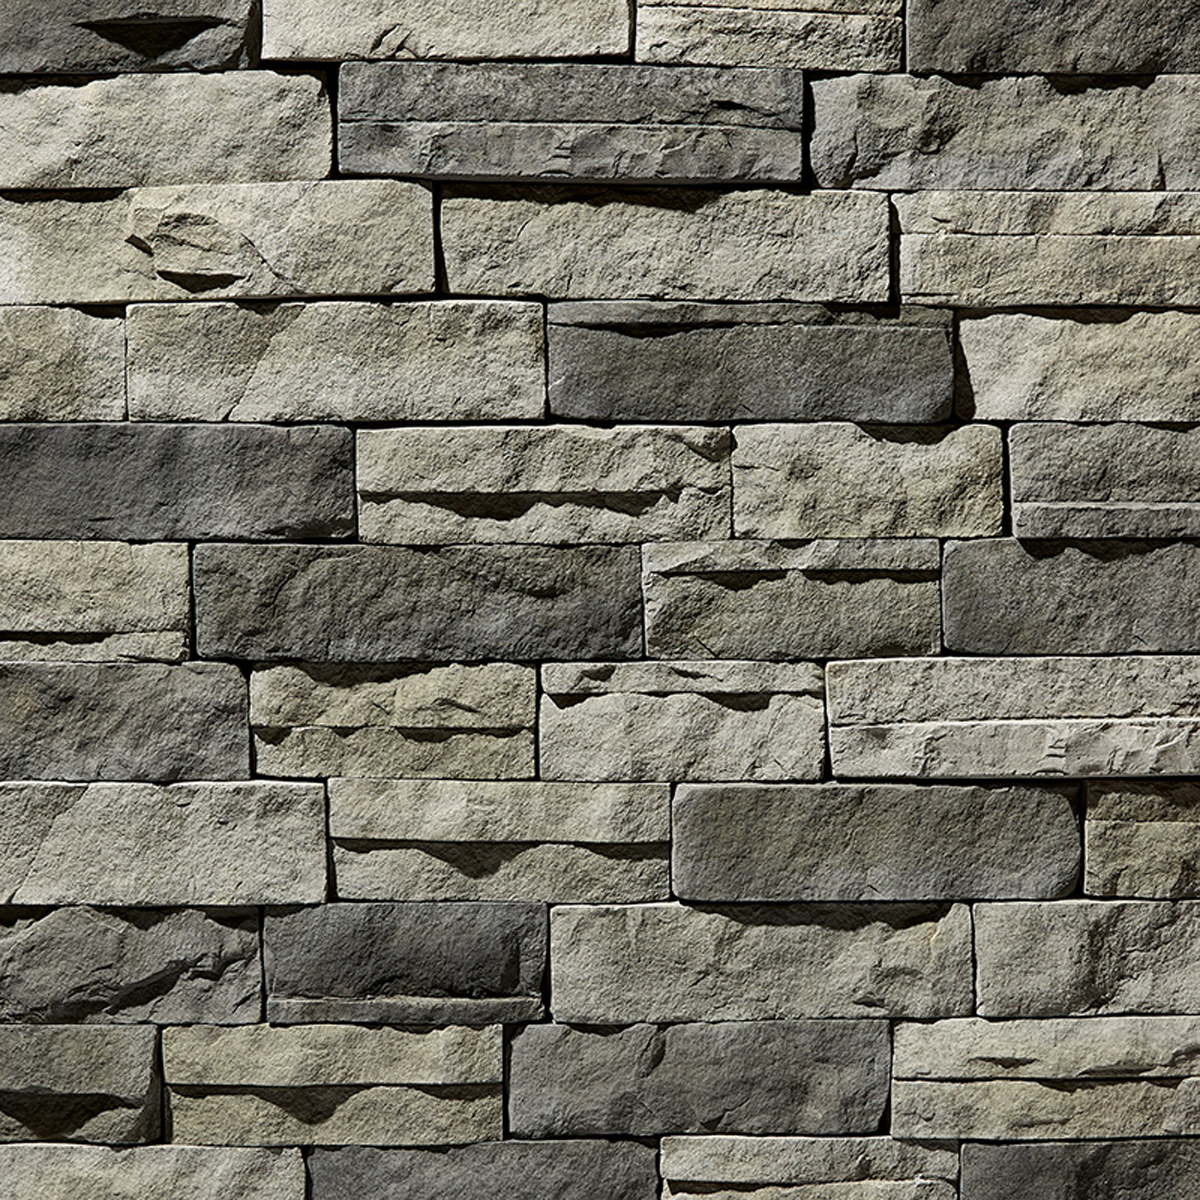
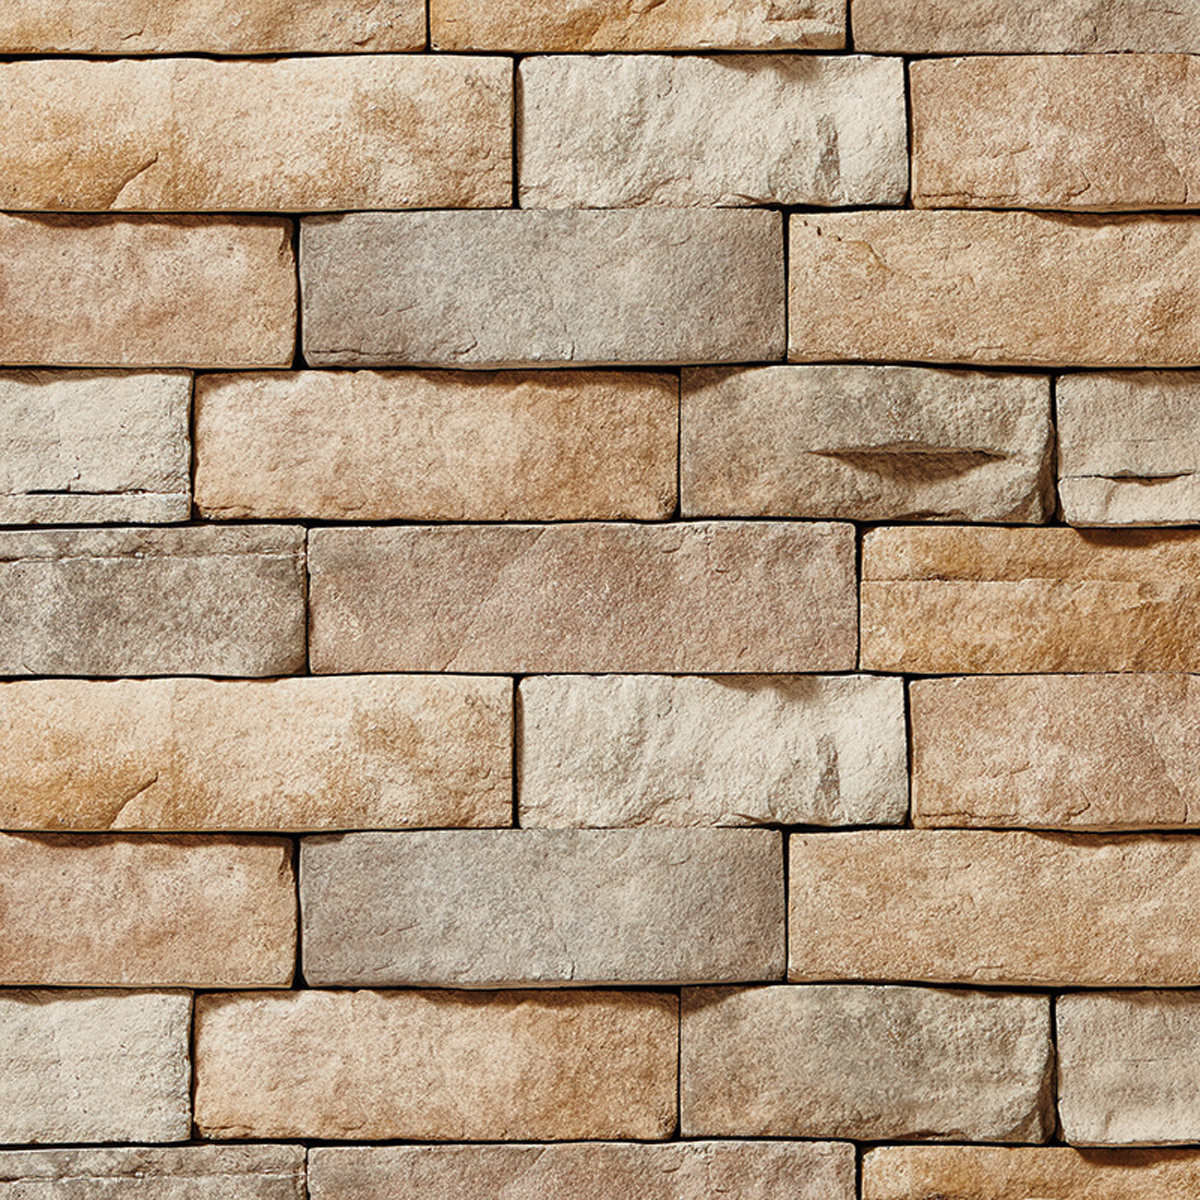
Available in Ledgestone and ProStack profile options with a variety of color options.
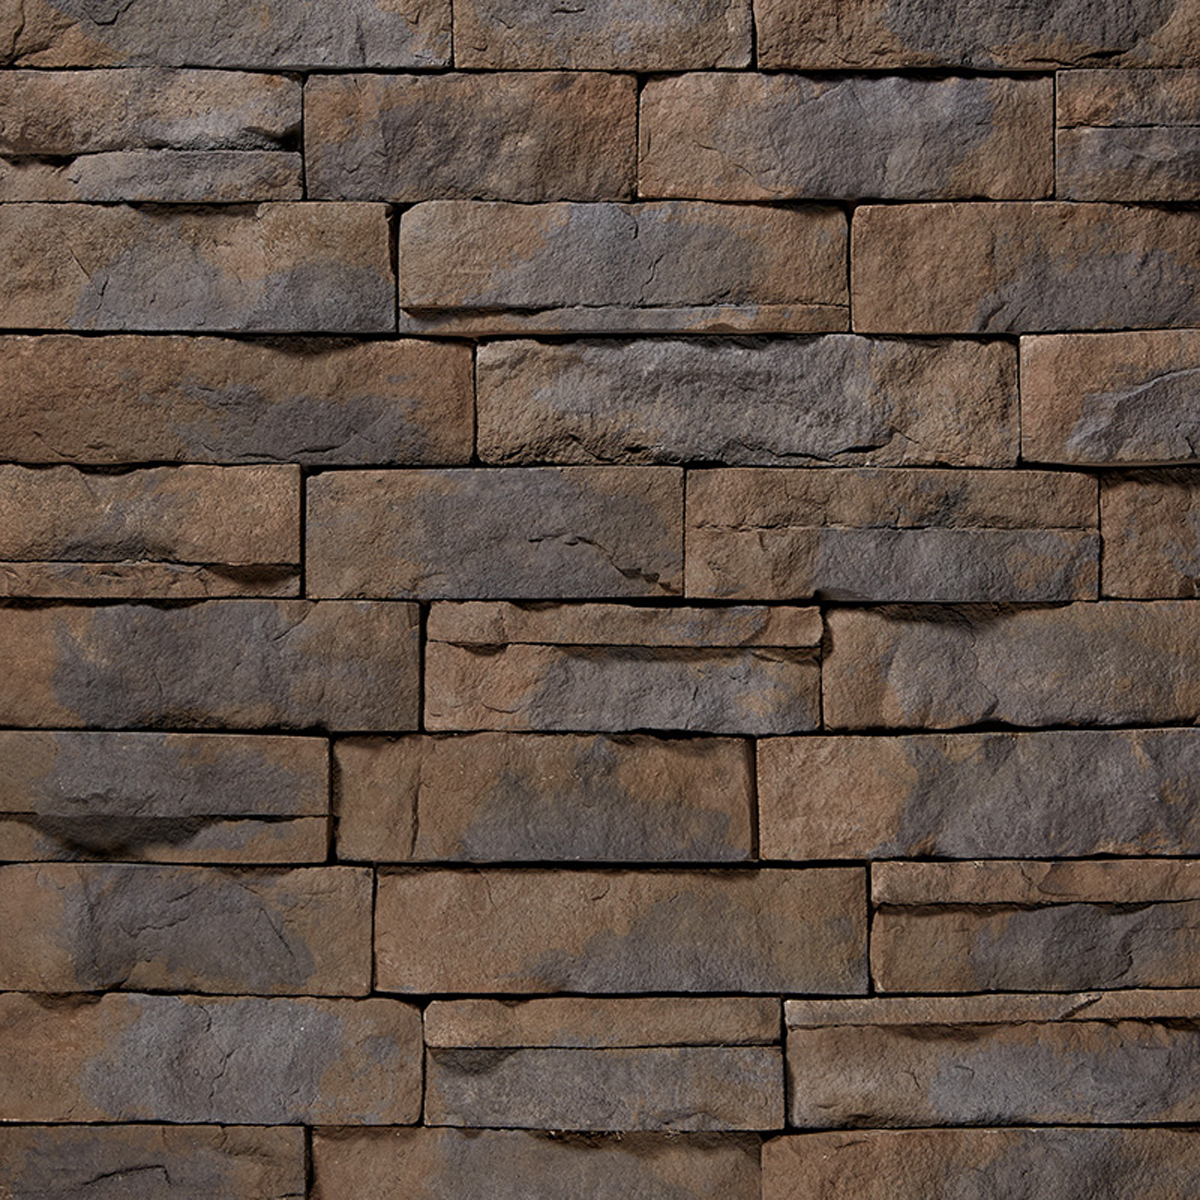
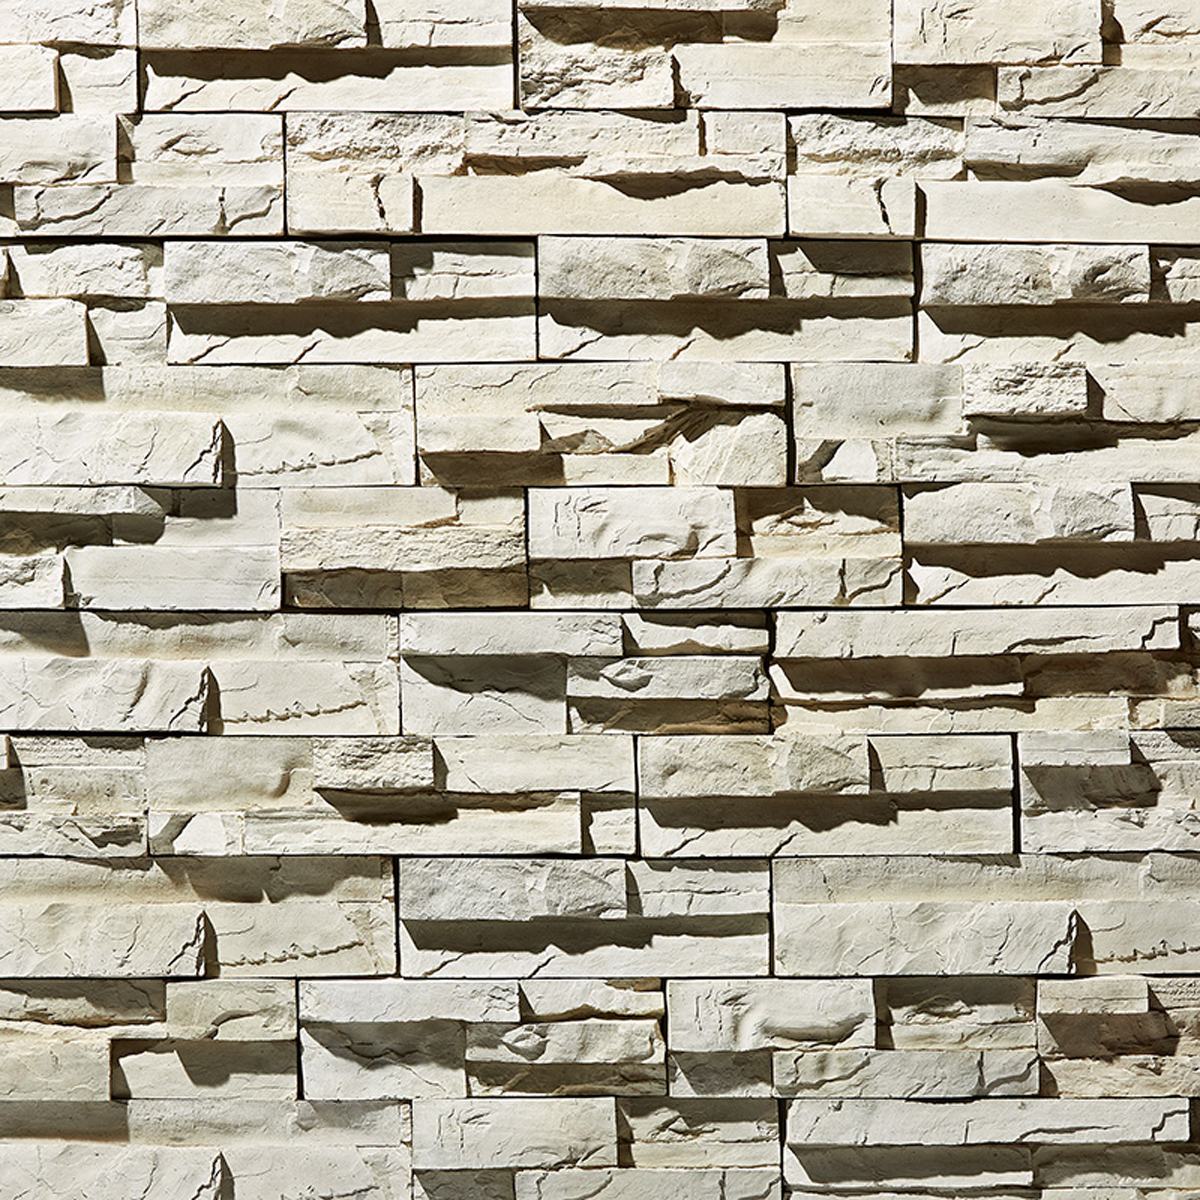
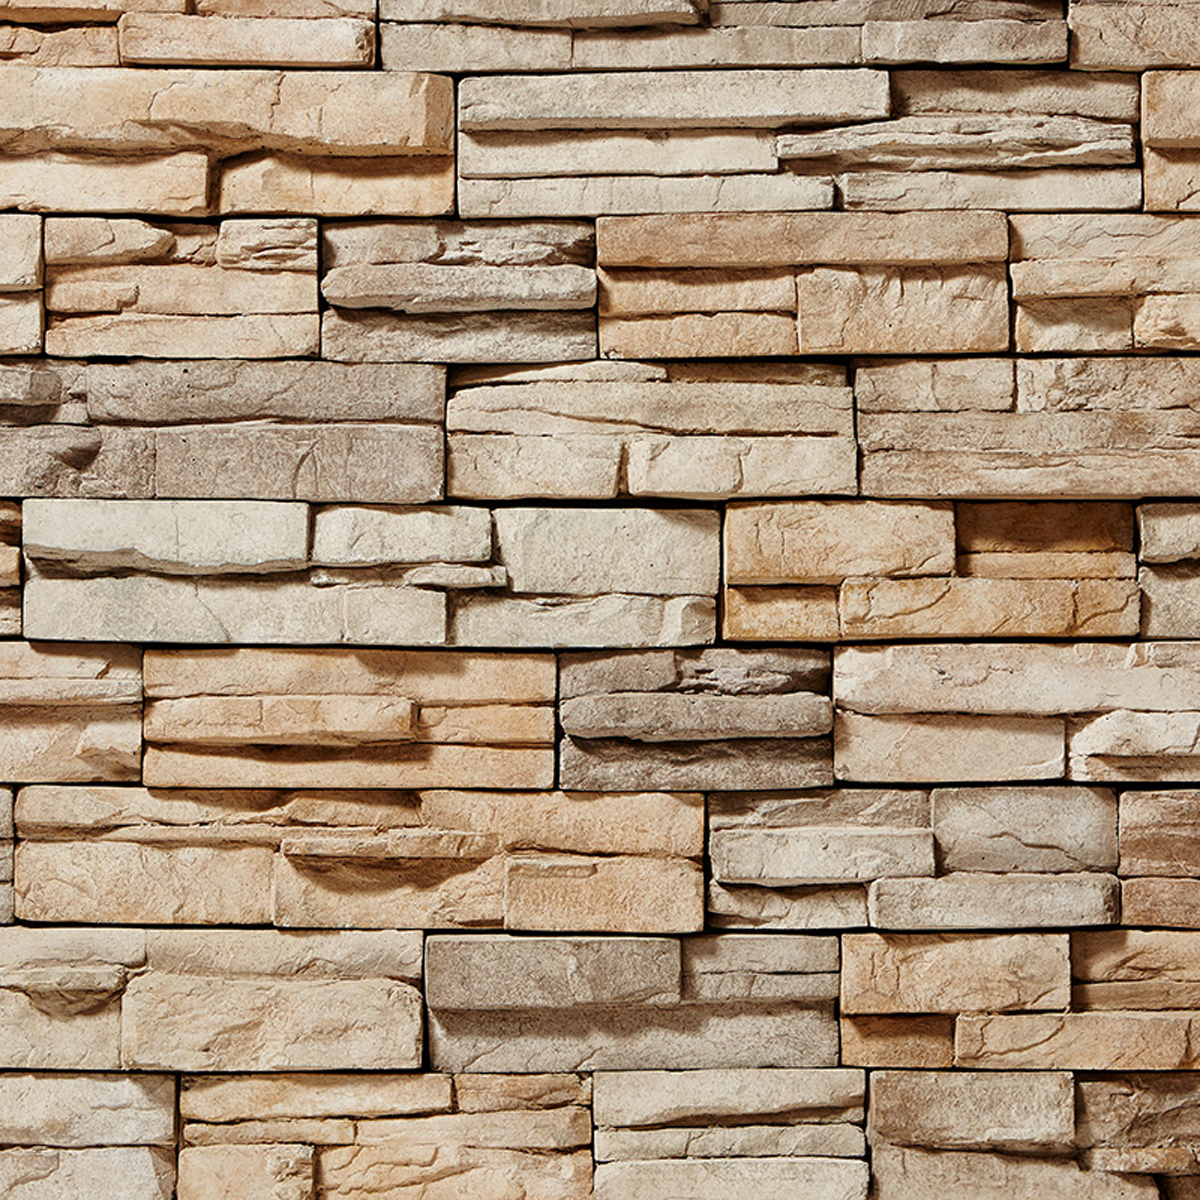
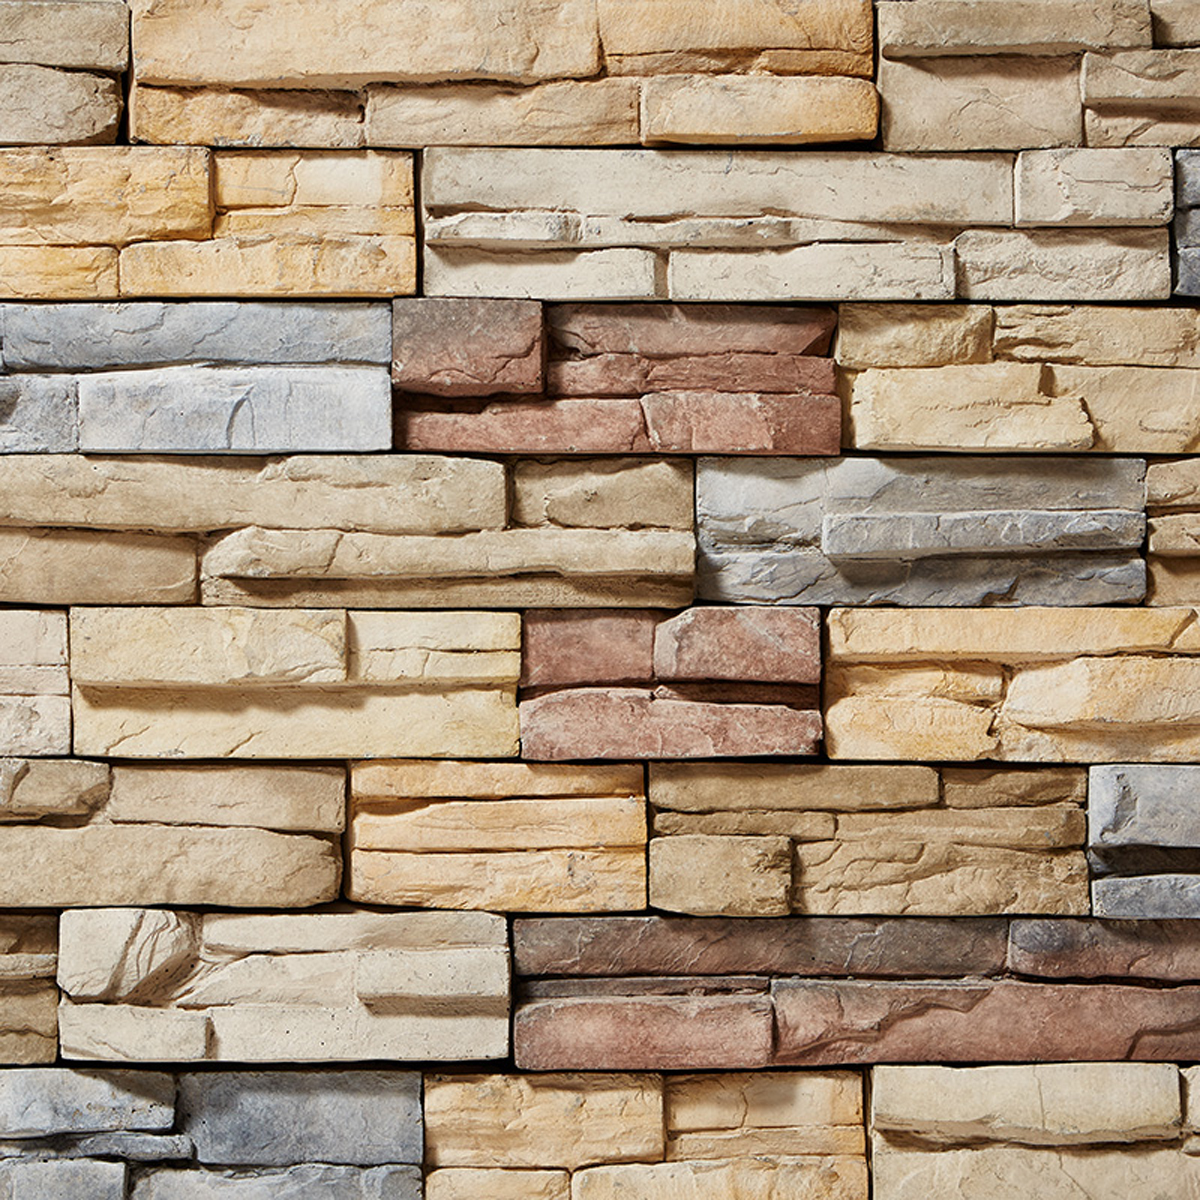
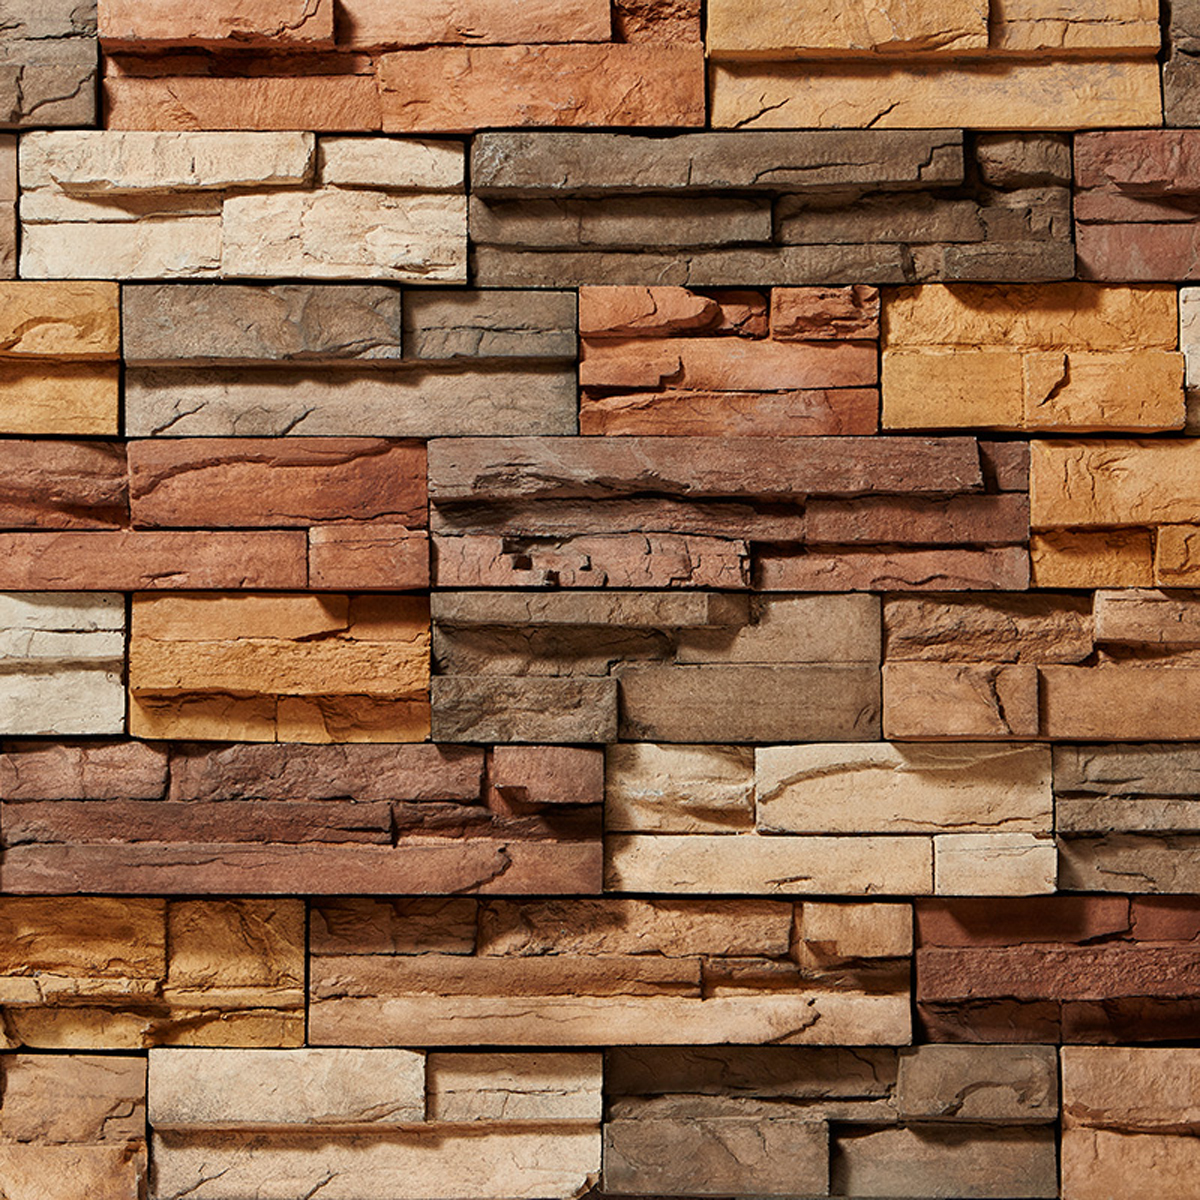
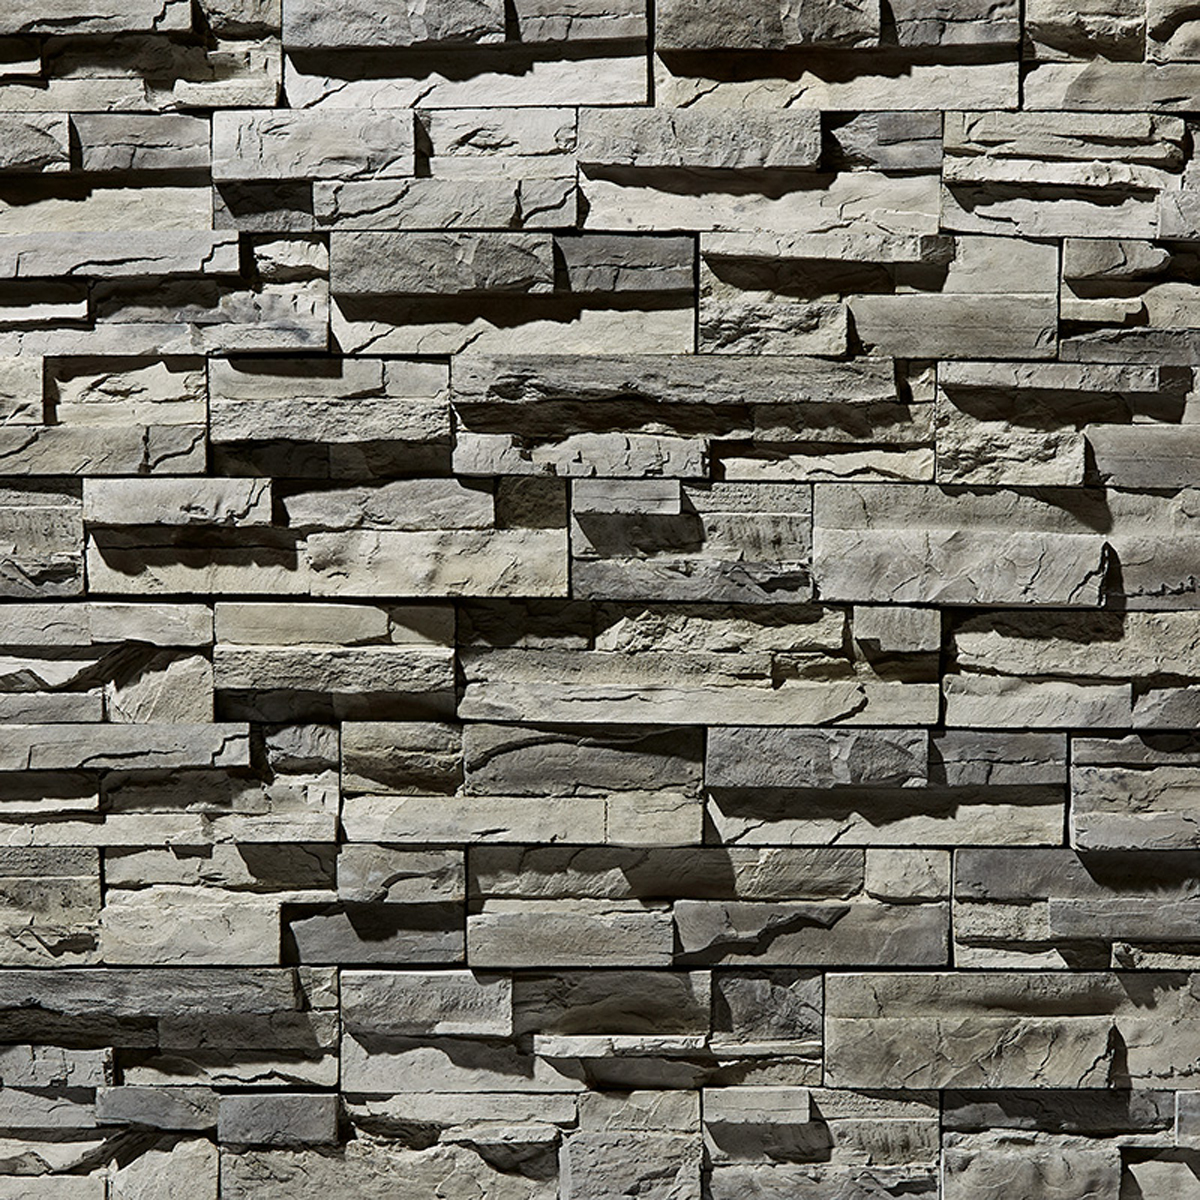
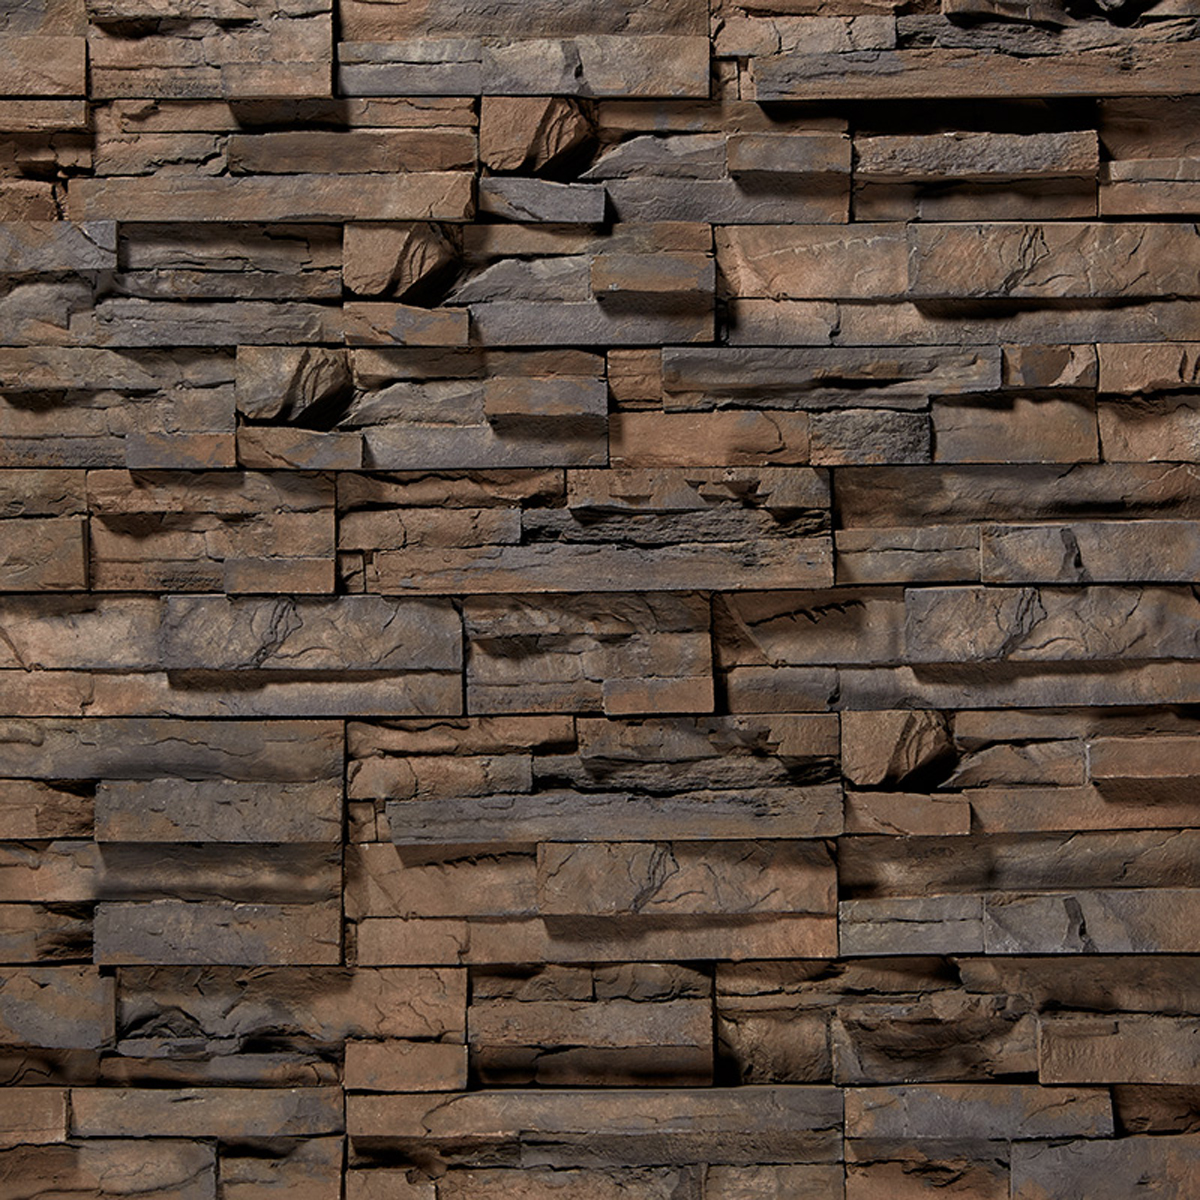
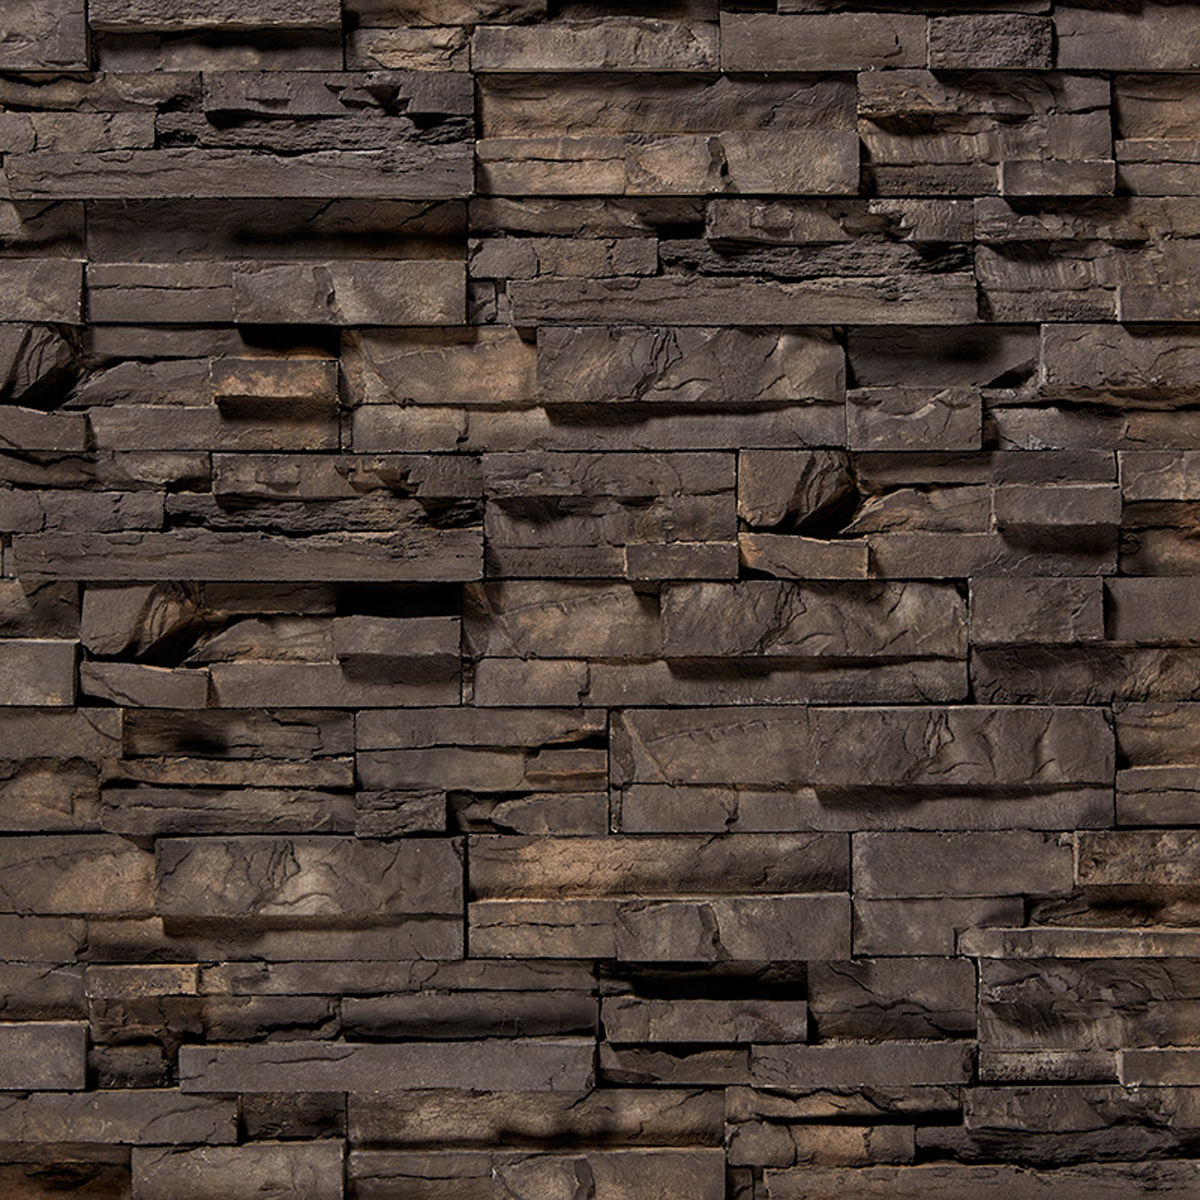
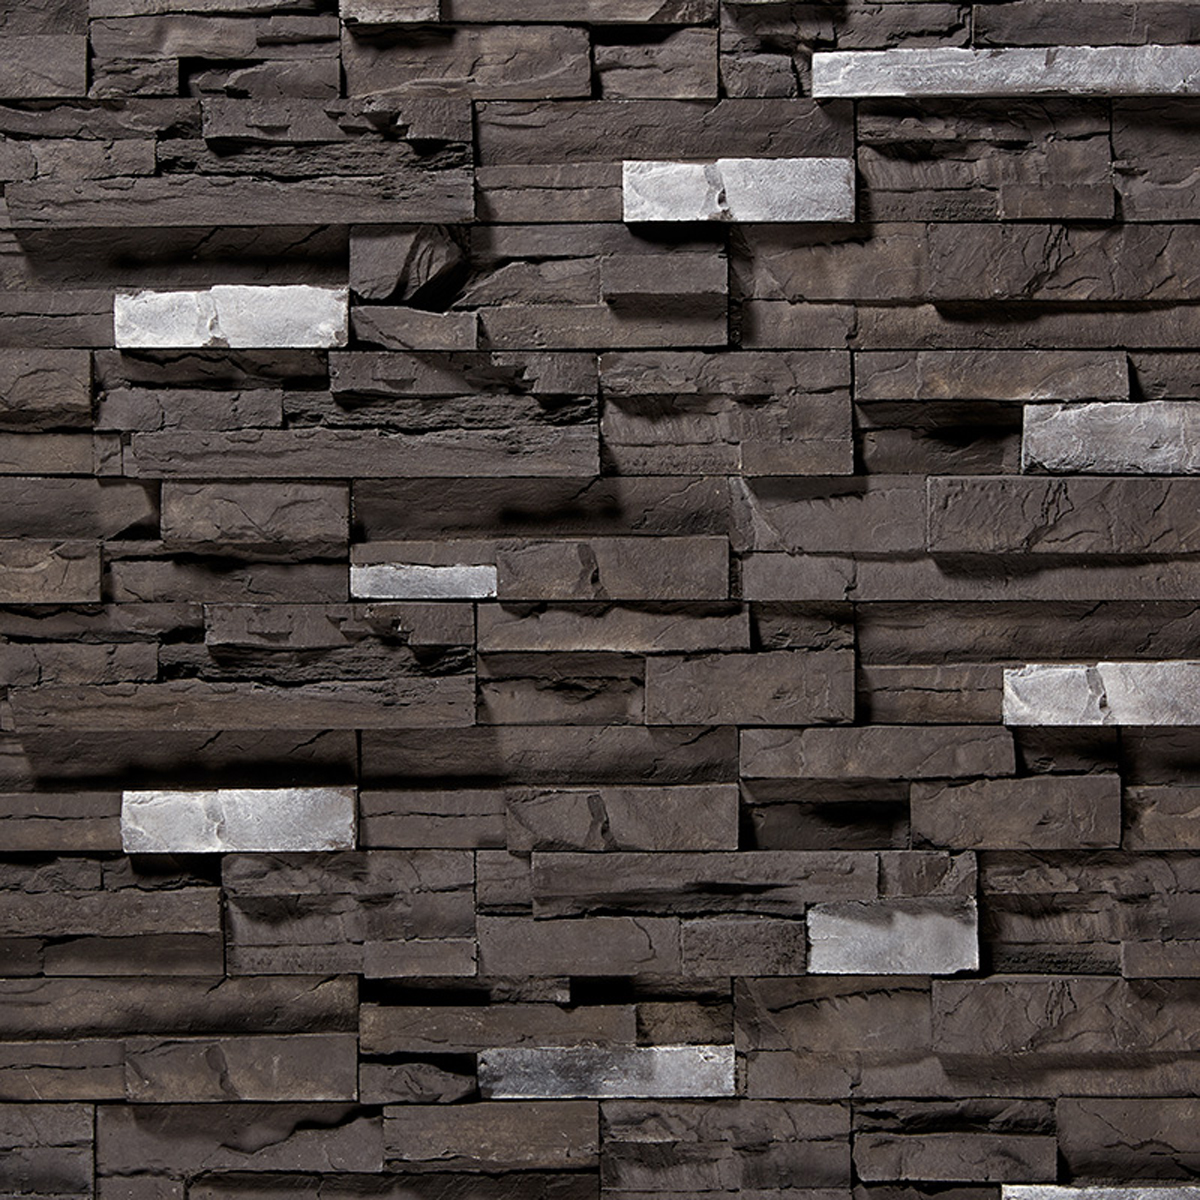
Ledgestone Styles
Osceola Ledgestone
Teton Grey Ledgestone
Tan Ledgestone
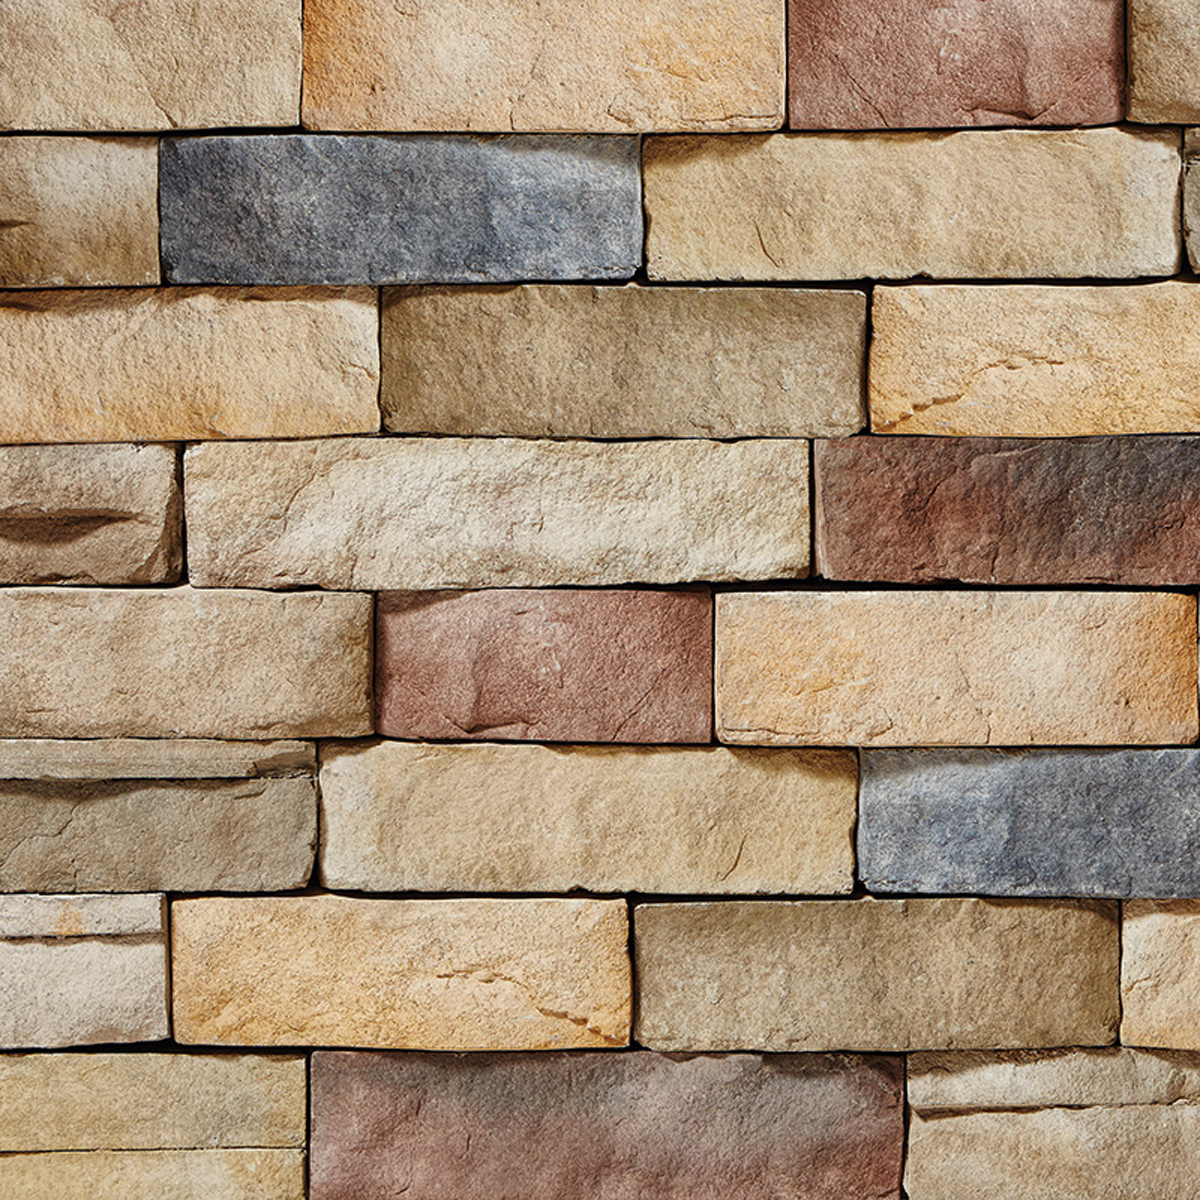
Pointset Ledgestone
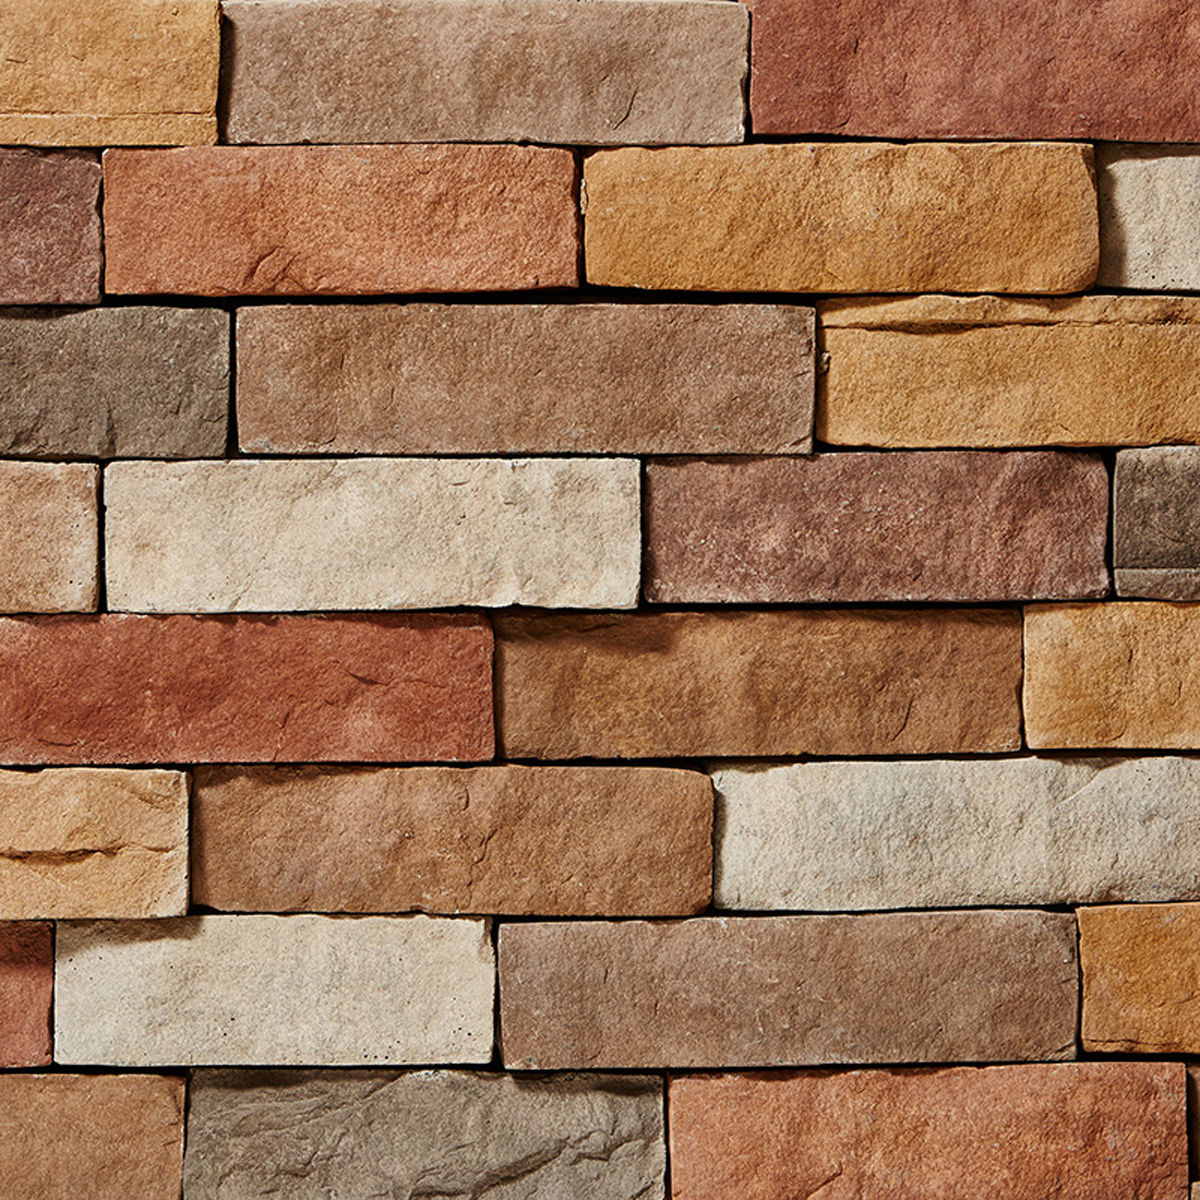
Sand Ledgestone

Black Rundle Ledgestone

Ash Ledgestone
Walnut Ledgestone
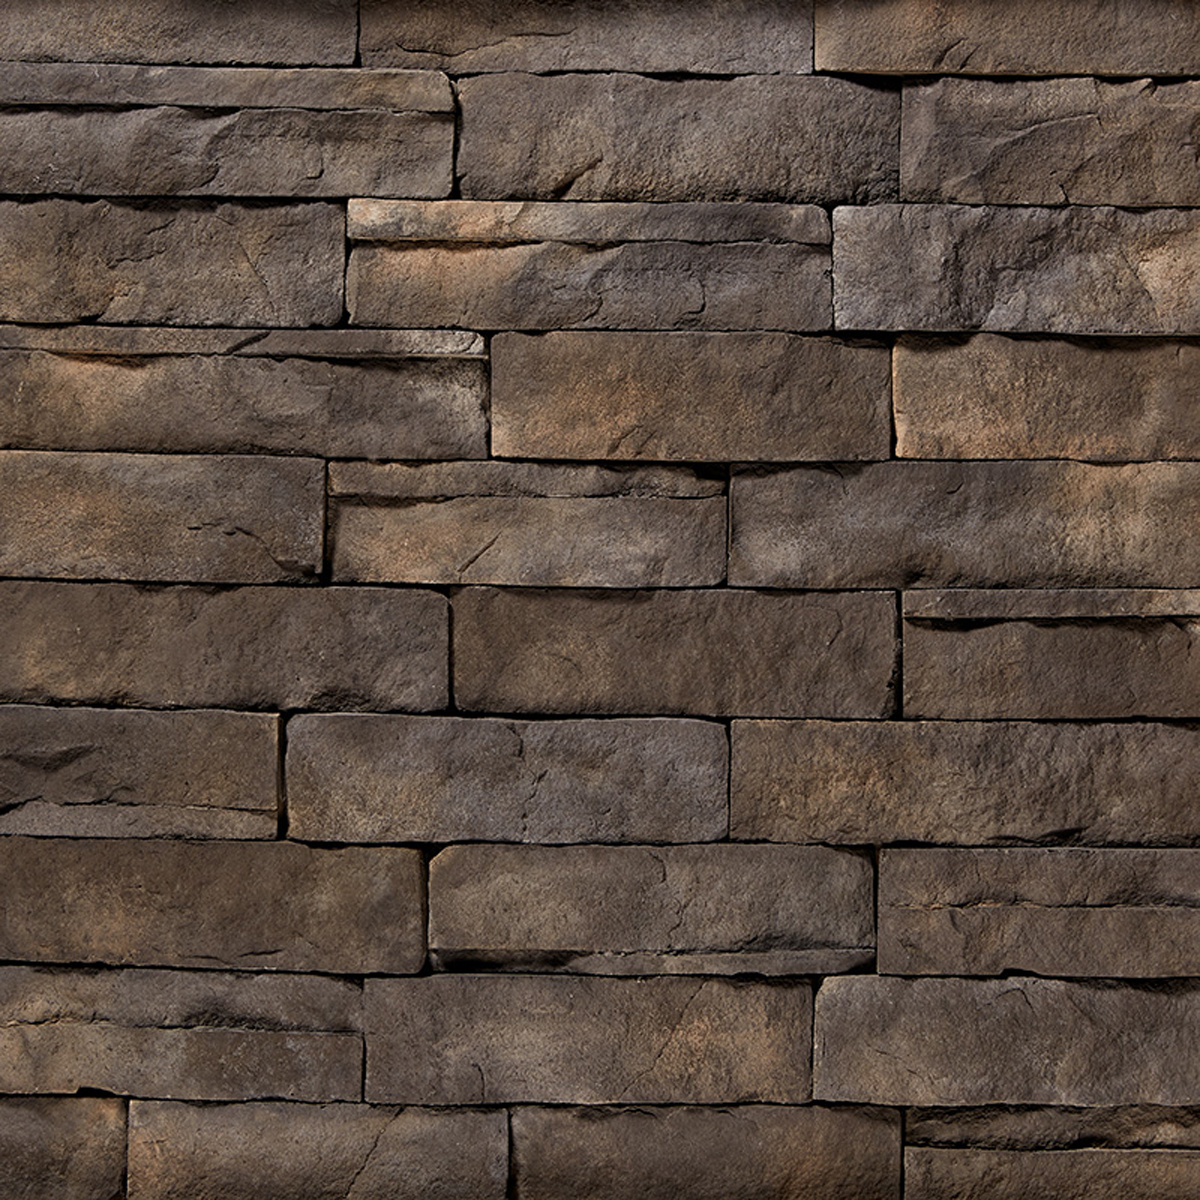
Black Creek Ledgestone
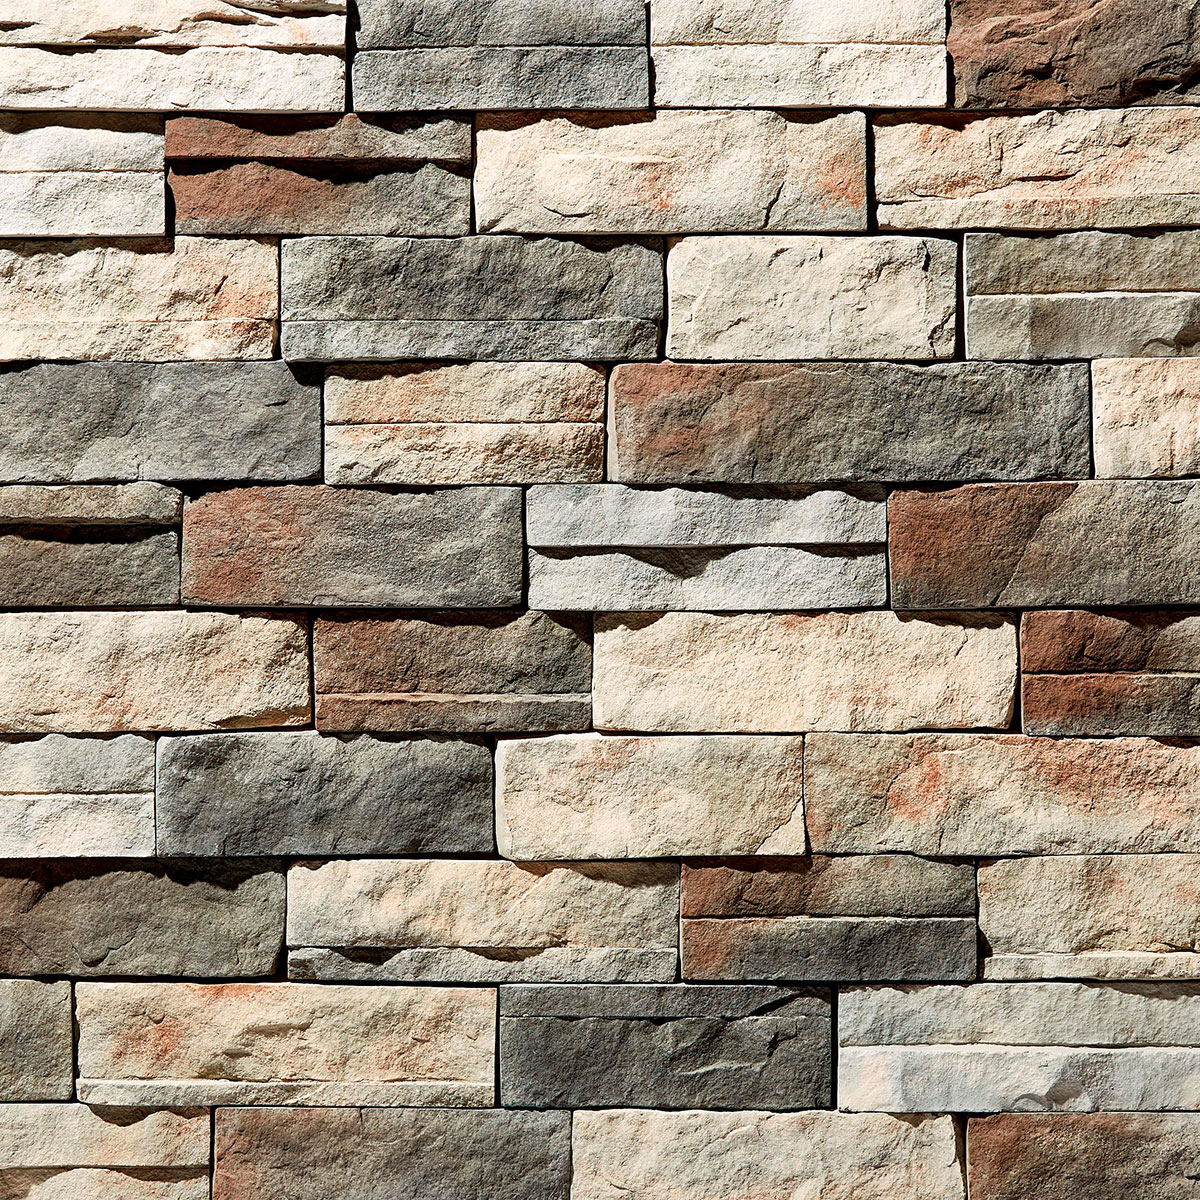
Willow Peak
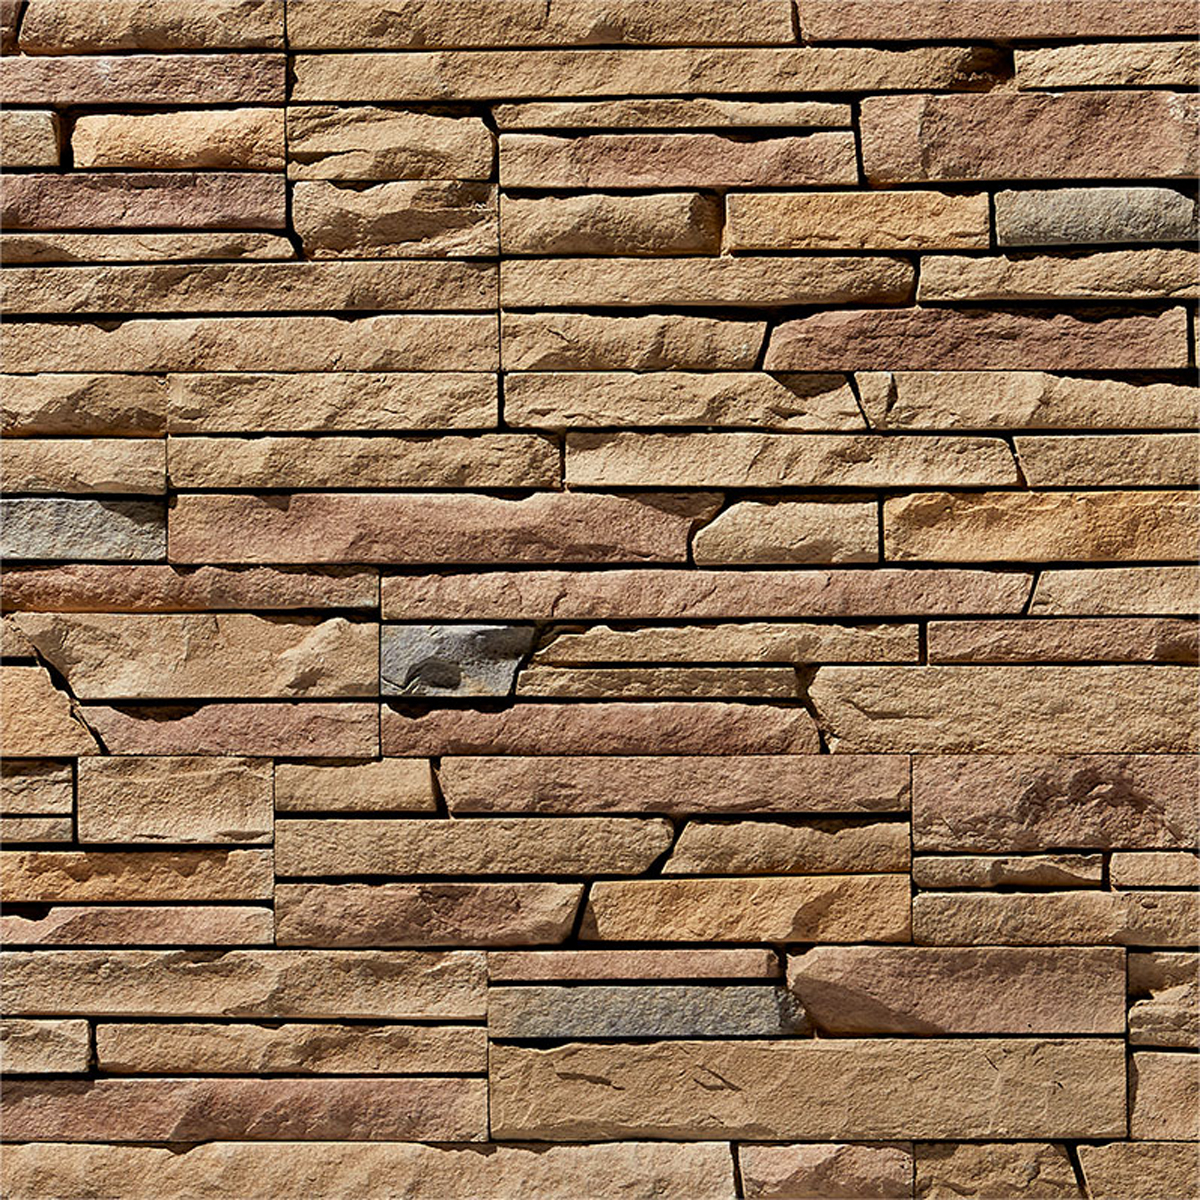
ProStack Styles
Osceola ProStack
Tan ProStack
Poinset ProStack
Sand ProStack
Teton Grey ProStack

Ash ProStack
Walnut ProStack
Black Creek ProStack
Black Rundle ProStack

Willow Peak Ledgestone
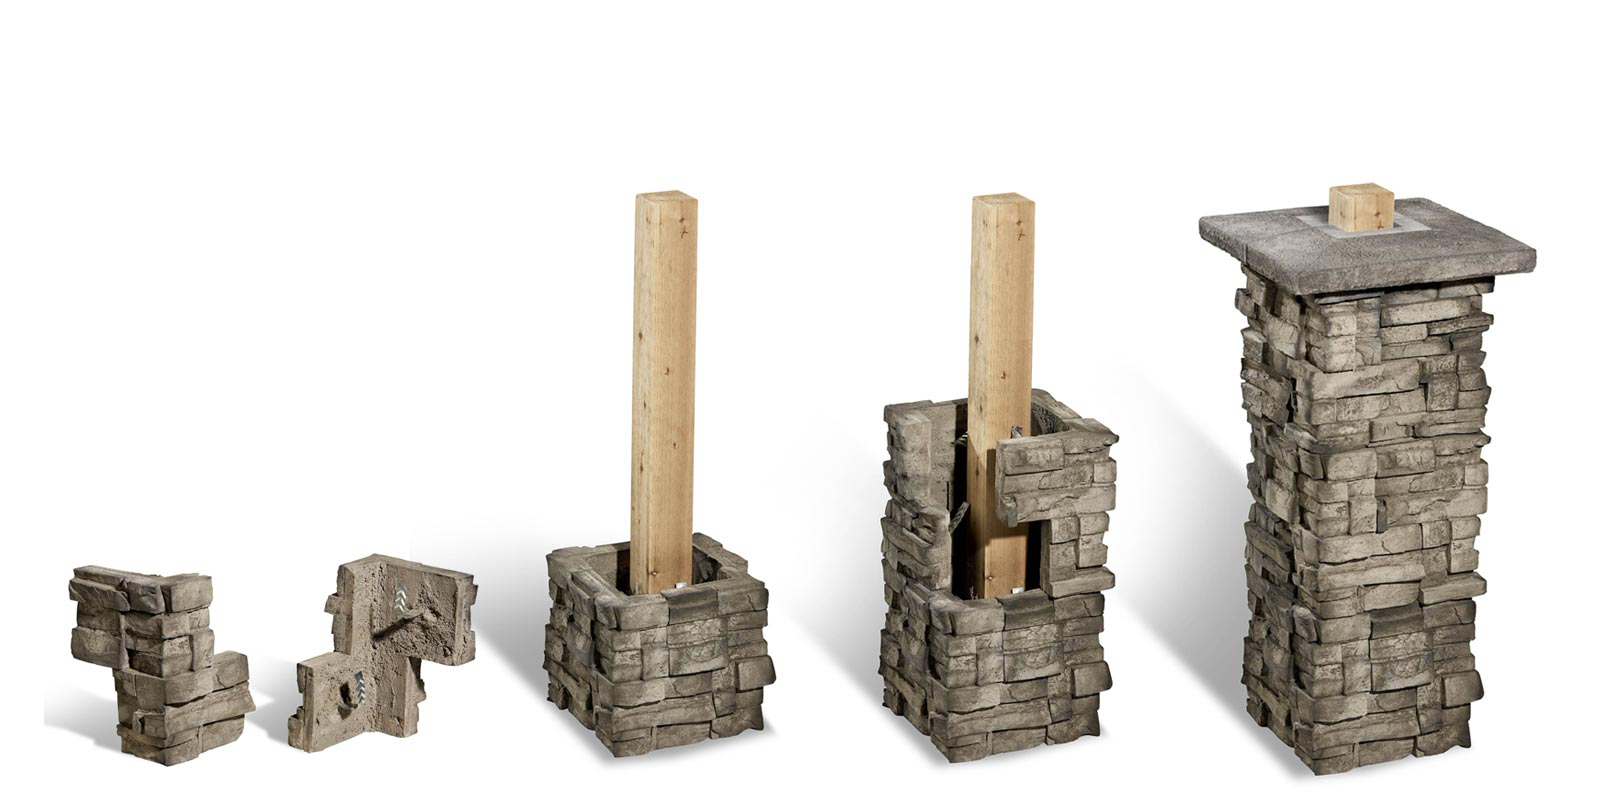
ClipStone ColumnWrap
The Perfect Do-It-Yourself solution for beautiful columns and caps
Transform any ordinary post or column structure into a beautiful and elegant stone column. Simple and easy to install around an existing post. No mortar needed.
ProStack Styles
Ash ProStack
Poinset ProStack
Teton Grey ProStack
Walnut ProStack
NorthernLedge Styles

Harvest Northern Ledge

Mystic Northern Ledge
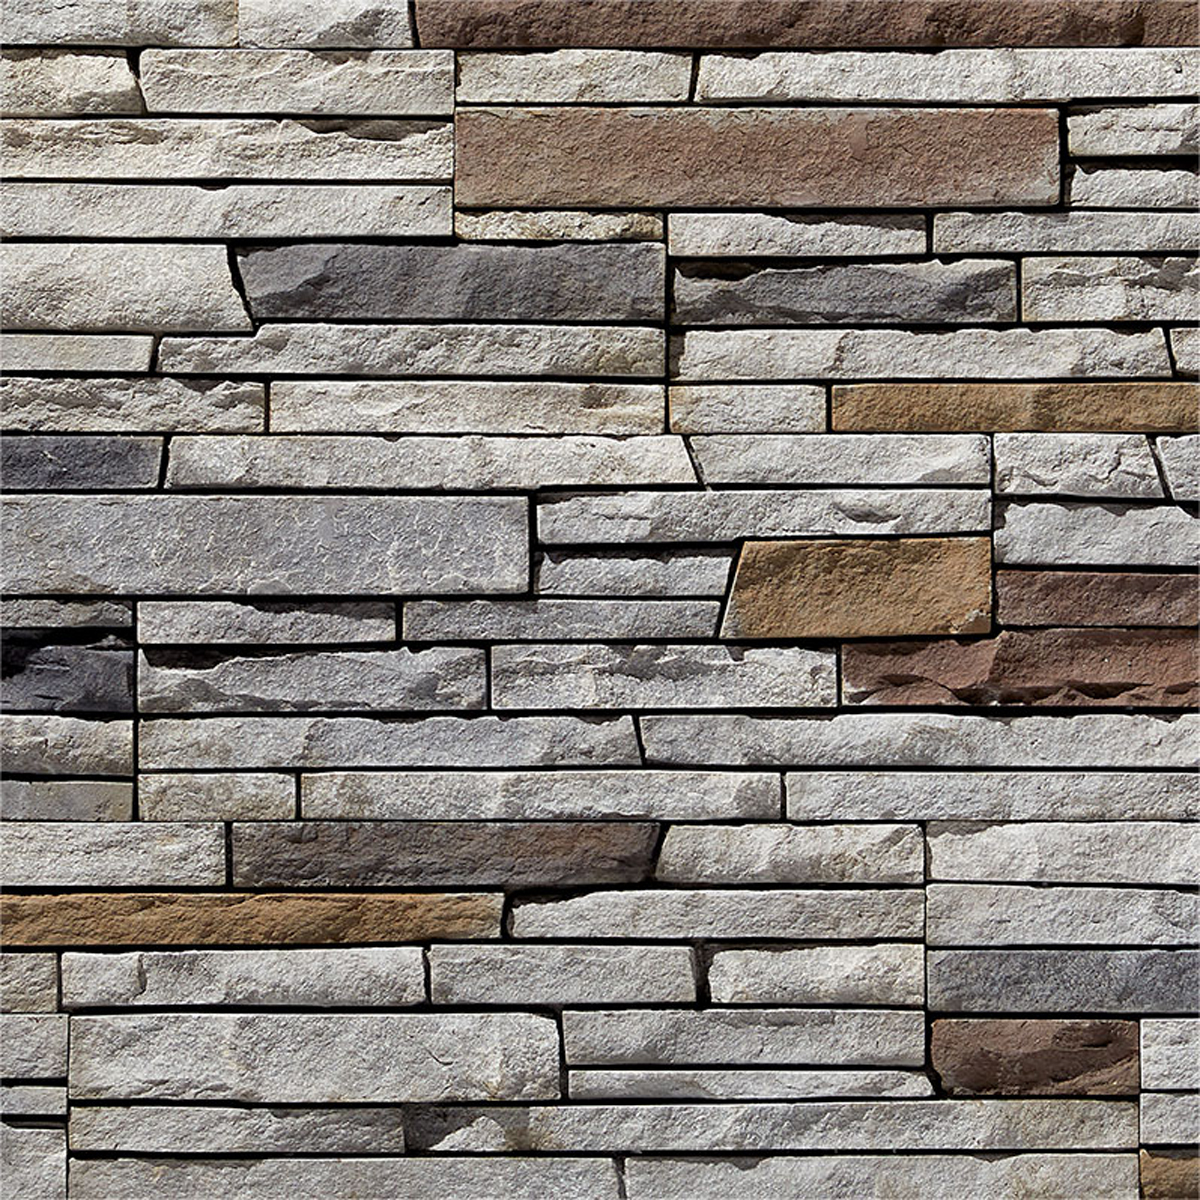
Niagara Northern Ledge
Shenandoah Northern Ledge
Tuscarora Northern Ledge
ColumnWrap CapStone

Black
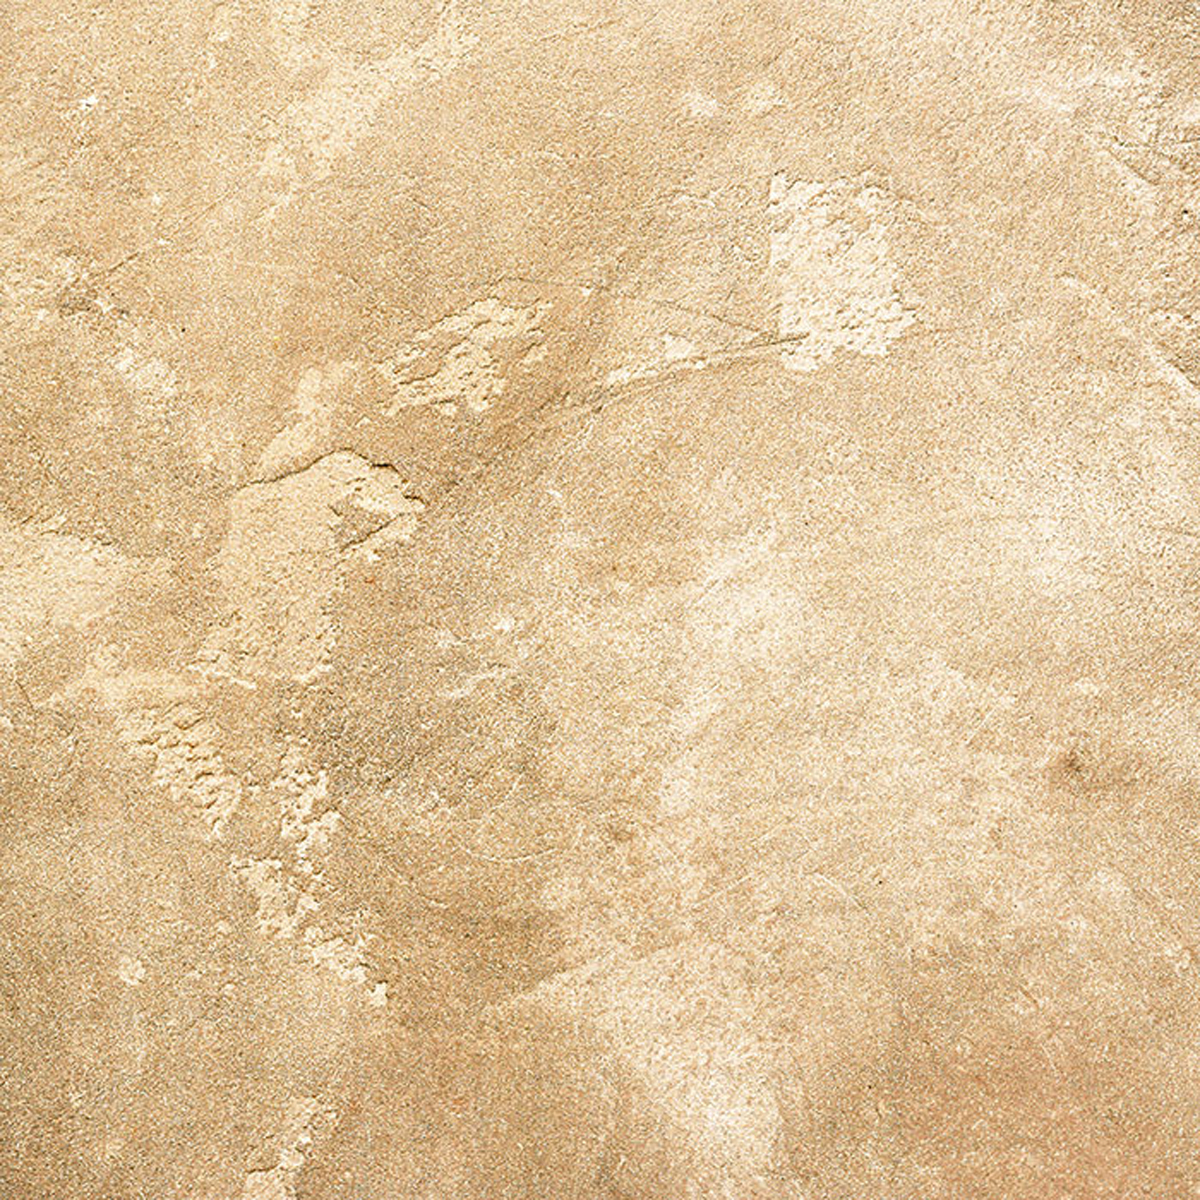
Cream

Grey
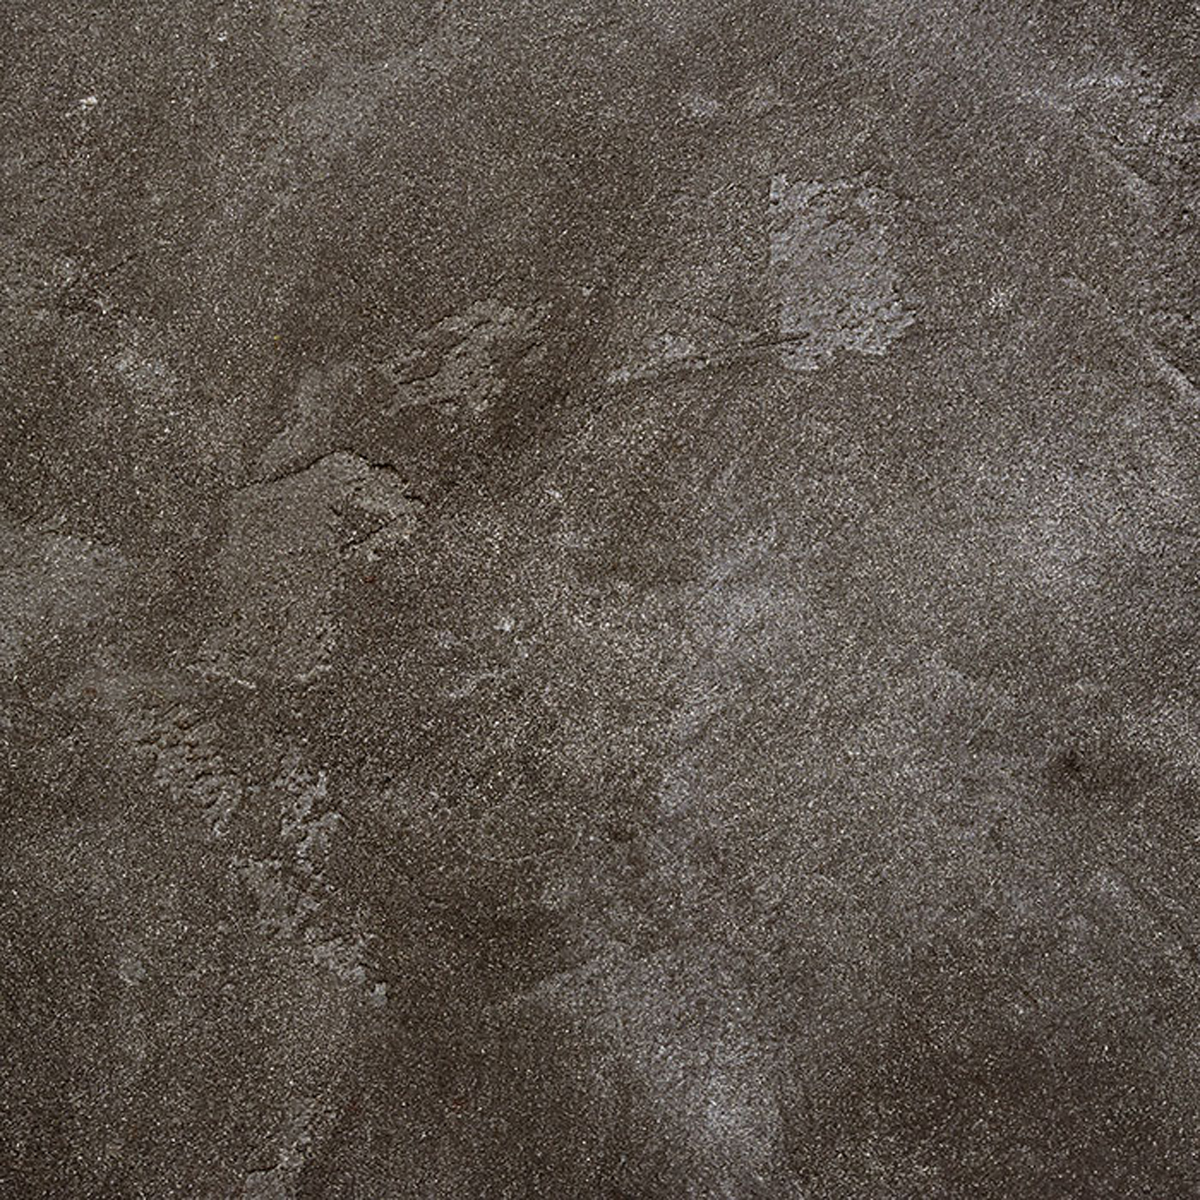
Smoke
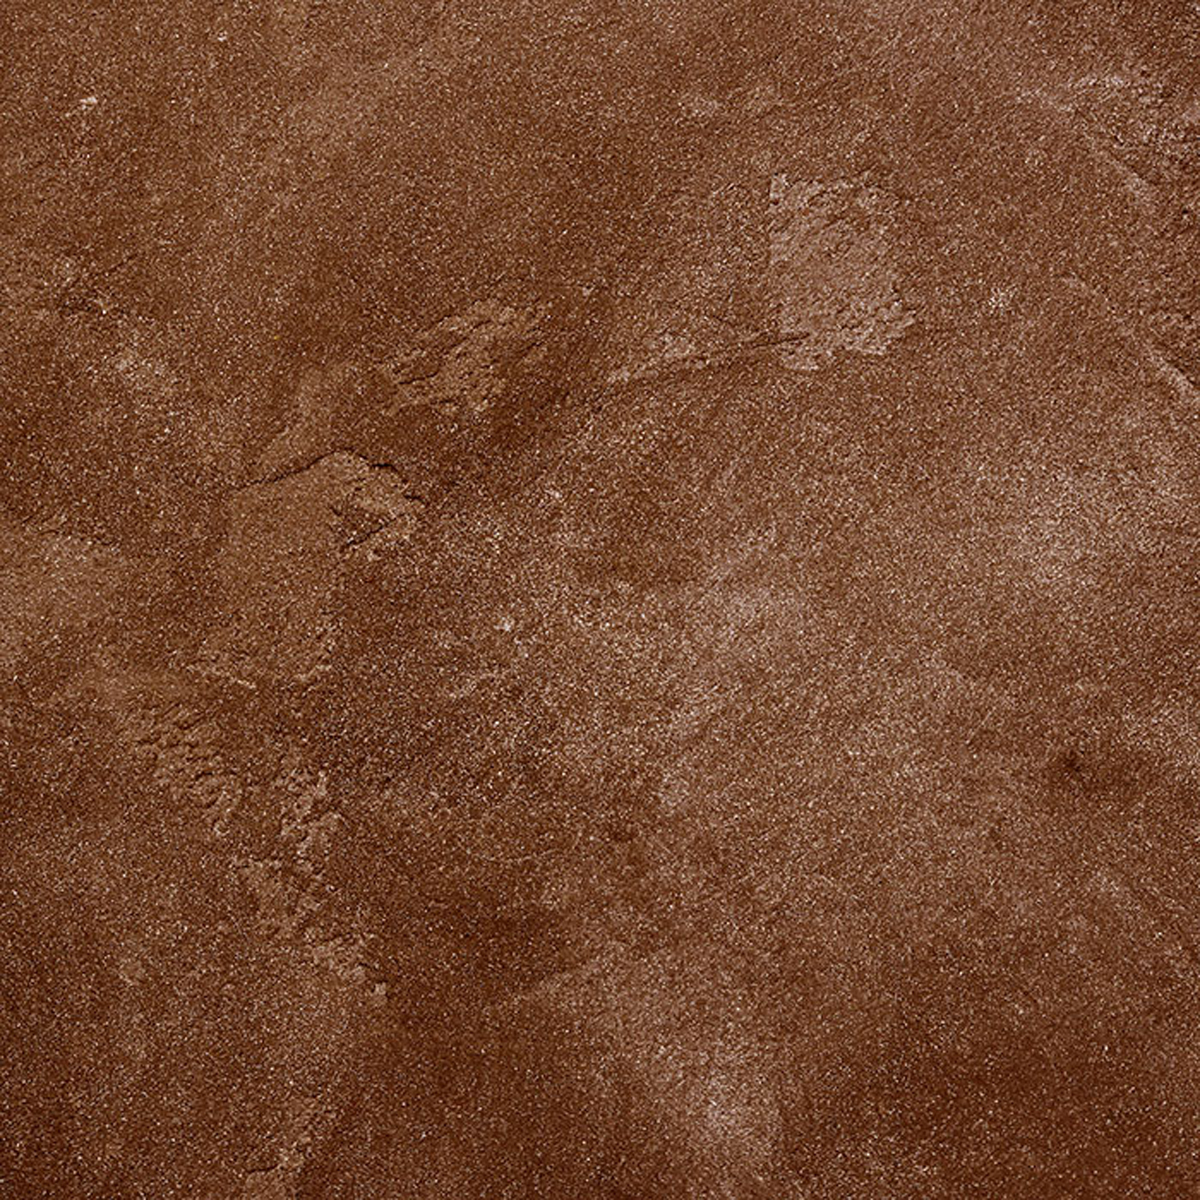
Walnut
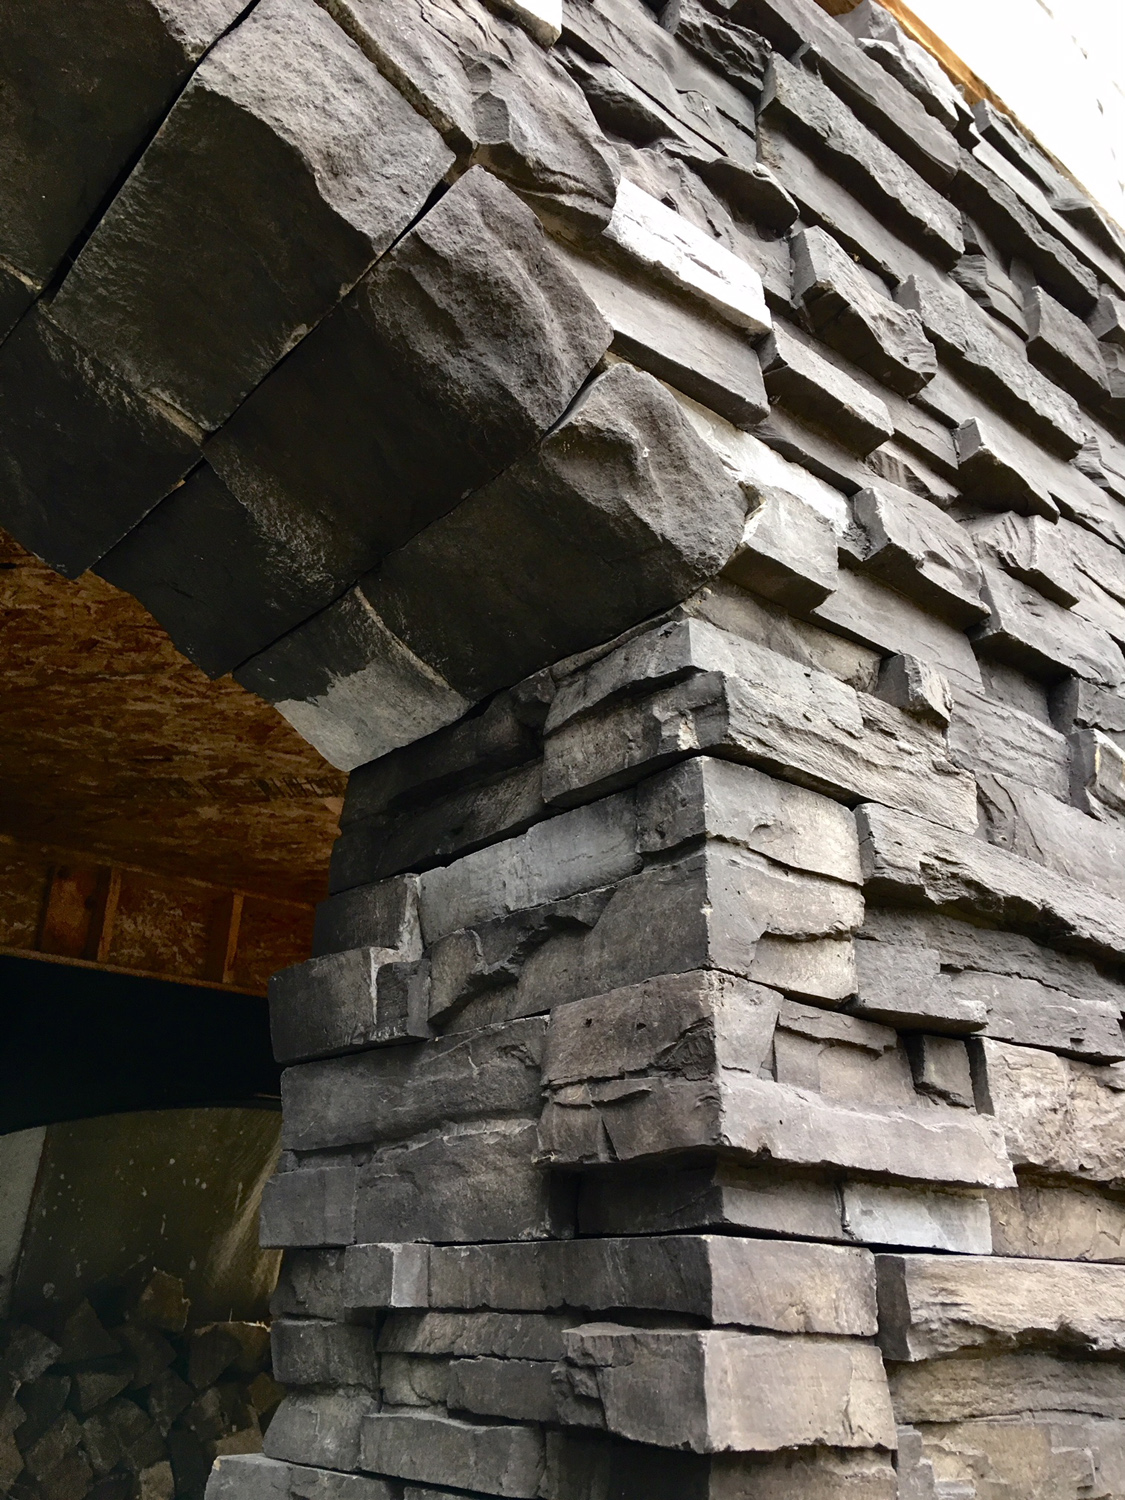
ClipStone
ProPanel
With larger panels for quicker installation and a stair-stepped design that hides joints, ProPanel fulfills ClipStone’s promise — ‘It’s That Easy!™’ — for remodelers and contractors to bring the beauty of stone into their projects with no mortar and less mess.
• Discreet seams
• True masonry corners
• Superior drainage plane
• No seasonal restrictions on installation
• Work out of your existing toolbox
• Easy jobsite cleanup

Need Help? Watch The ProPanel Installation Overview Video
Tips and tricks for installing ClipStone ProPanel flats and corners.
NorthernLedge Styles
Harvest Northern Ledge
Mystic Northern Ledge
Niagara Northern Ledge
Shenandoah Northern Ledge
Step-By-Step Video
This detailed 10 minute step-by-step video shows you exactly what you need to do from prepping your wall space, to the tools you’ll need, to measuring your project space, to installing ClipStone properly.
ClipStone Installation
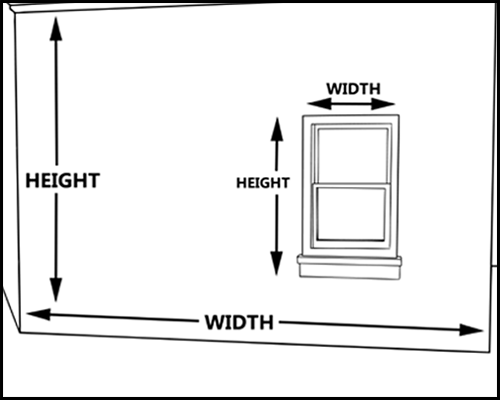
1. Measure Your Project
Measure the space you’ll be installing ClipStone to determine how much you will need to purchase.
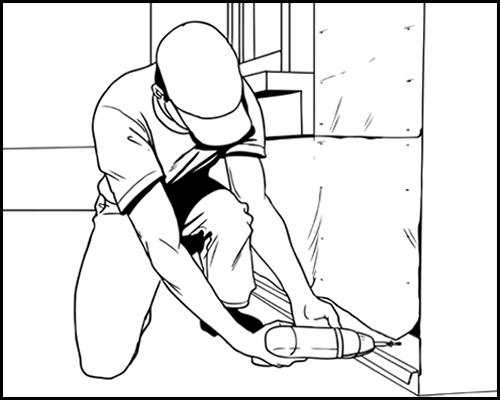
2. Attach Starter Strip
Attach starter strip 1″ below the bottom of where your stone will start making sure starter strip is level.
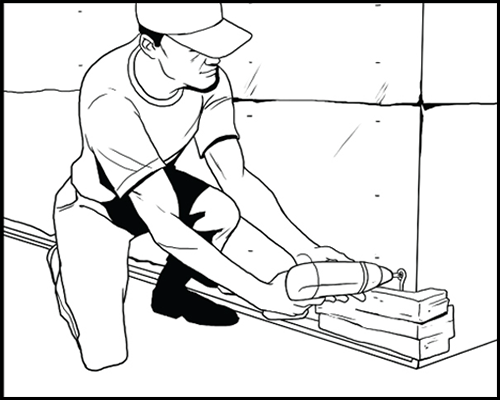
3. Install ClipStone
With your power driver, use 1.25” screws in each visible eyehole.
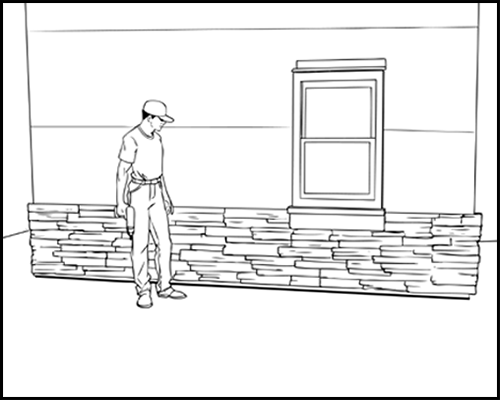
4. Enjoy ClipStone
Step back and enjoy the view for years and years to come.
Tips & Tricks
Installing Inside Corners
Have you encountered an inside corner as part of your ClipStone project? Never fear! Proper installation of the inside corner stones is very simple – just follow one easy trick!
Keeping Outside Corners Straight and in Line
Worried about keeping your ClipStone corner pieces straight and in line? Here’s how to inspect those corner pieces, and adjust them if necessary. It’s that easy!
Install Water table Sills Under A Window
Water table sills are a wonderful accent piece to cap off a wainscot. Featuring a nice raised profile, they’re as easy to install as regular ClipStone pieces. Here’s how to get started!
How to Properly Cut ClipStone and Adhere to Top Row
With just about every ClipStone project, you’ll have to cut stone at some point. No worries! Watch this short video and learn how to cut stone properly for the top row and install it for a secure fit. It’s so easy!
Straightening Stones and Fixing Small Gaps
Making sure your ClipStone is straight and level is very simple. Follow these easy tips to a beautiful installation!
Installing An Outlet Stone Accessory
When your ClipStone project has an outlet or electrical box within it, use our decorative Outlet Stone accessory piece for a professional finish and beautiful look to your wall.
Installing ClipStone In A Gable
If your ClipStone project has a gable, here’s a trick to show you how to properly measure and cut the exact angle you need on your stone so it’s flush and secure.
Installing Cut Pieces
More than likely, you’ll have to cut a stone or two when installing ClipStone on your project. Installing and hiding the cut side on that piece is easy to do by following these simple tips!
Installing Outside Corners
When your ClipStone project has an outside corner, you want to make sure the corner pieces are installed correctly so your wall has the most professional look to it. Just follow these tips and you’ll see how easy it is!
The Correct Screw To Use In Installation
Using the correct type of screw is essential when installing ClipStone onto your project. We recommend you use a #8 thread galvanized screw that is 1″ to 1-1/4″ long with a flat head.
Installing Universal Trim Stone
Installing the ClipStone Universal Trim Stone piece is just as easy. Here are a couple of tips to help you finish off the sides of your project with a beautiful touch.


