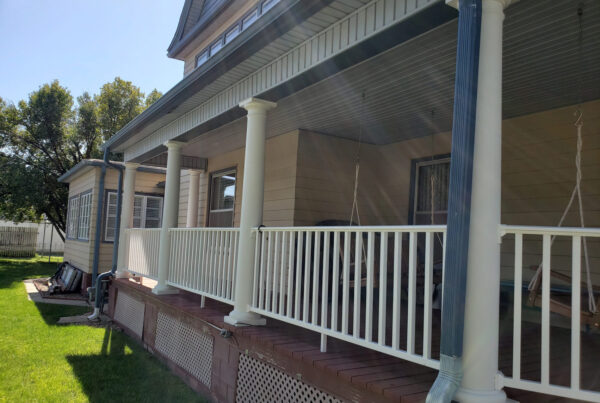
Exterior siding can last for decades. However, an accident may occur leading to some breakages on the siding. Damaged engineered wood siding can be as a result of rotting, wearing out, or loosening of the siding. Choose which siding boards need repairing. Then mark the cutting lines using the square. Nailheads that are on the existing siding will mark the stud positions. An important step to note when repairing engineered wood siding is weatherproofing the repaired area with paint/primer or any other kind of sealant. Whose purpose is to not only protect the wood siding but the other building materials/elements behind the siding.
Caution
Repairing engineered wood siding can be elusive. The tricky part is to separate the damaged board from the rest of the siding board. Construction of the whole board is such that nails pass through the top and bottom of adjacent boards. Hence, plucking out the damaged board should be done keenly.
Tools you need
Utility knife (with replacement blades), pry bar, hammer, electric miter saw speed square, carpenter’s pencil, safety glasses, multi-tool with a wood blade, dust mask, tape measure, replacement wood, stainless steel nails, exterior-grade caulking, and a primer/ exterior paint.
Steps to follow
Step 1: Mark the repair area(s)
Use the speed square and pencil to draw markings. Now, choose a space that is past the damaged board. Draw a vertical line beneath the damaged board. Repeat the same on the other side of the damaged board. Rarely do you find the need to remove the entire length of the board because there are ways to remove just the damaged part?
Step 2: Carefully cut the paint and caulking
Use the utility knife for this. Carefully cut away the paint or caulking connecting the damaged board with its adjacent neighbors/boards. Make sure to push the knife all the way through to make sure the connection is completely broken. Change the blades frequently and extend the cuts a few inches past the vertical pencil marks.
Step 3: Use the electric multi-tool to make vertical cuts
The multi-tool is a great piece of equipment that can be used for scores of home improvement works. Fit a wood blade into the electric multi-tool. Wear the dust mask and safety glasses for this operation. Cut on the vertical lines that you had drawn earlier. Make sure you do not exceed cutting the board and onto the adjacent board.
SteoPluck out the nails and the damaged siding
Fit a pry bar into the space between the damaged board and its adjacent neighbor. Tug and rock gently until you see the nail heads appear. Use the claw hammer to pull them out together with the damaged siding.
Cut the replacement siding
Use the damaged piece of board as a template to cut into the new piece of siding using the electric miter saw. Now you have the replica of the damaged board in good form.
Nail the new board in place of the damaged board
First, slide the replacement board upwards and underneath the adjacent top neighbor, making sure the board is flat against the house. Nail the new board in place using the existing holes on the top board. Drill additional nails through other portions of the board to ensure it is firm.
Next, drill nails into the bottom half of the replacement board. Be sure to nail the replacement board too.
Paint and caulk the siding
Inject caulk all-round the horizontal and vertical seams of the board. Rub with your finger to ensure everything caulks all right. Wait until the caulk is cured and apply prime on the board. Coat with the exterior paint of your choice.
In conclusion, it is advisable to apply two coats of paint on the replacement board. This is because strong and stable exterior paint helps the sideboard last for decades. A small crack on the paint can induce leakage of water leading to mold and rot.


