ClipStone siding is known for its durability and aesthetic appeal, but like any siding material, it may require occasional repairs. Whether you’re dealing with minor damage or more extensive issues, here’s a step-by-step guide to repairing ClipStone siding to maintain its longevity and appearance.
1. Cracked or Damaged Stones
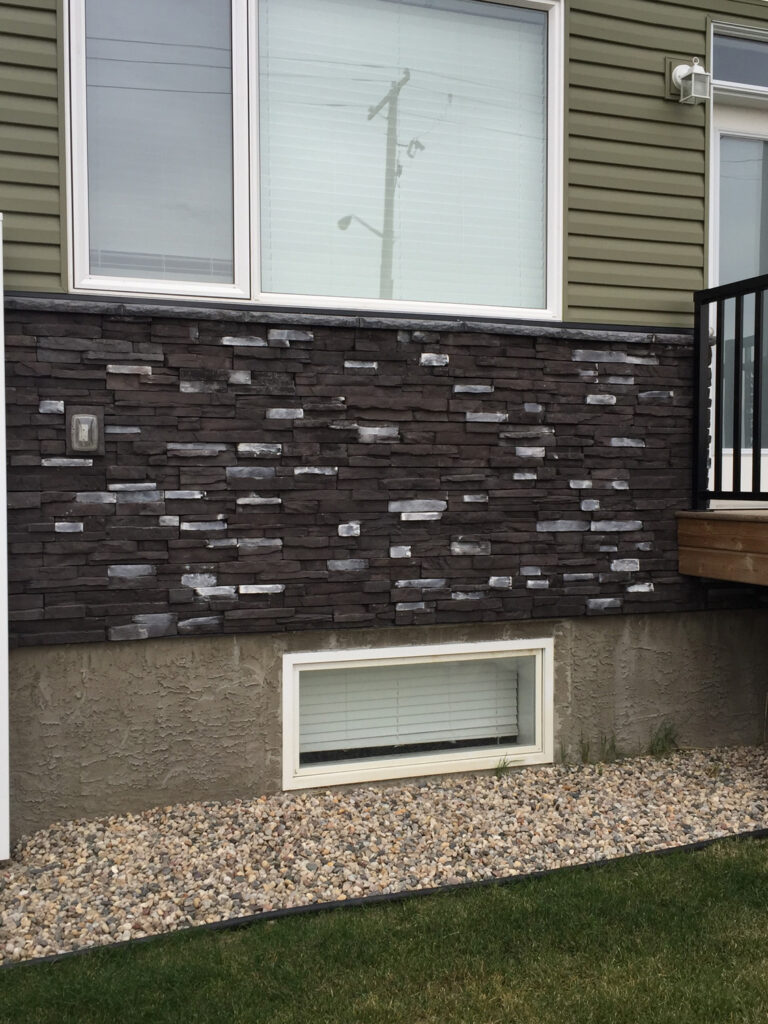
Over time, individual stones may crack due to impact or environmental factors. If you notice a cracked stone, it’s important to replace it promptly to prevent moisture from seeping behind the siding. To do this, carefully remove the damaged stone with a chisel or hammer, clean the area of any debris or old adhesive, and apply new adhesive to affix a replacement stone. Ensure the new stone is seated properly for a seamless look.
2. Loose Stones
Loose stones are a common issue that can arise from poor initial installation or long-term wear. If you encounter a loose stone, remove it carefully without damaging surrounding stones. Clean the surface of both the stone and the wall, and reapply a strong, weather-resistant adhesive to secure the stone back in place. Press firmly and hold for a few minutes to ensure it adheres correctly.
3. Moisture Damage
Moisture infiltration is one of the most serious problems that can occur with any type of siding, including ClipStone. If water gets behind the stone, it can lead to mold, rot, or even structural damage. Signs of moisture damage include discoloration, swelling, or musty odors. To fix this, check the flashing and moisture barrier behind the stone veneer. Replace any compromised materials, reseal the area, and ensure proper drainage systems, like gutters and downspouts, are functioning to divert water away from the siding.
4. Repointing Mortar Joints
Mortar joints may crack or deteriorate over time, compromising the structural integrity of the siding. Repointing, the process of removing old mortar and replacing it with fresh mortar, can restore the strength and appearance of your ClipStone siding. Use a chisel to carefully remove loose or crumbling mortar, then apply new mortar and smooth it evenly between the stones for a clean, polished finish.
5. Preventive Maintenance and Regular Inspections
The best way to avoid major repairs is through preventive maintenance and regular inspections. Regularly clean your ClipStone siding with a soft brush and mild detergent to prevent dirt buildup that can lead to wear over time. Check for any signs of cracks, loose stones, or mortar deterioration, and address issues immediately to prevent more extensive damage.
Also, inspect your gutters and downspouts to ensure proper water drainage. This can significantly reduce the risk of moisture-related damage to your siding. Address any drainage issues, like clogged gutters, as soon as possible to prevent water from pooling around the base of the siding.
Conclusion
ClipStone siding is designed to last, but it’s crucial to stay on top of maintenance and repairs to preserve its beauty and functionality. Addressing issues like cracked stones, loose stones, and moisture damage early can prevent more significant problems from developing. Regular inspections and preventive maintenance will keep your siding in excellent condition for years. For the highest-quality ClipStone siding and expert advice, Sherwood Lumber provides the materials and guidance you need to protect your investment.


