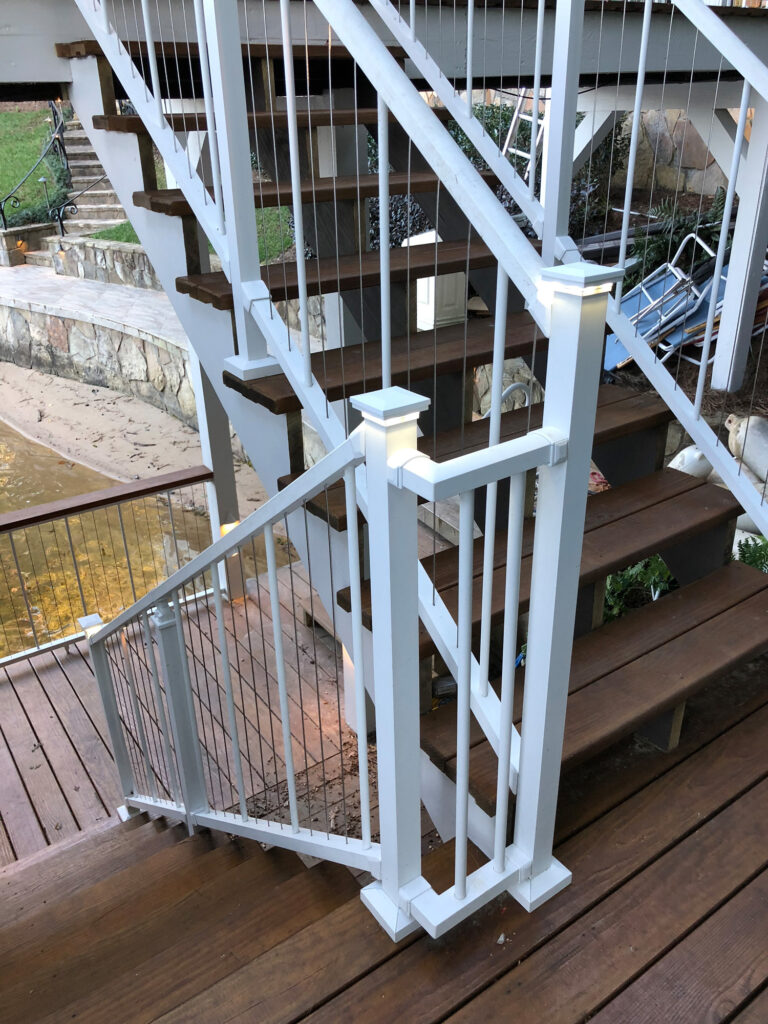
Cutting aluminum railings requires the right tools, precision, and safety measures to achieve a clean and accurate result. Here’s a comprehensive guide to help you through the process:
1. Gather Your Tools
Before you start, make sure you have the necessary tools on hand:
- Miter Saw or Chop Saw: Use a saw equipped with a blade specifically designed for cutting non-ferrous metals like aluminum. A carbide-tipped blade with a high tooth count is ideal for making smooth cuts.
- Measuring Tape: Accuracy in measurement is crucial, so use a reliable measuring tape to determine the exact length needed for your railing sections.
- Marker or Pencil: Use a permanent marker or pencil to clearly mark your cut lines on the aluminum railings.
- Clamps: Secure the railing in place with clamps to prevent any movement during cutting.
- Protective Gear: Safety is paramount. Wear safety glasses, hearing protection, and gloves to protect yourself from metal shavings and noise.
2. Measure and Mark
Carefully measure the section of the railing you need to cut. Double-check your measurements to avoid mistakes, as aluminum railings cannot be easily adjusted once cut. Use a marker or pencil to draw a clear, straight line where the cut will be made. Ensure the line is precise and easy to follow.
3. Set Up Your Work Area
Set up a stable work area where the railing can be securely clamped. Make sure the work surface is level and that you have enough space to maneuver the saw safely. Position the railing so that the cut line is easily accessible and ensure it is securely clamped to prevent movement during the cut.
4. Make the Cut
Using your miter or chop saw, slowly guide the blade through the aluminum railing along the marked line. Apply steady pressure, but avoid forcing the blade through the material, as this can cause the aluminum to burr or the blade to bind. A slow and controlled approach ensures a clean cut with minimal rough edges.
5. Deburr the Edges
After cutting, it’s common for the edges of the aluminum to be rough or have small burrs. Use a metal file or a deburring tool to smooth out any rough spots, ensuring a clean, finished edge. This step is crucial for both safety and the aesthetics of the railing.
6. Check the Fit
Once the cut is complete and the edges are smooth, place the railing in its intended location to check the fit. If necessary, make any minor adjustments, but with careful measuring and cutting, the piece should fit perfectly.
7. Safety Tips
Always prioritize safety when cutting aluminum railings. Ensure you are working in a well-ventilated area, as aluminum dust can be harmful if inhaled. Keep your workspace clean to prevent tripping hazards, and always wear appropriate protective gear.
Conclusion
Cutting aluminum railings is a straightforward process when done with the right tools, careful preparation, and attention to detail. By following these steps, you can achieve a professional-quality cut that ensures your railing fits perfectly and looks great. Sherwood Lumber provides high-quality aluminum railing systems that are easy to work with, making your installation project smooth and successful.


