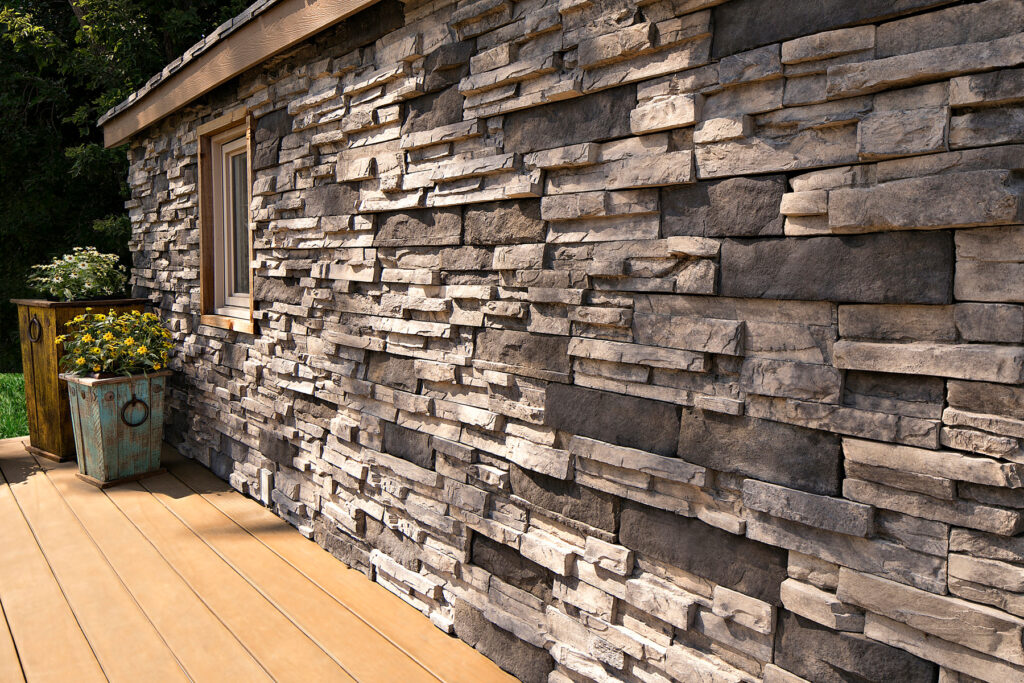
Installing ClipStone siding is a relatively straightforward process, but there are common mistakes that can compromise the final result. Avoiding these pitfalls ensures that your installation is not only aesthetically pleasing but also durable and long-lasting. Here are some key mistakes to avoid:
1. Improper Surface Preparation
One of the most critical steps in installing ClipStone siding is preparing the surface. Ensure that the wall is clean, dry, and flat before beginning the installation. Any debris, moisture, or unevenness can lead to poor adhesion, causing the siding to become loose or misaligned over time. Always take the time to properly clean and inspect the surface to guarantee a smooth installation.
2. Neglecting the Starter Strip
The starter strip is essential for the proper alignment and support of the first row of ClipStone. Skipping this step or improperly installing the starter strip can lead to misalignment of the entire installation. Make sure the starter strip is level and securely attached, as it sets the foundation for the rest of the siding.
3. Incorrect Fastening
Using the wrong type of fasteners or improperly securing the stones can result in loose or unstable siding. ClipStone requires specific fasteners to ensure a secure fit. Be sure to follow the manufacturer’s recommendations for the type and placement of fasteners to avoid issues such as shifting or detachment over time.
4. Inadequate Spacing
Proper spacing between the stones is crucial for both the aesthetic and structural integrity of the installation. Failing to leave adequate space can lead to crowding, which not only looks unprofessional but can also cause the stones to push against each other, leading to potential cracking or shifting. Follow the guidelines provided by ClipStone to maintain consistent and appropriate spacing.
5. Ignoring Weather Conditions
Weather conditions play a significant role in the installation process. Installing ClipStone siding in extreme temperatures, high humidity, or wet conditions can affect the materials’ performance and adhesion. It’s best to schedule your installation during favorable weather conditions to ensure the best results.
6. Overlooking Expansion Joints
Expansion joints are necessary to accommodate the natural movement of materials due to temperature changes. Failing to include these joints can result in buckling, warping, or cracking of the siding over time. Always incorporate expansion joints according to the manufacturer’s instructions to prevent future damage.
Conclusion
Avoiding these common installation mistakes will ensure that your ClipStone siding not only looks great but also performs well for years to come. Proper preparation, attention to detail, and adherence to manufacturer guidelines are key to a successful installation. For expert advice, quality products, and further guidance, Sherwood Lumber is your trusted partner in achieving a flawless ClipStone siding project.


