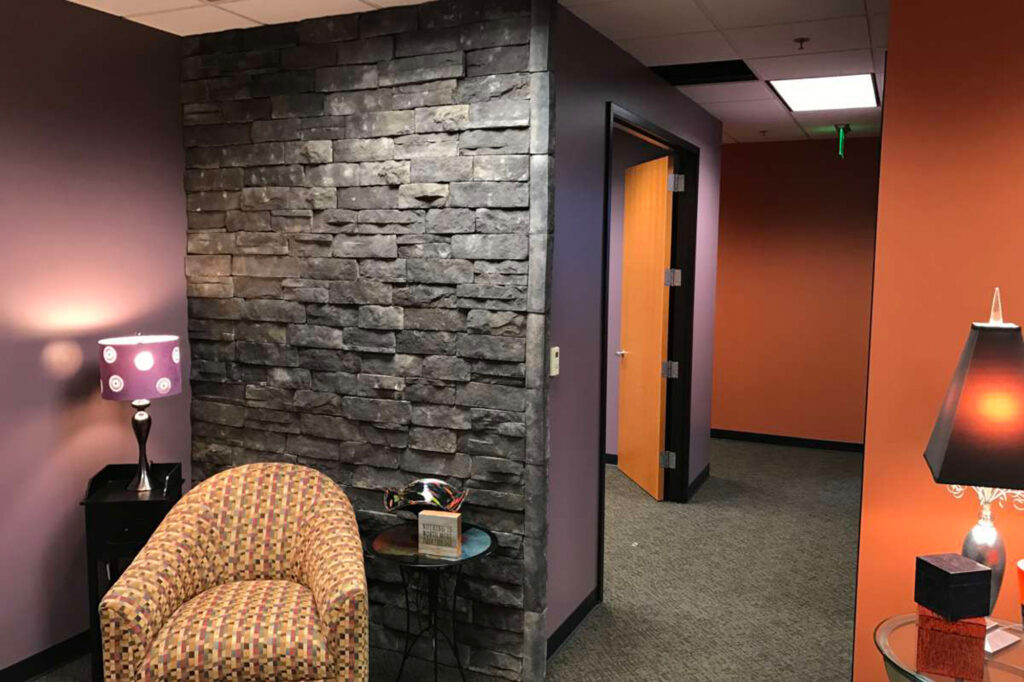
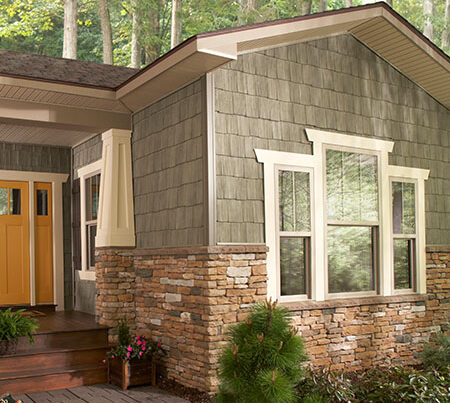
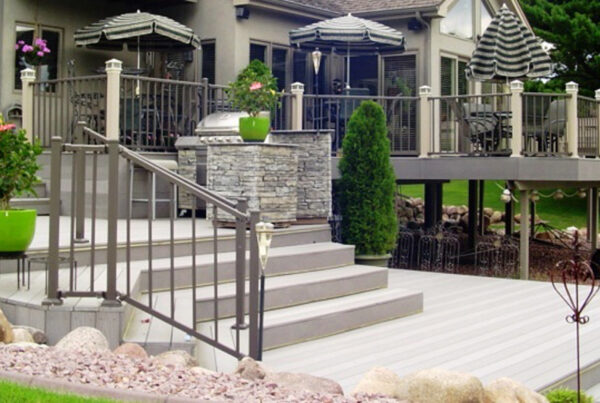
ClipStone is a popular choice for homeowners looking for the aesthetic appeal of stone veneers combined with ease of installation. However, like any building material, it requires proper maintenance and occasional repairs. To ensure your ClipStone installation remains beautiful and durable, it’s important to avoid common repair mistakes. Here’s a detailed guide to help you keep your ClipStone in top condition.
1. Skipping Surface Preparation
Before starting any repair, it’s crucial to thoroughly clean and prepare the area. Failing to remove dirt, debris, or old adhesive can prevent new materials from bonding properly, leading to weak spots that may deteriorate over time. Always use appropriate cleaning agents and allow the surface to dry completely before proceeding with repairs.
2. Using Incorrect Materials
One of the most common mistakes homeowners make is using the wrong materials for repairs. It’s essential to use adhesives, sealants, and other repair products specifically designed for stone veneers like ClipStone. Using generic or incorrect products can result in poor adhesion, discoloration, or even damage to the stone veneer itself. Sherwood Lumber offers a range of recommended products that are compatible with ClipStone, ensuring a secure and lasting repair.
3. Ignoring Manufacturer Guidelines
ClipStone comes with detailed installation and repair instructions provided by the manufacturer. Ignoring these guidelines can lead to subpar results and may even void warranties. For instance, using the wrong type of sealant or not allowing sufficient curing time can compromise the integrity of the installation. Always refer to the manufacturer’s recommendations when performing repairs to ensure you’re following best practices.
4. Rushing the Repair Process
Patience is key when repairing ClipStone. Rushing through the repair process can lead to incomplete adhesion, gaps, or visible flaws. Allowing adequate drying and curing time for adhesives and sealants is essential for a strong and durable repair. If possible, plan your repairs during a time when you can leave the area undisturbed until the materials have fully set.
5. Neglecting Regular Maintenance
Regular maintenance can help prevent the need for extensive repairs. Simple tasks like cleaning the stone veneer surfaces, checking for loose stones, and inspecting for signs of wear can help you catch issues early. By addressing minor problems before they escalate, you can extend the life of your ClipStone installation and reduce the need for more intensive repairs.
6. Overlooking Professional Help
While DIY repairs can be tempting, certain situations may require professional expertise. If you’re unsure about the extent of the damage or the correct repair techniques, it’s wise to consult with a professional. Experienced contractors can ensure the job is done correctly, saving you time and potentially costly mistakes.
Conclusion
Avoiding these common repair mistakes will help you maintain the beauty and durability of your ClipStone installation. Proper repairs not only enhance the aesthetic appeal of your stone veneers but also protect your investment by preventing further damage. For high-quality repair products and expert advice, Sherwood Lumber is your go-to resource, ensuring that your ClipStone remains a stunning feature of your home for years to come.


